SERVICING INSTRUCTIONS
REPLACING PARTS
11.magnetic safety valve
11.1To replace the magnetic safety valve:
•Undo the thermocouple from the interrupter block and remove the two thermo current cables
•Unscrew the interrupter block from the back of the valve
•Undo the silver magnetic valve retaining but on the back of the valve.
•Gently tap out the mag valve
•Replace with a new unit
•Reassemble in reverse order
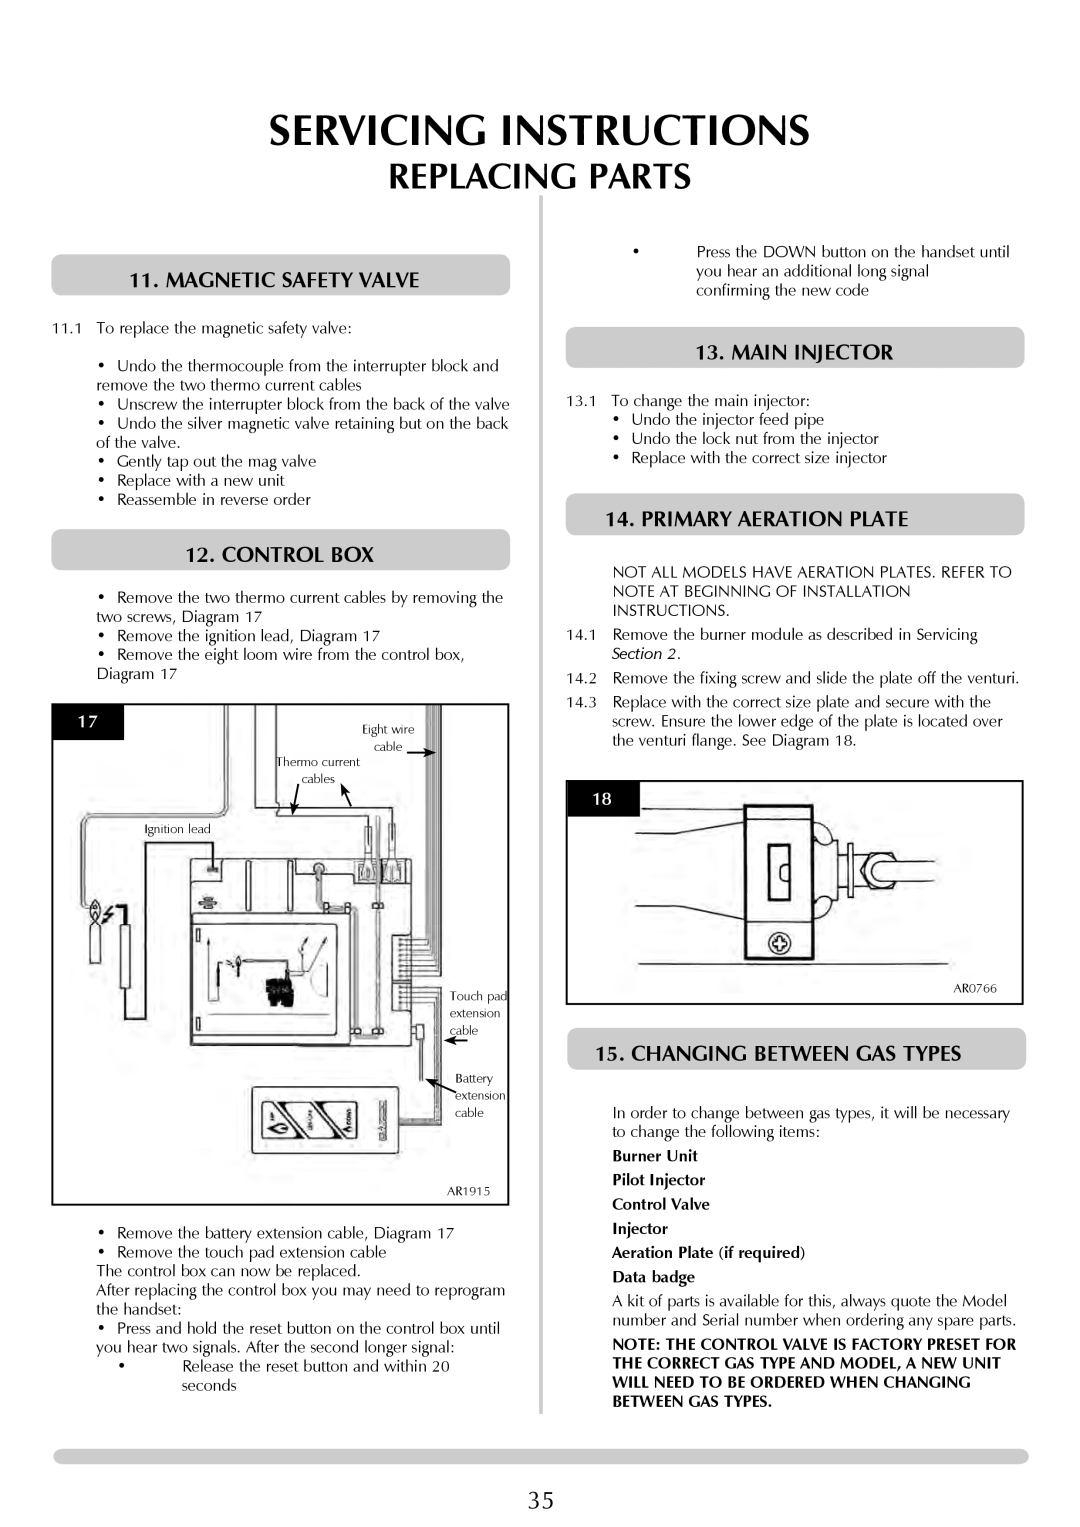
12.CONTROL BOX
•Remove the two thermo current cables by removing the two screws, Diagram 17
•Remove the ignition lead, Diagram 17
•Remove the eight loom wire from the control box,
Diagram 17
17 | Eight wire | |
| ||
| cable |
|
Thermo current
cables
Ignition lead
Touch pad extension cable
Battery ![]() extension cable
extension cable
AR1915
•Remove the battery extension cable, Diagram 17
•Remove the touch pad extension cable
The control box can now be replaced.
After replacing the control box you may need to reprogram the handset:
•Press and hold the reset button on the control box until you hear two signals. After the second longer signal:
•Release the reset button and within 20 seconds
•Press the DOWN button on the handset until you hear an additional long signal confirming the new code
13.main injector
13.1To change the main injector:
•Undo the injector feed pipe
•Undo the lock nut from the injector
•Replace with the correct size injector
14. Primary Aeration Plate
NOT ALL MODELS HAVE AERATION PLATES. REFER TO NOTE AT BEGINNING OF INSTALLATION INSTRUCTIONS.
14.1Remove the burner module as described in Servicing
Section 2.
14.2Remove the fixing screw and slide the plate off the venturi.
14.3Replace with the correct size plate and secure with the screw. Ensure the lower edge of the plate is located over the venturi flange. See Diagram 18.
18
AR0766
15. Changing between Gas Types
In order to change between gas types, it will be necessary to change the following items:
Burner Unit
Pilot Injector
Control Valve
Injector
Aeration Plate (if required)
Data badge
A kit of parts is available for this, always quote the Model number and Serial number when ordering any spare parts.
NOTE: THE CONTROL VALVE IS FACTORY PRESET FOR THE CORRECT GAS TYPE AND MODEL, A NEW UNIT WILL NEED TO BE ORDERED WHEN CHANGING BETWEEN GAS TYPES.
35