Manuals
/
SUPER MICRO Computer
/
Computer Equipment
/
Server
SUPER MICRO Computer
6026TT-GTRF, 6026TT-GIBQRF, 6026TT-GIBXRF
user manual
Super
Models:
6026TT-GTRF
6026TT-GIBXRF
6026TT-GIBQRF
1
1
104
104
Download
104 pages
55.76 Kb
1
2
3
4
5
6
7
8
Install
CPU Overheat Alarm
Password
Memory ECC Error Threshold
Onboard Indicators
System Reset
XRemote Access Configuration
Advanced Serverboard Setup
Connector Description
Bios Build Date
Page 1
Image 1
S
UPER
®
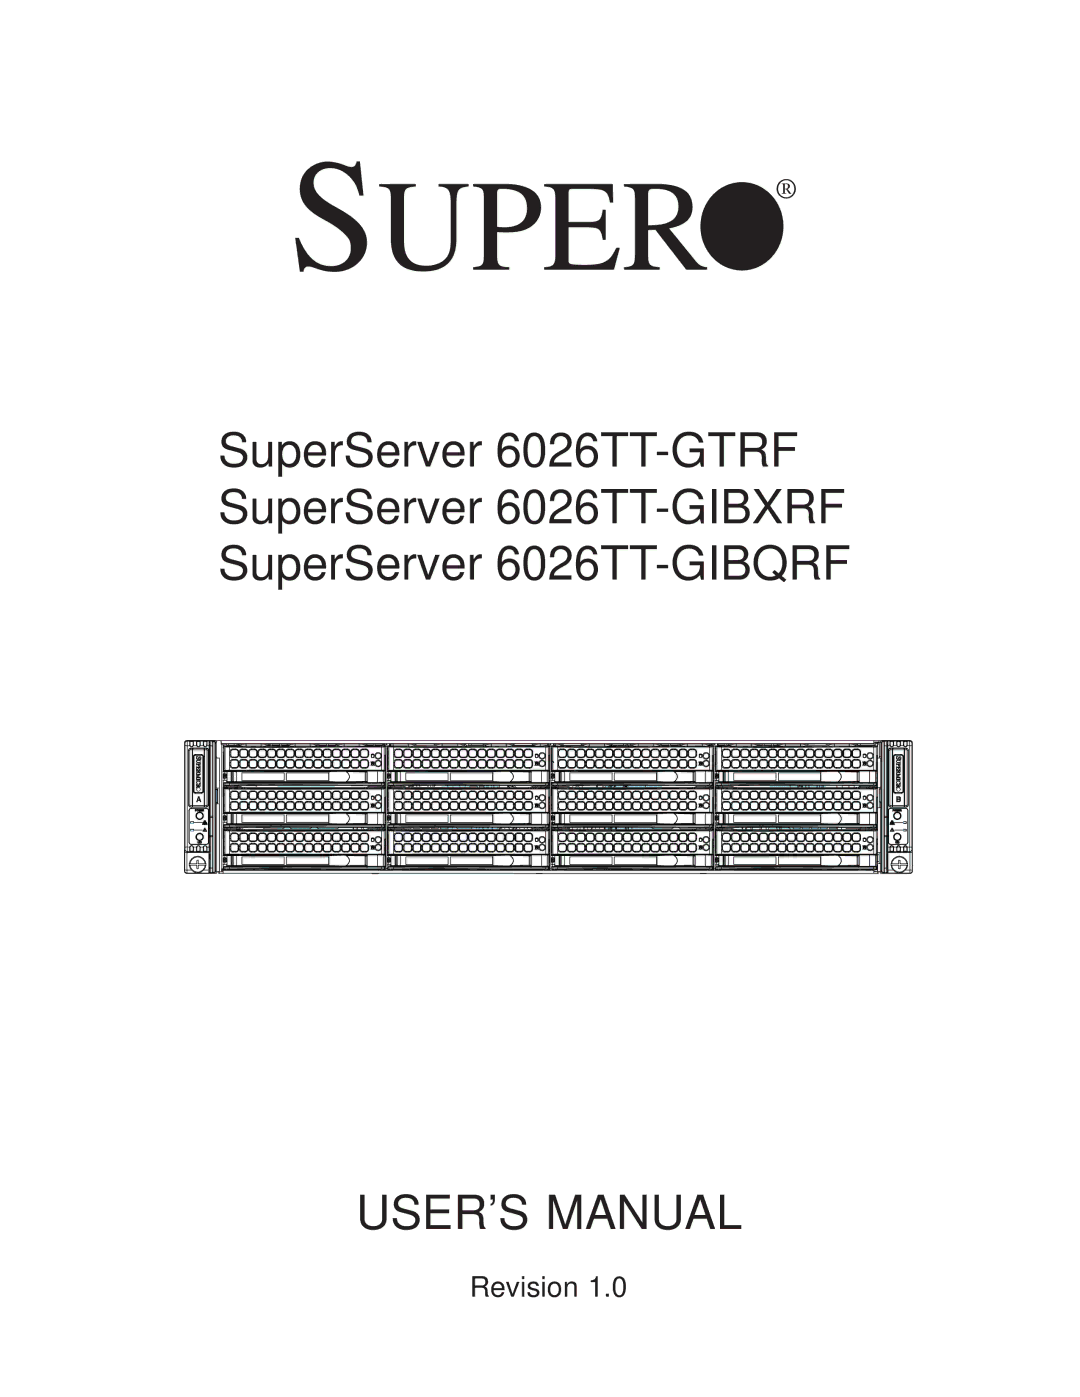
SuperServer
6026TT-GTRF
SuperServer
6026TT-GIBXRF
SuperServer
6026TT-GIBQRF
USER’S MANUAL
Revision 1.0
Page 1
Page 2
Page 1
Image 1
Page 1
Page 2
Contents
Super
Manual Revision Release Date November 16
About This Manual
Preface
Manual Organization
Advanced Serverboard Setup
System Safety
Advanced Chassis Setup
Bios
Preface
Table of Contents
System Interface
Appendix a Bios Error Beep Codes
Overview
Chapter Introduction
Processors Memory
Serverboard Features
Serial ATA
PCI Expansion Slots
Onboard Controllers/Ports
Other Features
Graphics Controller
InfiniBand
Intel 5520 Chipset System Block Diagram
Server Chassis Features
GPU Subsystem
2U Twin System Notes
Nodes
Sata Backplane/Drives
Headquarters
Contacting Supermicro
Europe
Asia-Pacific
Page
Preparing for Setup
Chapter Server Installation
Unpacking the System
Choosing a Setup Location
Rack Mounting Considerations
Ambient Operating Temperature
Removing the Protective Film
Removing the Protective Film
Rack Mounting Instructions
Rail Assembly
Separating the Sections of the Rack Rails
Separating the Inner and Outer Rails
Installing the Inner Rails
Installing the Inner Rail Extensions
Outer Rack Rails
Installing the Outer Rails to the Rack
Installing the Chassis into a Rack
Installing Into the Rack
Accessing the Inside of a Node Figure
Checking the Serverboard Setup
Checking the Components and Setup
Providing Power
Preparing to Power On
Checking the Sata drives
Checking the Airflow
Removing a Node from the System
Page
Chapter System Interface
Power
Control Panel Buttons
Sata Drive Carrier LEDs
Control Panel LEDs
Overheat/Fan Fail
Electrical Safety Precautions
Chapter System Safety
General Safety Precautions
ESD Precautions
Installing the Onboard Battery
Operating Precautions
Handling the Serverboard
Chapter Advanced Serverboard Setup
I/O Ports
I/O Ports
Installing LGA1366 Processors
Processor and Heatsink Installation
CPU
Installing a CPU Heatsink
Removing the Heatsink
Installing Memory Modules
Installing Memory
Memory Support
Front View
Dimm Installation Notch
Adding PCI Cards
PCI Card Installation
PCI Express Slot
LE2
Serverboard Details
Serverboard Quick Reference
Connector Description
Jumper Description
Front Panel Accessible Add-on Card Header JF2
Connector Definitions
NMI Header
Internal Buzzer
Fan Header
Video Connector
Universal Serial Bus USB
InfiniBand Connection X8DTT-HIBXF+/ HIBQF+
Ethernet Ports
Unit Identifier Switches
System Reset
Serial Ports
Cmos Clear
Jumper Settings
To Clear Cmos
Watch Dog Enable/Disable
LAN1/LAN2 Enable/Disable
VGA Enable/Disable
InfiniBand LED Indicators LEB1/LEB2
Onboard Indicators
Onboard Power LED
LAN1/LAN2 LEDs
BMC Activity LED LE2
Serial ATA Ports
Rear UID LED LE4
Serial ATA Connections
Installing Additional Drivers
12 Configuring Supero Doctor
Page
Chapter Advanced Chassis Setup
System Fans
Control Panel
System Fan Failure
Fan Configuration
Changing a System Fan
Installing and Removing Hard Drives
Hard Drive Installation/Removal
Installing a Hard Drive into the Drive Carrier
Overview
Removing a Dummy Drive Tray
Installing/Removing Hot-swap Drives
Node a Node B
Removing a Node
Node Installation/Removal
Removing a System Node
Power Supply
Installing the Air Shrouds
Installing an Air Shroud
Removing/Replacing the Power Supply Figure
Removing the Power Supply Release Tab
How To Change the Configuration Data
Starting Bios Setup Utility
Chapter
Introduction
Starting the Setup Utility
Main Setup
System Overview
System Time/System Date
AMI Bios Core Version
Bios Build Date
Processor
CPU Type
Xboot Features
Advanced Setup Configurations
XProcessor and Clock Options
XPower Configuration
C1E Support
Hardware Prefetcher Available when supported by the CPU
Active Processor Cores
Intel Eist Technology
Xcpu Bridge Configuration
XAdvanced Chipset Control
Memory ECC Error Threshold
Memory Mode
QPI L0s and L1
Memory Frequency
Guardband Temperature
Hysteresis Temperature
Inlet Temperature
Temperature Rise
XSouthBridge Configuration
XNorth Bridge Configuration
XIDE/SATA Configuration
PIO Mode
LBA/Large Mode
SATA#2 Configuration
Type
DMA Mode
XPCI/PnP Configuration
XSuper IO Device Configuration
XRemote Access Configuration
CPU Overheat Alarm
Sredir Memory Display Delay
XHardware Health Monitor
Terminal Type
CPU Temperature
CPU Temperature/System Temperature
Xacpi Configuration
Acpi Version Features Acpi Apic Support
Fan Speed Control Monitor
Fan1 ~ Fan 4 Reading
Xipmi Configuration X8DTT-HF/-HIBXF/-HIBQF Only
XGeneral Whea Configuration
XSet LAN Configuration
XView BMC System Event Log
XIP Address Configuration
Parameter Selector
XSubnet Mask Configuration
Xmac Address Configuration
Subnet Mask
XGateway Address Configuration
Current Subnet Mask in BMC
Gateway Address
Xdmi Event Log
Security Settings
XBoot Device Priority
Boot Configuration
Password Check
Boot Sector Virus Protection
XRemovable Drives
XHard Disk Drives
XCD/DVD Drives
Exit Options
Bios Recovery
Boot Sector Recovery from a USB Device
How to Recover the Amibios Image the Main Bios Block
How to use Serial Flash for Boot Sector Recovery
Boot Sector Recovery from a Serial Port Serial Flash
Page
Page
Bios Error Beep Codes
Appendix a Bios Error Beep Codes
Bios Error Beep Codes
Page
Installing Windows for a RAID System
Appendix B Installing Windows
Installing Windows for a Non-RAID System
Appendix C System Specifications
Bios
Chassis
Regulatory Compliance
Top
Page
Image
Contents