SUPERSERVER
Installing Itanium2 CPUs
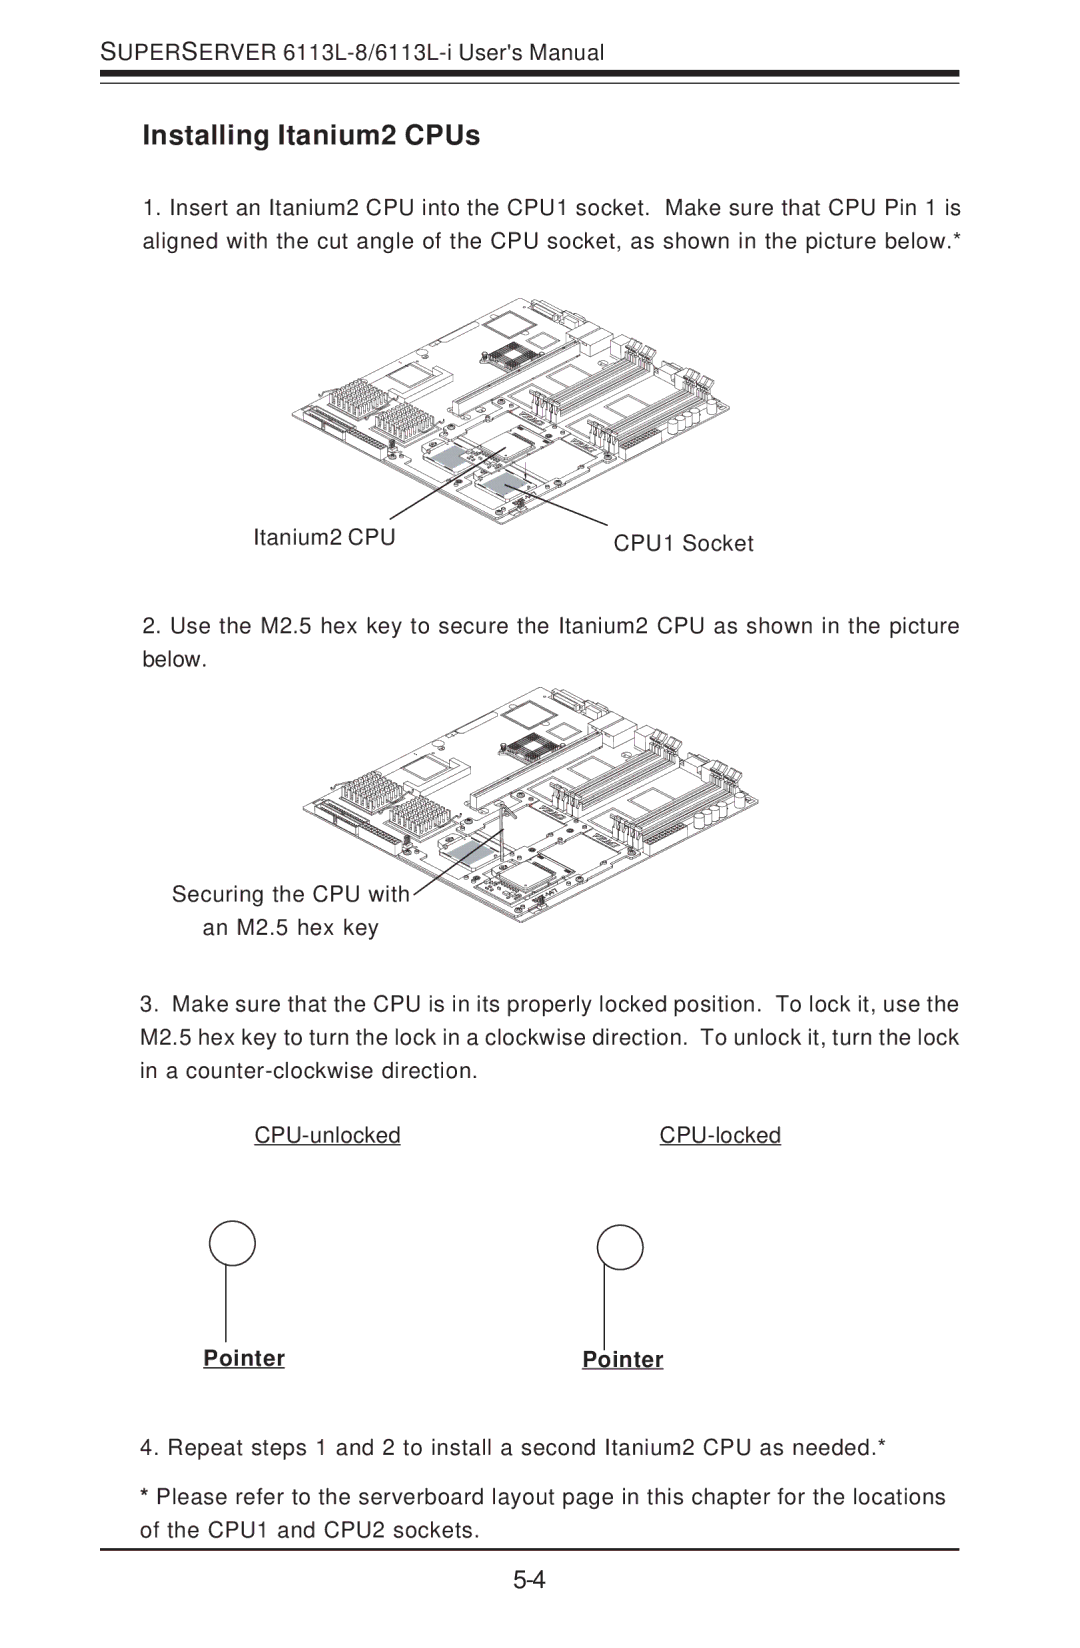
1.Insert an Itanium2 CPU into the CPU1 socket. Make sure that CPU Pin 1 is aligned with the cut angle of the CPU socket, as shown in the picture below.*
Itanium2 CPU | CPU1 Socket |
2.Use the M2.5 hex key to secure the Itanium2 CPU as shown in the picture below.
Securing the CPU with ![]() an M2.5 hex key
an M2.5 hex key
3.Make sure that the CPU is in its properly locked position. To lock it, use the M2.5 hex key to turn the lock in a clockwise direction. To unlock it, turn the lock in a
|
|
|
|
Pointer | Pointer | ||
4. Repeat steps 1 and 2 to install a second Itanium2 CPU as needed.*
*Please refer to the serverboard layout page in this chapter for the locations of the CPU1 and CPU2 sockets.
