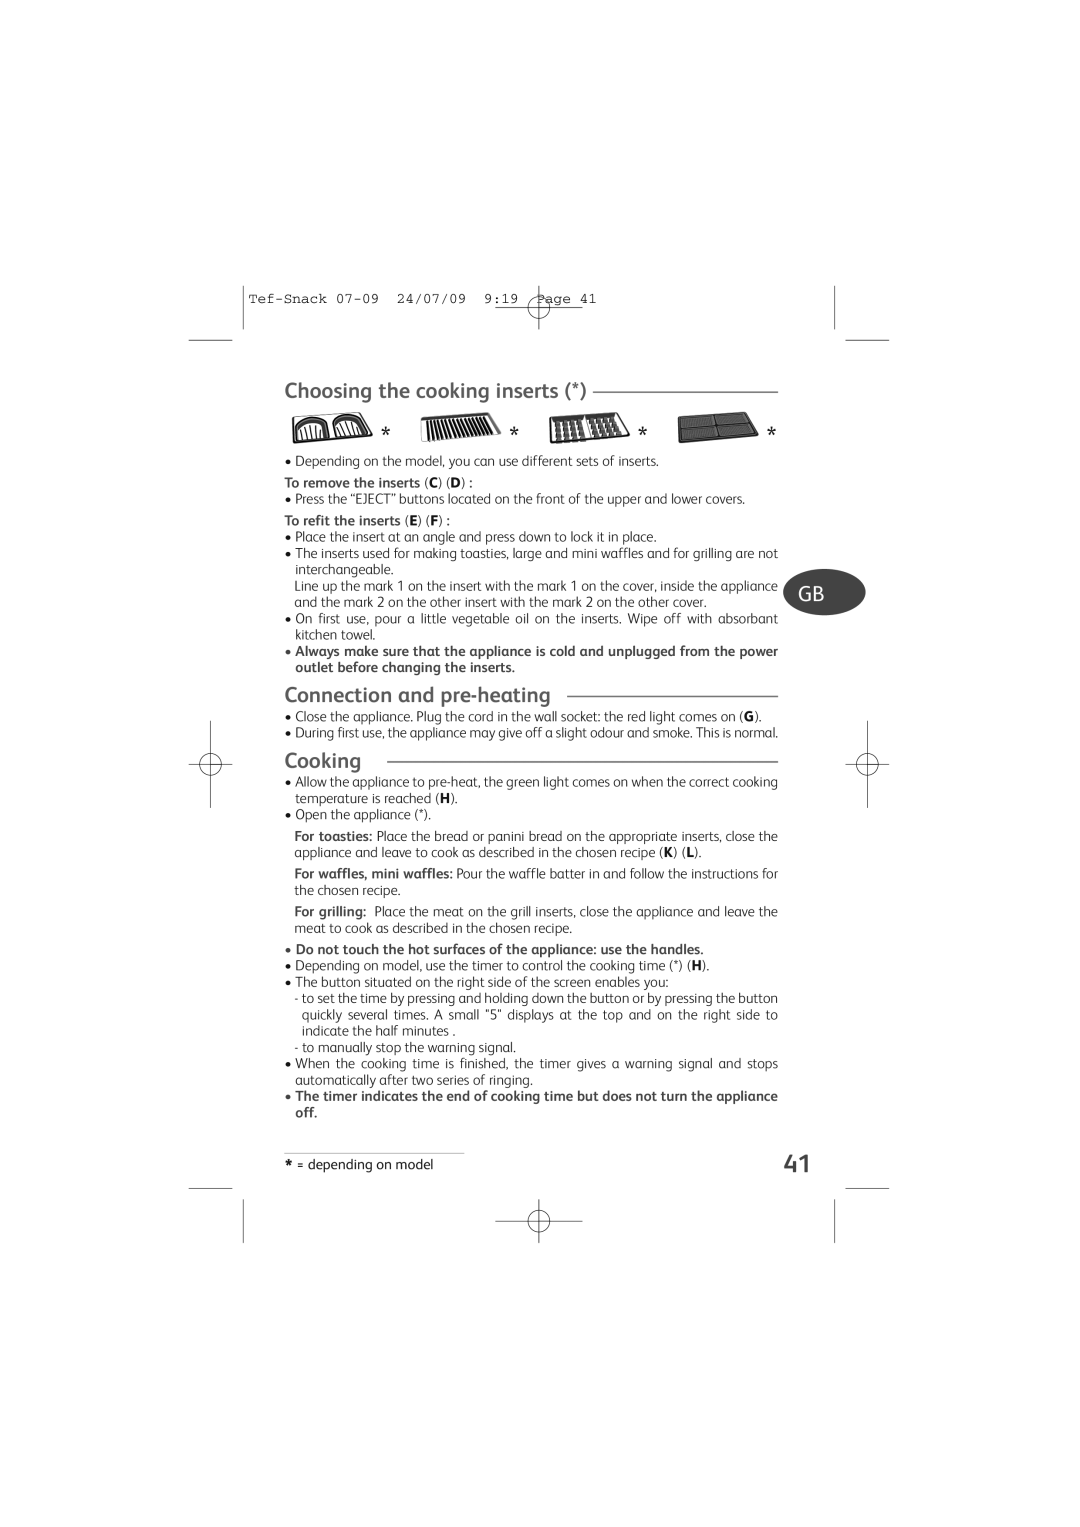
Choosing the cooking inserts (*)
![]() *
* ![]() *
* ![]() *
* ![]() *
*
• Depending on the model, you can use different sets of inserts.
To remove the inserts (C) (D) :
• Press the “EJECT” buttons located on the front of the upper and lower covers.
To refit the inserts (E) (F) :
•Place the insert at an angle and press down to lock it in place.
•The inserts used for making toasties, large and mini waffles and for grilling are not interchangeable.
Line up the mark 1 on the insert with the mark 1 on the cover, inside the appliance and the mark 2 on the other insert with the mark 2 on the other cover.
•On first use, pour a little vegetable oil on the inserts. Wipe off with absorbant kitchen towel.
•Always make sure that the appliance is cold and unplugged from the power outlet before changing the inserts.
F
NL
D
I
GB
E
Connection and |
| P |
|
•Close the appliance. Plug the cord in the wall socket: the red light comes on (G).
•During first use, the appliance may give off a slight odour and smoke. This is normal.
Cooking
•Allow the appliance to
•Open the appliance (*).
For toasties: Place the bread or panini bread on the appropriate inserts, close the appliance and leave to cook as described in the chosen recipe (K) (L).
For waffles, mini waffles: Pour the waffle batter in and follow the instructions for the chosen recipe.
For grilling: Place the meat on the grill inserts, close the appliance and leave the meat to cook as described in the chosen recipe.
•Do not touch the hot surfaces of the appliance: use the handles.
•Depending on model, use the timer to control the cooking time (*) (H).
•The button situated on the right side of the screen enables you:
-to set the time by pressing and holding down the button or by pressing the button quickly several times. A small "5" displays at the top and on the right side to indicate the half minutes .
-to manually stop the warning signal.
•When the cooking time is finished, the timer gives a warning signal and stops automatically after two series of ringing.
•The timer indicates the end of cooking time but does not turn the appliance off.
* = depending on model | 41 | |||
|
|
|
|
|
|
|
|
|
|