43
2)Open the Intensive Recording Options. Enable the
3)Save the Intensive Recording settings by selecting the APPLY button.
4)Open the Schedule Menu and press the SENSOR button to open the Sensor Schedule window.
5)Enable the sensor you associated with the Intensive Recording by creating a schedule for it.
6)Press the APPLY button and exit out of setup
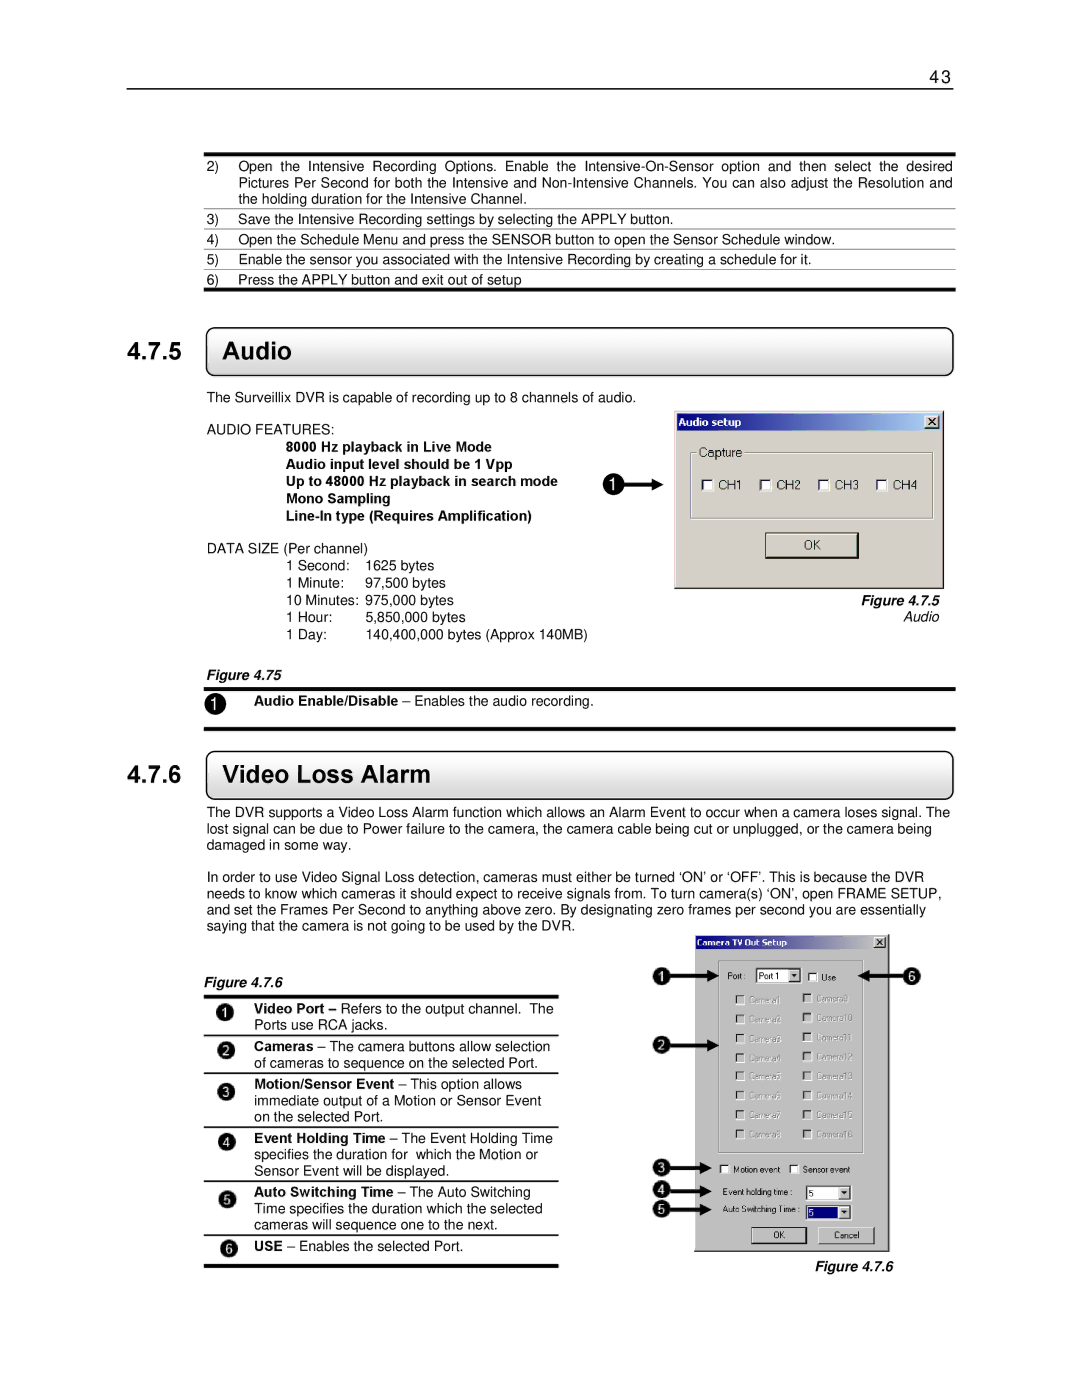
4.7.5Audio
The Surveillix DVR is capable of recording up to 8 channels of audio.
AUDIO FEATURES:
8000 Hz playback in Live Mode Audio input level should be 1 Vpp
Up to 48000 Hz playback in search mode 1![]() Mono Sampling
Mono Sampling
DATA SIZE (Per channel) |
| ||
1 | Second: | 1625 bytes |
|
1 | Minute: | 97,500 bytes |
|
10 Minutes: | 975,000 bytes | Figure 4.7.5 | |
1 | Hour: | 5,850,000 bytes | Audio |
1 | Day: | 140,400,000 bytes (Approx 140MB) |
|
Figure 4.75
1Audio Enable/Disable – Enables the audio recording.
4.7.6Video Loss Alarm
The DVR supports a Video Loss Alarm function which allows an Alarm Event to occur when a camera loses signal. The lost signal can be due to Power failure to the camera, the camera cable being cut or unplugged, or the camera being damaged in some way.
In order to use Video Signal Loss detection, cameras must either be turned ‘ON’ or ‘OFF’. This is because the DVR needs to know which cameras it should expect to receive signals from. To turn camera(s) ‘ON’, open FRAME SETUP, and set the Frames Per Second to anything above zero. By designating zero frames per second you are essentially saying that the camera is not going to be used by the DVR.
Figure 4.7.6
Video Port – Refers to the output channel. The
Ports use RCA jacks.
Cameras – The camera buttons allow selection of cameras to sequence on the selected Port.
Motion/Sensor Event – This option allows immediate output of a Motion or Sensor Event on the selected Port.
Event Holding Time – The Event Holding Time specifies the duration for which the Motion or Sensor Event will be displayed.
Auto Switching Time – The Auto Switching Time specifies the duration which the selected cameras will sequence one to the next.
USE – Enables the selected Port.
Figure 4.7.6