108
4)When the SETUP COMPLETE window appears click FINISH.
11.3Configuring the DVR
To enable the Emergency Agent on the DVR follow these steps:
1)Enter SETUP and confirm you are in the CAMERA SETUP menu.
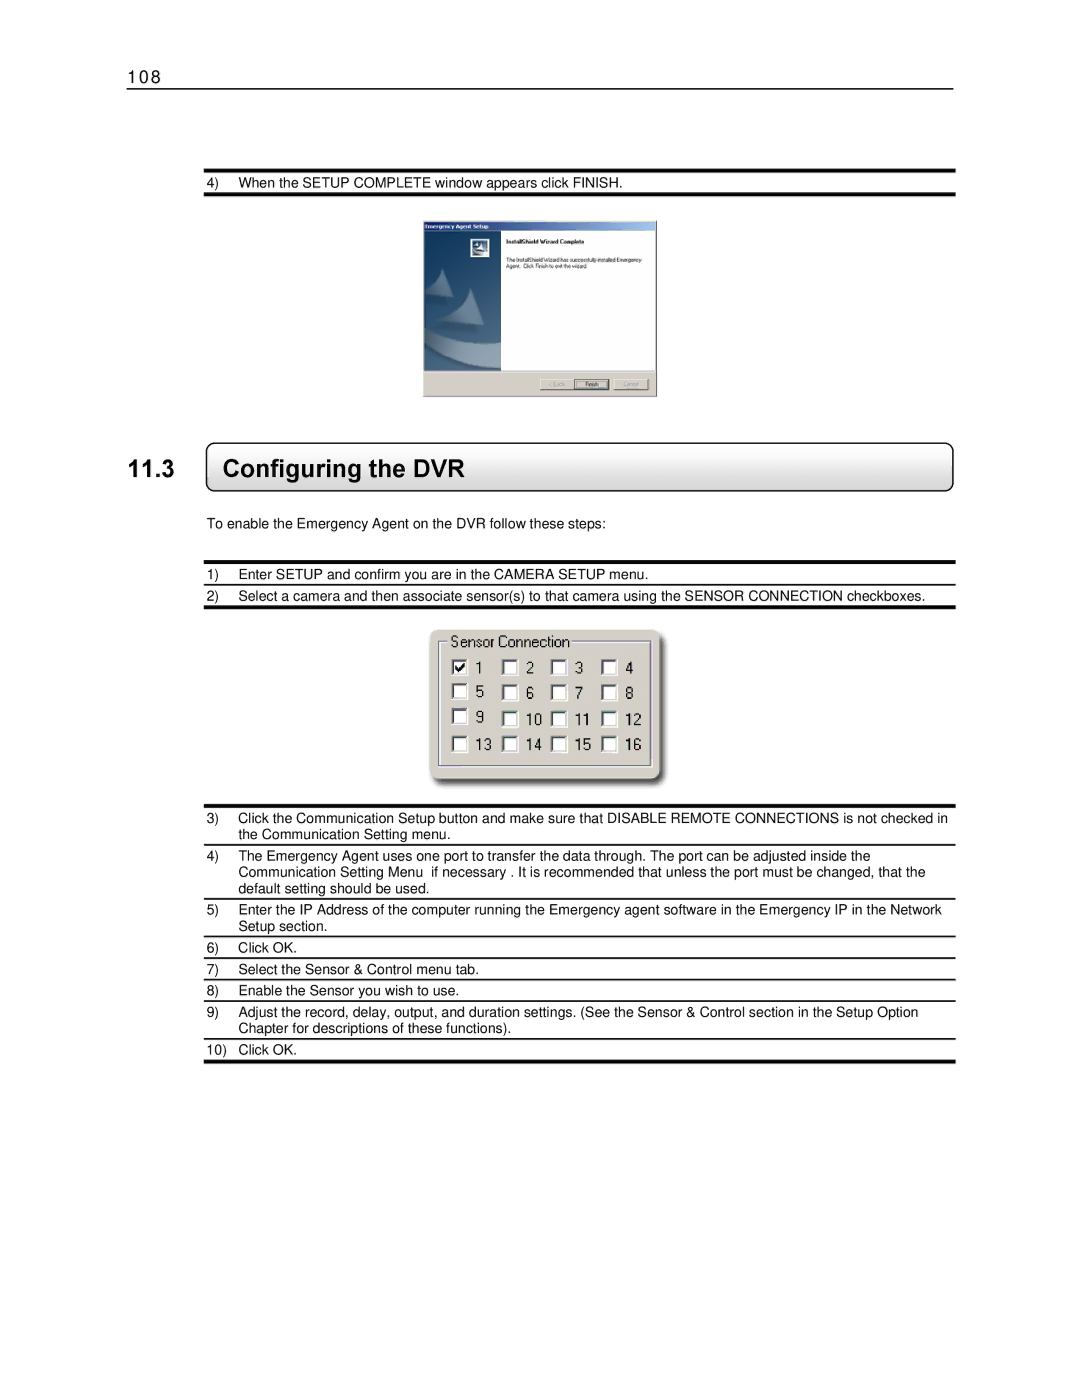
2)Select a camera and then associate sensor(s) to that camera using the SENSOR CONNECTION checkboxes.
3)Click the Communication Setup button and make sure that DISABLE REMOTE CONNECTIONS is not checked in the Communication Setting menu.
4)The Emergency Agent uses one port to transfer the data through. The port can be adjusted inside the Communication Setting Menu if necessary . It is recommended that unless the port must be changed, that the default setting should be used.
5)Enter the IP Address of the computer running the Emergency agent software in the Emergency IP in the Network Setup section.
6)Click OK.
7)Select the Sensor & Control menu tab.
8)Enable the Sensor you wish to use.
9)Adjust the record, delay, output, and duration settings. (See the Sensor & Control section in the Setup Option Chapter for descriptions of these functions).
10)Click OK.