7. Administration (continued)
7.2.3 Remote OSD Administration Tab (continued)
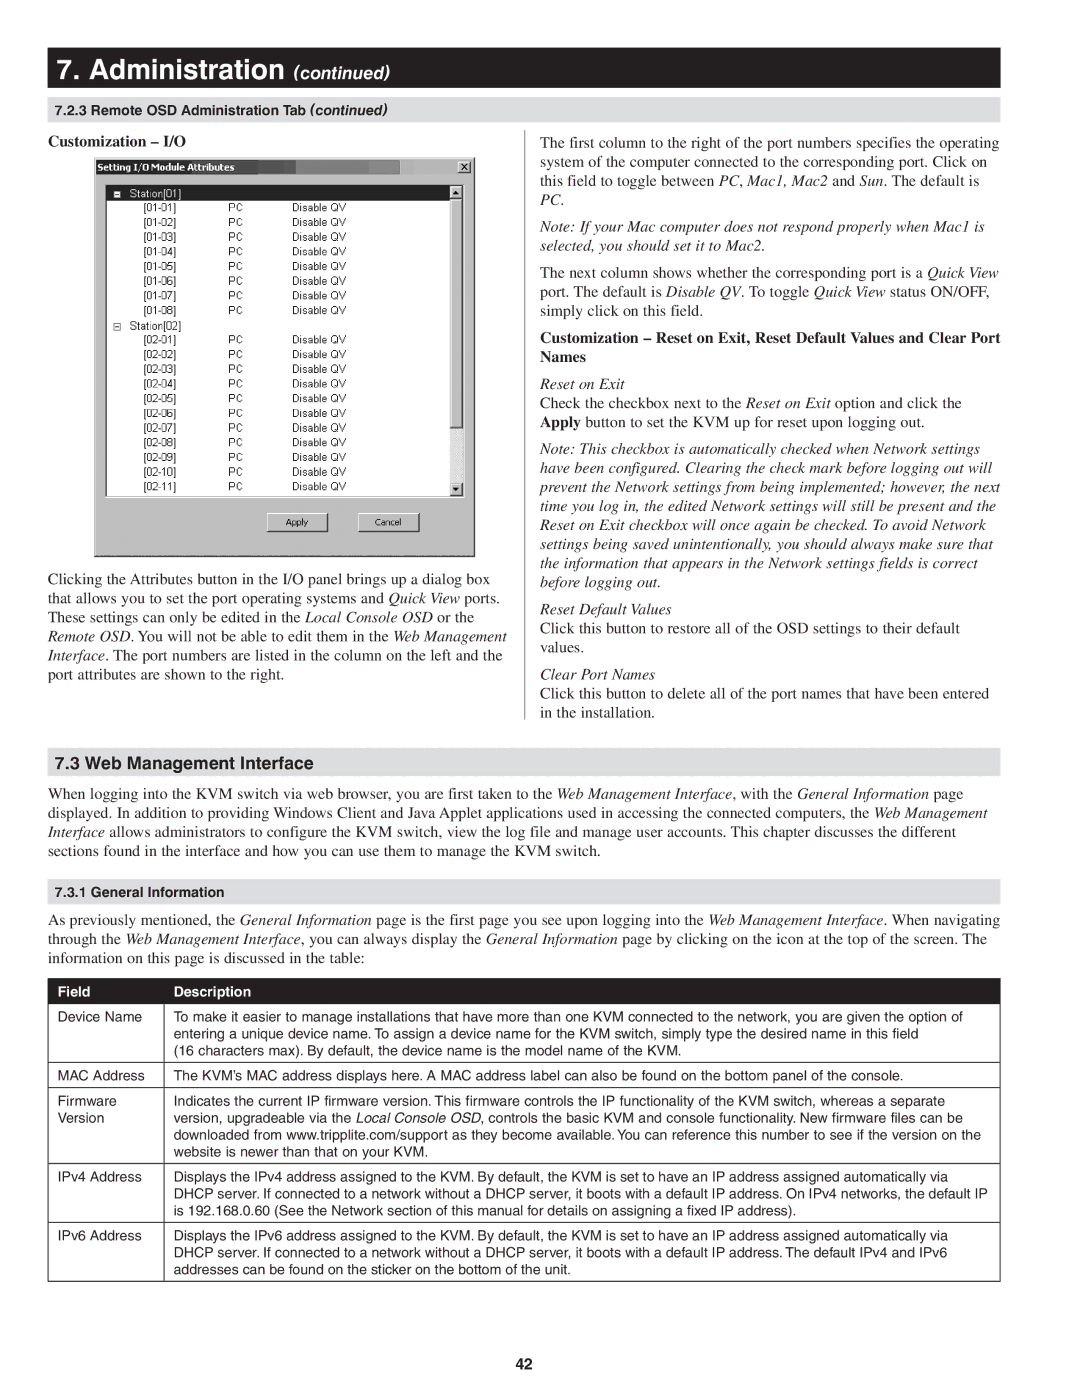
Customization – I/O
Clicking the Attributes button in the I/O panel brings up a dialog box that allows you to set the port operating systems and Quick View ports. These settings can only be edited in the Local Console OSD or the Remote OSD. You will not be able to edit them in the Web Management Interface. The port numbers are listed in the column on the left and the port attributes are shown to the right.
The first column to the right of the port numbers specifies the operating system of the computer connected to the corresponding port. Click on this field to toggle between PC, Mac1, Mac2 and Sun. The default is PC.
Note: If your Mac computer does not respond properly when Mac1 is selected, you should set it to Mac2.
The next column shows whether the corresponding port is a Quick View port. The default is Disable QV. To toggle Quick View status ON/OFF, simply click on this field.
Customization – Reset on Exit, Reset Default Values and Clear Port Names
Reset on Exit
Check the checkbox next to the Reset on Exit option and click the Apply button to set the KVM up for reset upon logging out.
Note: This checkbox is automatically checked when Network settings have been configured. Clearing the check mark before logging out will prevent the Network settings from being implemented; however, the next time you log in, the edited Network settings will still be present and the Reset on Exit checkbox will once again be checked. To avoid Network settings being saved unintentionally, you should always make sure that the information that appears in the Network settings fields is correct before logging out.
Reset Default Values
Click this button to restore all of the OSD settings to their default values.
Clear Port Names
Click this button to delete all of the port names that have been entered in the installation.
7.3 Web Management Interface
When logging into the KVM switch via web browser, you are first taken to the Web Management Interface, with the General Information page displayed. In addition to providing Windows Client and Java Applet applications used in accessing the connected computers, the Web Management Interface allows administrators to configure the KVM switch, view the log file and manage user accounts. This chapter discusses the different sections found in the interface and how you can use them to manage the KVM switch.
7.3.1 General Information
As previously mentioned, the General Information page is the first page you see upon logging into the Web Management Interface. When navigating through the Web Management Interface, you can always display the General Information page by clicking on the icon at the top of the screen. The information on this page is discussed in the table:
Field | Description |
|
|
Device Name | To make it easier to manage installations that have more than one KVM connected to the network, you are given the option of |
| entering a unique device name. To assign a device name for the KVM switch, simply type the desired name in this field |
| (16 characters max). By default, the device name is the model name of the KVM. |
|
|
MAC Address | The KVM’s MAC address displays here. A MAC address label can also be found on the bottom panel of the console. |
|
|
Firmware | Indicates the current IP firmware version. This firmware controls the IP functionality of the KVM switch, whereas a separate |
Version | version, upgradeable via the Local Console OSD, controls the basic KVM and console functionality. New firmware files can be |
| downloaded from www.tripplite.com/support as they become available. You can reference this number to see if the version on the |
| website is newer than that on your KVM. |
|
|
IPv4 Address | Displays the IPv4 address assigned to the KVM. By default, the KVM is set to have an IP address assigned automatically via |
| DHCP server. If connected to a network without a DHCP server, it boots with a default IP address. On IPv4 networks, the default IP |
| is 192.168.0.60 (See the Network section of this manual for details on assigning a fixed IP address). |
|
|
IPv6 Address | Displays the IPv6 address assigned to the KVM. By default, the KVM is set to have an IP address assigned automatically via |
| DHCP server. If connected to a network without a DHCP server, it boots with a default IP address. The default IPv4 and IPv6 |
| addresses can be found on the sticker on the bottom of the unit. |
|
|
42