3-20 System Operation
MODEL NAME
VERSION
ABOUT Menu
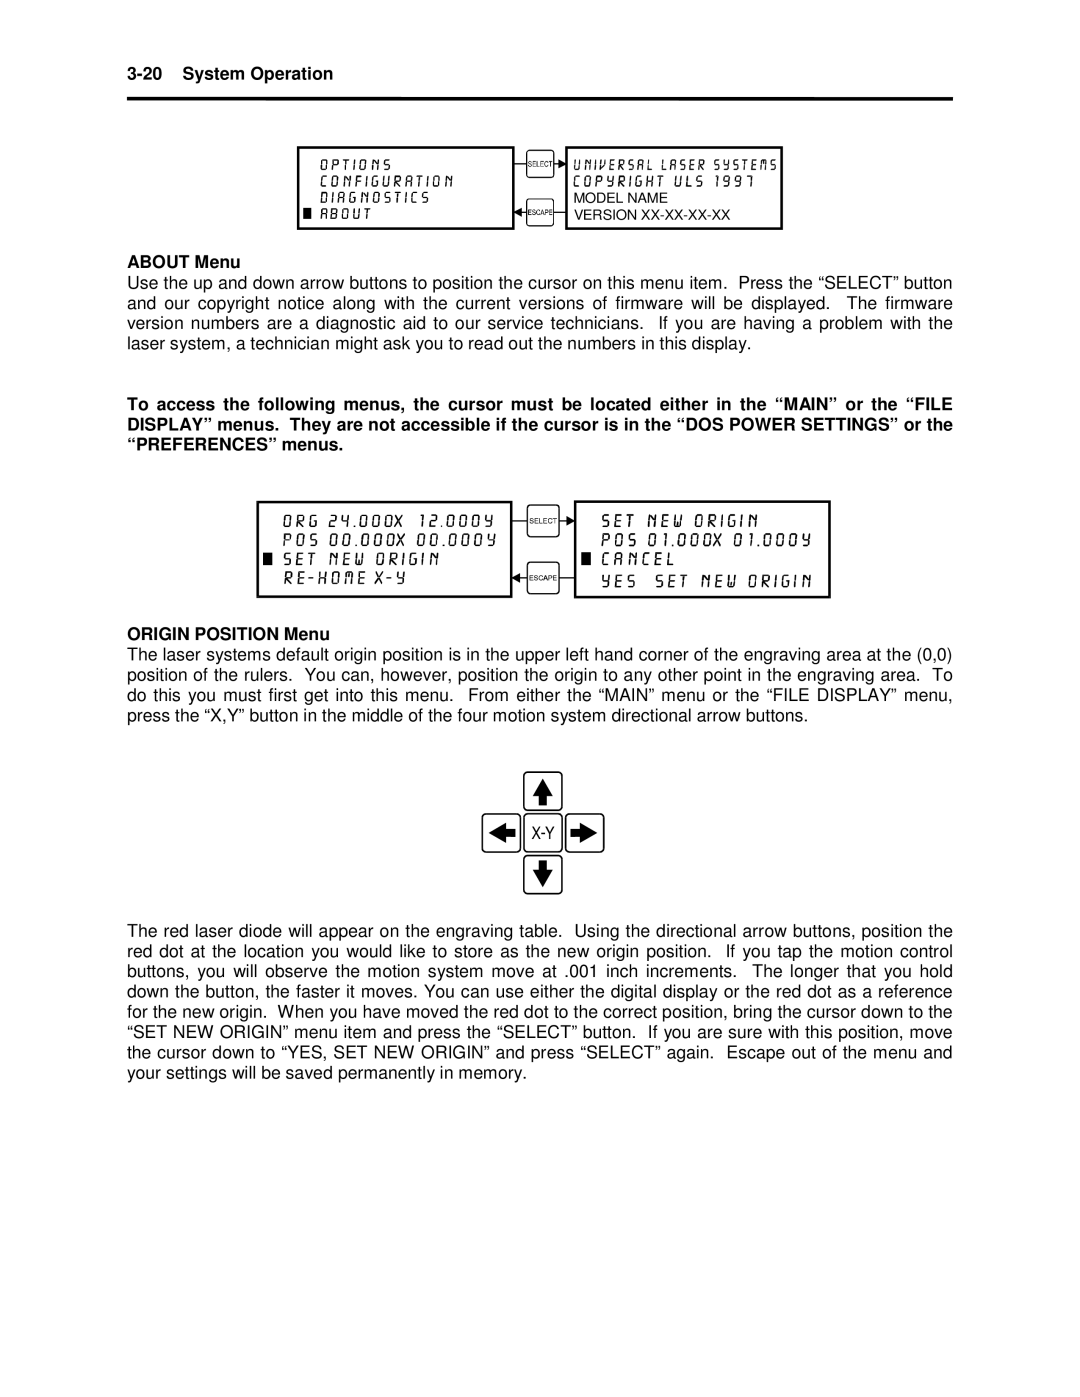
Use the up and down arrow buttons to position the cursor on this menu item. Press the “SELECT” button and our copyright notice along with the current versions of firmware will be displayed. The firmware version numbers are a diagnostic aid to our service technicians. If you are having a problem with the laser system, a technician might ask you to read out the numbers in this display.
To access the following menus, the cursor must be located either in the “MAIN” or the “FILE DISPLAY” menus. They are not accessible if the cursor is in the “DOS POWER SETTINGS” or the “PREFERENCES” menus.
ORIGIN POSITION Menu
The laser systems default origin position is in the upper left hand corner of the engraving area at the (0,0) position of the rulers. You can, however, position the origin to any other point in the engraving area. To do this you must first get into this menu. From either the “MAIN” menu or the “FILE DISPLAY” menu, press the “X,Y” button in the middle of the four motion system directional arrow buttons.
The red laser diode will appear on the engraving table. Using the directional arrow buttons, position the red dot at the location you would like to store as the new origin position. If you tap the motion control buttons, you will observe the motion system move at .001 inch increments. The longer that you hold down the button, the faster it moves. You can use either the digital display or the red dot as a reference for the new origin. When you have moved the red dot to the correct position, bring the cursor down to the “SET NEW ORIGIN” menu item and press the “SELECT” button. If you are sure with this position, move the cursor down to “YES, SET NEW ORIGIN” and press “SELECT” again. Escape out of the menu and your settings will be saved permanently in memory.
