C H
6
NEW PIX MSG
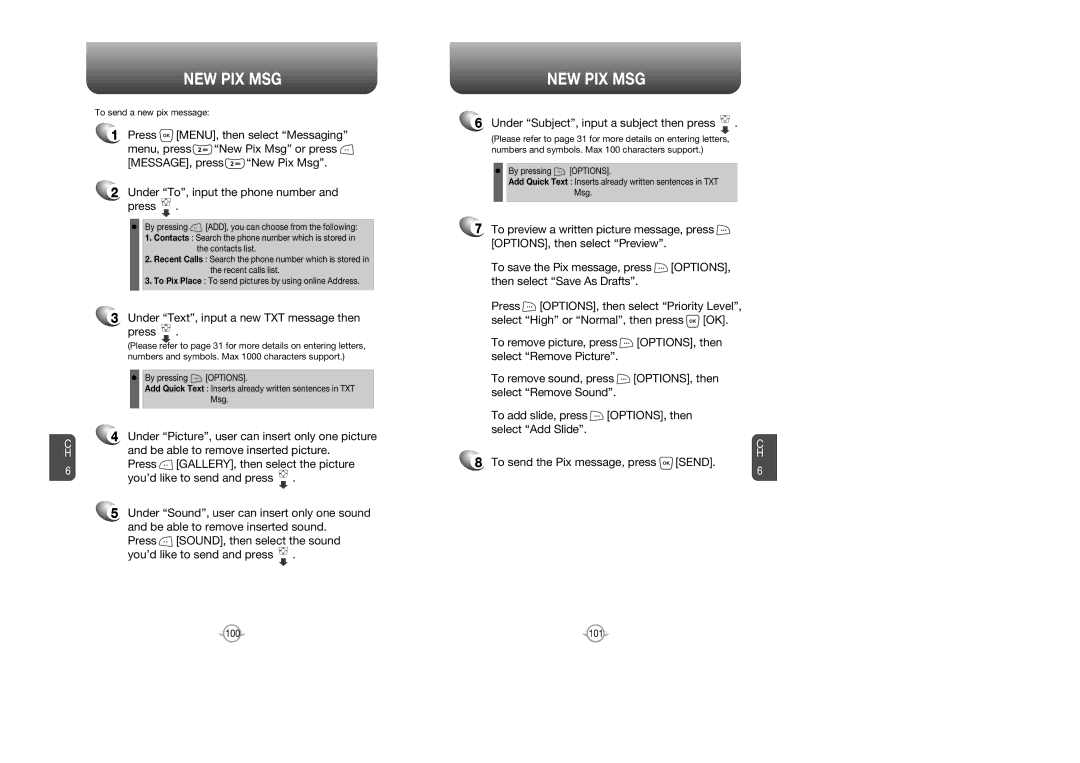
To send a new pix message:
1Press ![]() [MENU], then select “Messaging”
[MENU], then select “Messaging”
menu, press ![]() “New Pix Msg” or press
“New Pix Msg” or press ![]()
[MESSAGE], press ![]() “New Pix Msg”.
“New Pix Msg”.
2Under “To”, input the phone number and press ![]() .
.
By pressing ![]() [ADD], you can choose from the following:
[ADD], you can choose from the following:
1.Contacts : Search the phone number which is stored in the contacts list.
2.Recent Calls : Search the phone number which is stored in the recent calls list.
3.To Pix Place : To send pictures by using online Address.
3Under “Text”, input a new TXT message then
press  .
.
(Please refer to page 31 for more details on entering letters, numbers and symbols. Max 1000 characters support.)
By pressing ![]() [OPTIONS].
[OPTIONS].
Add Quick Text : Inserts already written sentences in TXT
Msg.
4Under “Picture”, user can insert only one picture and be able to remove inserted picture.
Press ![]() [GALLERY], then select the picture you’d like to send and press
[GALLERY], then select the picture you’d like to send and press ![]() .
.
5Under “Sound”, user can insert only one sound and be able to remove inserted sound.
Press ![]() [SOUND], then select the sound you’d like to send and press
[SOUND], then select the sound you’d like to send and press ![]() .
.
NEW PIX MSG
6Under “Subject”, input a subject then press  .
.
(Please refer to page 31 for more details on entering letters, numbers and symbols. Max 100 characters support.)
By pressing ![]() [OPTIONS].
[OPTIONS].
Add Quick Text : Inserts already written sentences in TXT
Msg.
7To preview a written picture message, press ![]() [OPTIONS], then select “Preview”.
[OPTIONS], then select “Preview”.
To save the Pix message, press ![]() [OPTIONS], then select “Save As Drafts”.
[OPTIONS], then select “Save As Drafts”.
Press ![]() [OPTIONS], then select “Priority Level”, select “High” or “Normal”, then press
[OPTIONS], then select “Priority Level”, select “High” or “Normal”, then press ![]() [OK].
[OK].
To remove picture, press ![]() [OPTIONS], then select “Remove Picture”.
[OPTIONS], then select “Remove Picture”.
To remove sound, press ![]() [OPTIONS], then select “Remove Sound”.
[OPTIONS], then select “Remove Sound”.
To add slide, press ![]() [OPTIONS], then select “Add Slide”.
[OPTIONS], then select “Add Slide”.
C
H
8 To send the Pix message, press | [SEND]. |
| 6 |
100 | 101 |
