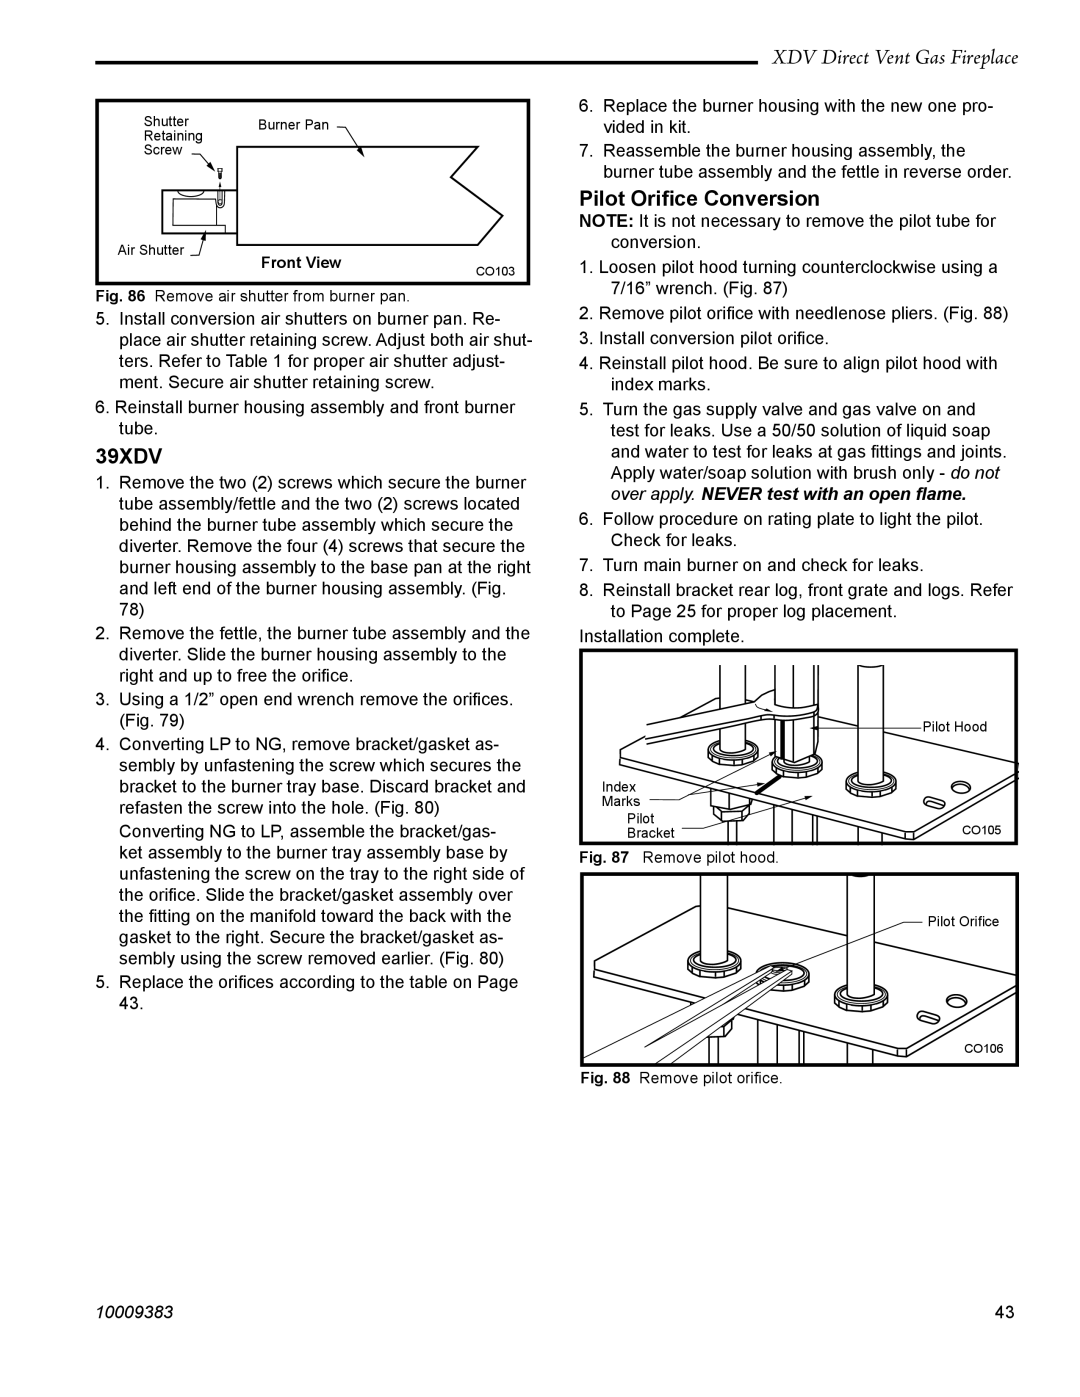
Shutter | Burner Pan |
|
Retaining |
|
|
Screw |
|
|
Air Shutter | Front View |
|
| CO103 | |
|
| |
Fig. 86 Remove air shutter from burner pan. |
| |
5.Install conversion air shutters on burner pan. Re- place air shutter retaining screw. Adjust both air shut- ters. Refer to Table 1 for proper air shutter adjust- ment. Secure air shutter retaining screw.
6.Reinstall burner housing assembly and front burner tube.
39XDV
1.Remove the two (2) screws which secure the burner tube assembly/fettle and the two (2) screws located behind the burner tube assembly which secure the diverter. Remove the four (4) screws that secure the burner housing assembly to the base pan at the right and left end of the burner housing assembly. (Fig. 78)
2.Remove the fettle, the burner tube assembly and the diverter. Slide the burner housing assembly to the right and up to free the orifice.
3.Using a 1/2” open end wrench remove the orifices. (Fig. 79)
4.Converting LP to NG, remove bracket/gasket as- sembly by unfastening the screw which secures the bracket to the burner tray base. Discard bracket and refasten the screw into the hole. (Fig. 80)
Converting NG to LP, assemble the bracket/gas- ket assembly to the burner tray assembly base by unfastening the screw on the tray to the right side of the orifice. Slide the bracket/gasket assembly over the fitting on the manifold toward the back with the gasket to the right. Secure the bracket/gasket as- sembly using the screw removed earlier. (Fig. 80)
5.Replace the orifices according to the table on Page 43.
XDV Direct Vent Gas Fireplace
6.Replace the burner housing with the new one pro- vided in kit.
7.Reassemble the burner housing assembly, the burner tube assembly and the fettle in reverse order.
Pilot Orifice Conversion
NOTE: It is not necessary to remove the pilot tube for conversion.
1.Loosen pilot hood turning counterclockwise using a 7/16” wrench. (Fig. 87)
2.Remove pilot orifice with needlenose pliers. (Fig. 88)
3.Install conversion pilot orifice.
4.Reinstall pilot hood. Be sure to align pilot hood with index marks.
5.Turn the gas supply valve and gas valve on and test for leaks. Use a 50/50 solution of liquid soap and water to test for leaks at gas fittings and joints. Apply water/soap solution with brush only - do not over apply. NEVER test with an open flame.
6.Follow procedure on rating plate to light the pilot. Check for leaks.
7.Turn main burner on and check for leaks.
8.Reinstall bracket rear log, front grate and logs. Refer to Page 25 for proper log placement.
Installation complete.
Pilot Hood
Index
Marks
Pilot | CO105 |
Bracket |
Fig. 87 Remove pilot hood.
Pilot Orifice
CO106
Fig. 88 Remove pilot orifice.
10009383 | 43 |