Installation
Table 3-3. Vision 90t/100t Lens Options and Throw Ratios (continued)
|
| Throw Range in inches, | Throw Ratio | Throw Range in inches, |
| |||
Lens Option | Throw Ratio | with | with Primary | with |
| |||
with Primary | Screen | Lens and | (2.35:1) Screen |
| ||||
(Note 2) |
| |||||||
Lens Only |
|
|
| Anamorphic |
|
|
| |
| Minimum |
| Maximum | Minimum | Maximum |
| ||
|
|
| Lens |
| ||||
|
|
|
|
|
|
|
| |
| Additional Lens Options for the Vision Model 100t Only |
|
| |||||
|
|
|
|
|
|
|
| |
5 | 0.64 (Fixed) | For |
|
|
|
| ||
|
| tions only. Contact |
|
|
|
| ||
|
| Vidikron Technical Sup- | Not Applicable (Note 2) |
| ||||
|
| port for more information. |
| |||||
|
|
|
|
|
| |||
|
|
|
|
|
|
|
|
|
6 | 1.22 - 1.44 | 117.12 |
| 138.24 |
|
|
|
|
|
|
|
|
|
|
|
|
|
Notes: |
|
|
|
|
|
|
|
|
1. Throw distance does not affect image quality, provided these ranges are taken into account. |
| |||||||
2. Only lens options 2, 3 and 4 can be used with the optional CineWide (secondary anamorphic) lens. Doing |
| |||||||
so affects the throw distances as shown here. |
|
|
|
|
| |||
|
|
|
|
|
|
| Vertical and Horizontal | |
Proper placement of the projector relative to the screen will yield a rectangular, |
| |||||||
|
|
| Position | |||||
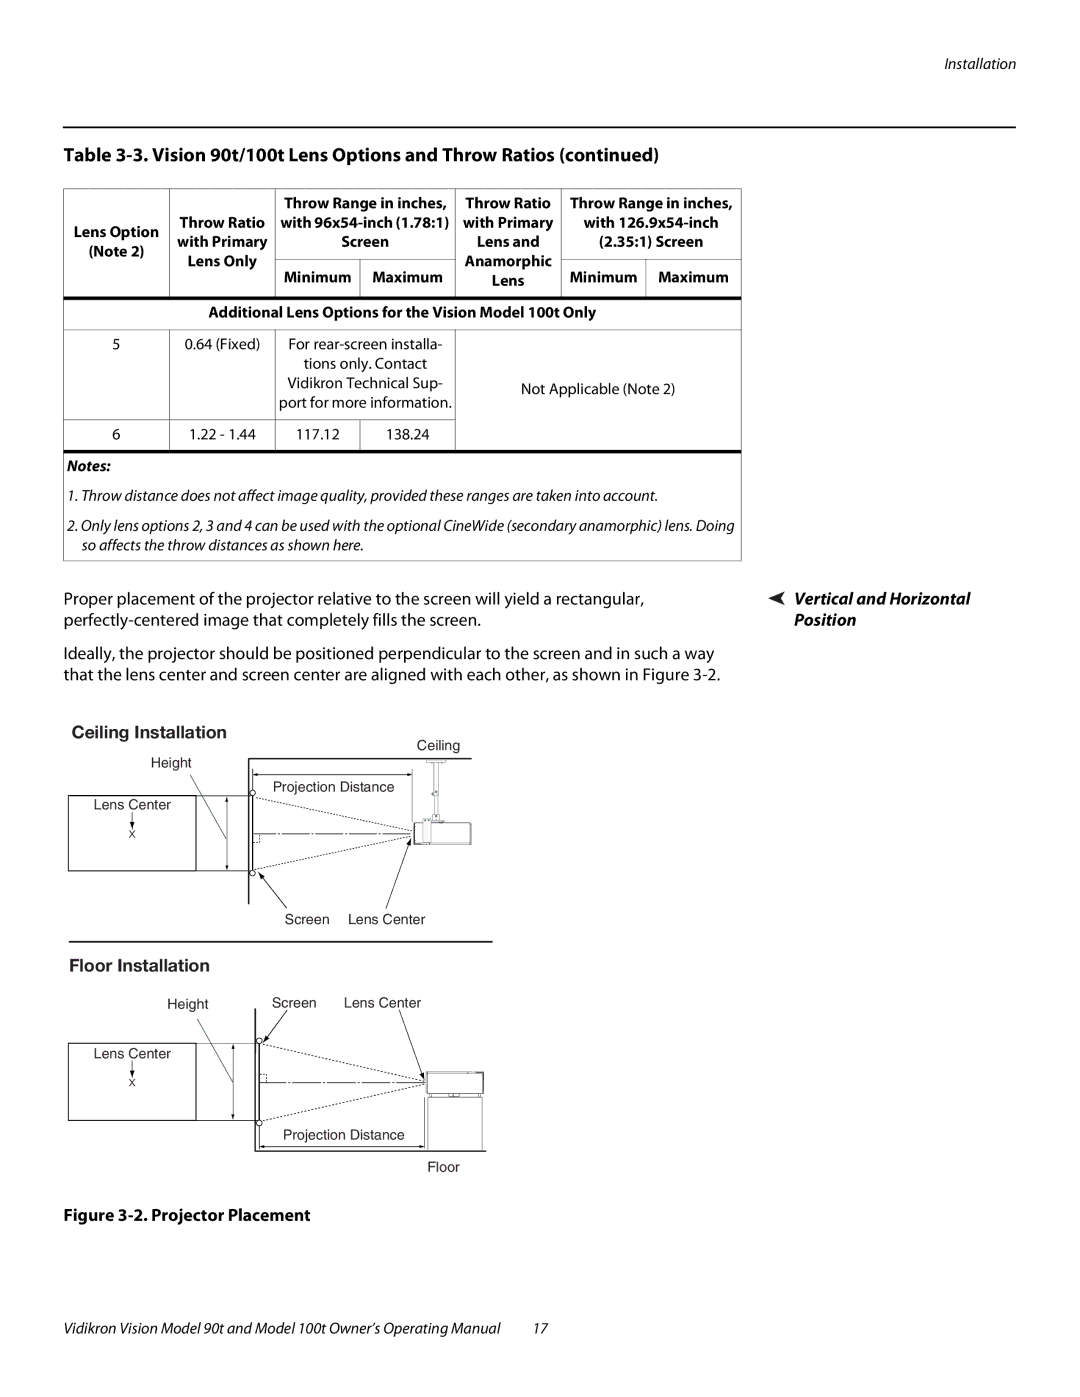
Ideally, the projector should be positioned perpendicular to the screen and in such a way that the lens center and screen center are aligned with each other, as shown in Figure
Ceiling Installation
Ceiling
Height
Projection Distance
Lens Center
x
Screen Lens Center
Floor Installation
Height | Screen | Lens Center |
Lens Center
x
Projection Distance
Floor
Figure 3-2. Projector Placement
Vidikron Vision Model 90t and Model 100t Owner’s Operating Manual | 17 |
