Operating

Using the automatic adjustment feature

1.

Press the AUTO button on the remote control.

AUTO button


Pressing this button performs the following.


For a computer signal

MY SOURCE/ VIDEO COMPUTER DOC.CAMERA

The vertical position, the horizontal position and the horizontal phase will be automatically adjusted.

Make sure that the application window is set to its maximum size prior to attempting to use this feature. A dark picture may still be incorrectly adjusted. Use a bright picture when adjusting.

ASPECT AUTO SEARCH BLANK

MAGNIFY

FREEZE

PAGE


VOLUME

ON


UP


OFF


DOWN


KEYSTONE

MY BUTTON

2

MUTE


1


POSITION


MENU

For a video signal and s-video signal The video format best suited for the respective input signal will be selected automatically. This function is available only when the AUTO is selected for the VIDEO FORMAT item in the INPUT menu. The vertical position and horizontal position will be automatically set to the default.

For a component video signal

The vertical position, horizontal position and horizontal phase will be automatically set to the default.

The automatic adjustment operation requires approx. 10 seconds. Also please note that it may not function correctly with some input.

When this function is performed for a video signal, a certain extra such as a line may appear outside a picture.

When this function is performed for a computer signal, a black frame may be displayed on the edge of the screen, depending on the PC model.

The items adjusted by this function may vary when the FINE or DISABLE is selected for the AUTO ADJUST item of the SERVICE item in the OPTION menu.

Adjusting the position

1. Press the POSITION button on the remote control when no menu is indicated.

The “POSITION” indication will appear on the screen.

2. Use the ▲/▼/◄/► cursor buttons to adjust the picture position. When you want to reset the operation, press the RESET button on the remote control during the operation.

To complete this operation, press the POSITION button again. Even if you do not do anything, the dialog will automatically disappear after a few seconds.

KEYSTONE

MY BUTTON

MUTE


1

2

POSITION


MENU


ENTER


ESC


RESET

POSITION button

When this function is performed on a video signal, s-video signal or component video signal, some image such as an extra-line may appear at outside of the picture.

When this function is performed on a video signal, s-video signal or component video signal, the range of this adjustment depends on the OVER SCAN in the IMAGE menu setting. It is not possible to adjust when the OVER SCAN is set to 10.

If the POSITION button is pressed when a menu is indicated on screen, the displayed picture does not move its position but the menu does.

ViewSonic

19

PJL9371

Page 24
Image 24
ViewSonic pjl9371 manual Using the automatic adjustment feature, Adjusting the position, Position button

pjl9371 specifications

The ViewSonic PJL9371 is a versatile projector designed to meet the demands of both corporate environments and educational institutions. Known for its high brightness and clarity, this model offers a multitude of features aimed at delivering an exceptional viewing experience.

One of the standout characteristics of the PJL9371 is its impressive brightness level, boasting up to 7,000 ANSI lumens. This level of brightness ensures that presentations and videos are clear and visible even in well-lit rooms. Such high lumen output makes it ideal for larger venues such as conference halls or classrooms where ambient light can be a challenge.

In terms of resolution, the PJL9371 supports Full HD (1920x1080), providing sharp images with vibrant colors. This enhances the viewing experience, especially for presentations that include detailed graphics or videos. The projector also utilizes advanced color technology to deliver a wider color gamut, ensuring accurate and vivid color reproduction.

Another significant feature of the PJL9371 is its long lamp life, rated up to 20,000 hours in Eco mode. This not only reduces maintenance costs but also minimizes downtime, allowing users to benefit from extended periods of usage without the need for frequent lamp replacements. This is particularly advantageous for institutions relying on projectors for daily presentations.

The PJL9371 is designed with multiple connectivity options, including HDMI, VGA, and USB, enabling users to connect various devices easily. Compatibility with different operating systems and multimedia sources provides versatility for users ranging from teachers to business professionals. Additionally, the projector supports wireless presentations, a feature that adds convenience for users looking to present without the hassle of cords.

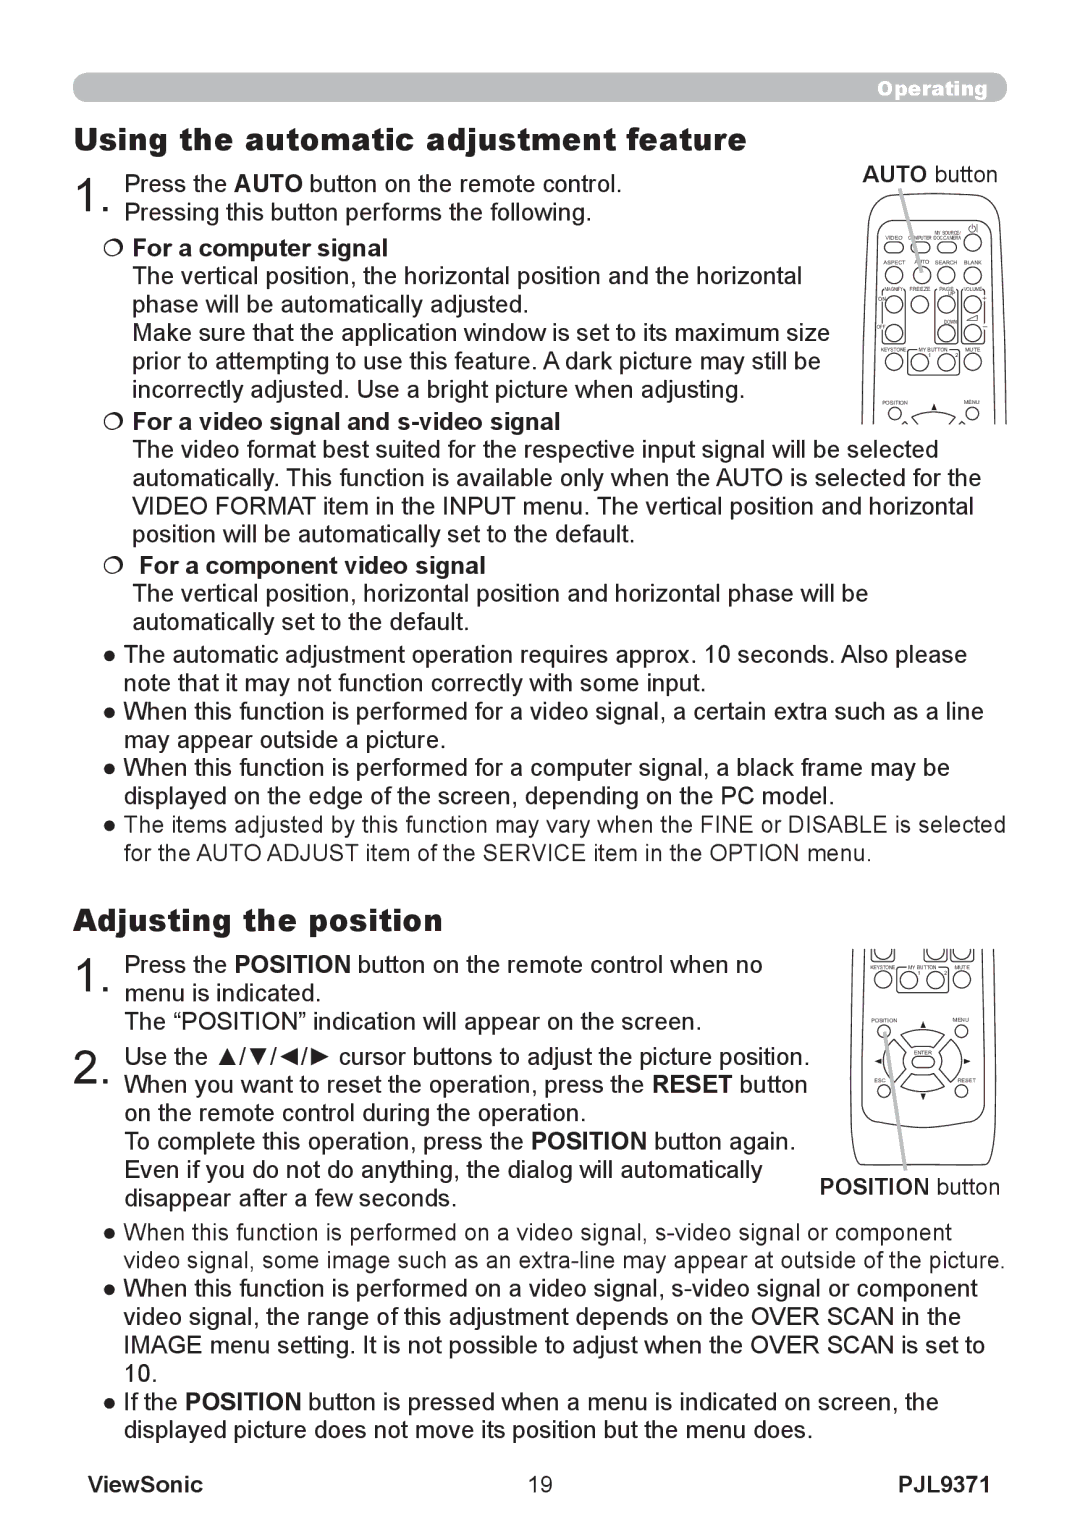
Furthermore, the PJL9371 incorporates advanced digital image processing technology that enhances the overall image quality. Features such as keystone correction and optical zoom allow for easy adjustments to ensure a perfect projection setup. The projector also includes a built-in speaker, providing adequate sound for smaller settings without the need for external audio equipment.

Overall, the ViewSonic PJL9371 stands out in the projector market due to its high brightness, excellent image quality, and flexible connectivity options. Suitable for both educational and professional use, it combines leading technology with user-friendly features, making it a reliable choice for any presentation needs. Whether for business meetings or classroom settings, the PJL9371 delivers performance and versatility without compromise.