WireSpeed ADSL Modem
User Guide
WEBSHARE INSTALLATION UTILITIES
Running WebShare Installation Utilities
Account parameters must be added to WebShare before connecting to your ISP or Corporate LAN. Use the Westell- provided WebShare Installation Utilities to simplify the setup of the following:
•Selection of the Ethernet adapter (in instances where more than one Ethernet adapter exists on the PC)
•Automatic configuring of DHCP (Dynamic Host Configuration Protocol)
•Automatic assignment of the WebShare gateway URL address of 192.168.0.1
•Simplified installation of service provider account information via the Configure Account screen
We recommend using the WebShare Installation Utilities to automatically configure DHCP. If necessary, DHCP may be enabled manually.
Running WebShare Installation Utilities for Windows Operating Systems
To install WebShare Installation Utilities on your computer, insert the WebShare Installation Utilities CD into the
E:\win32\setup.exe (where “E” is the designation of the
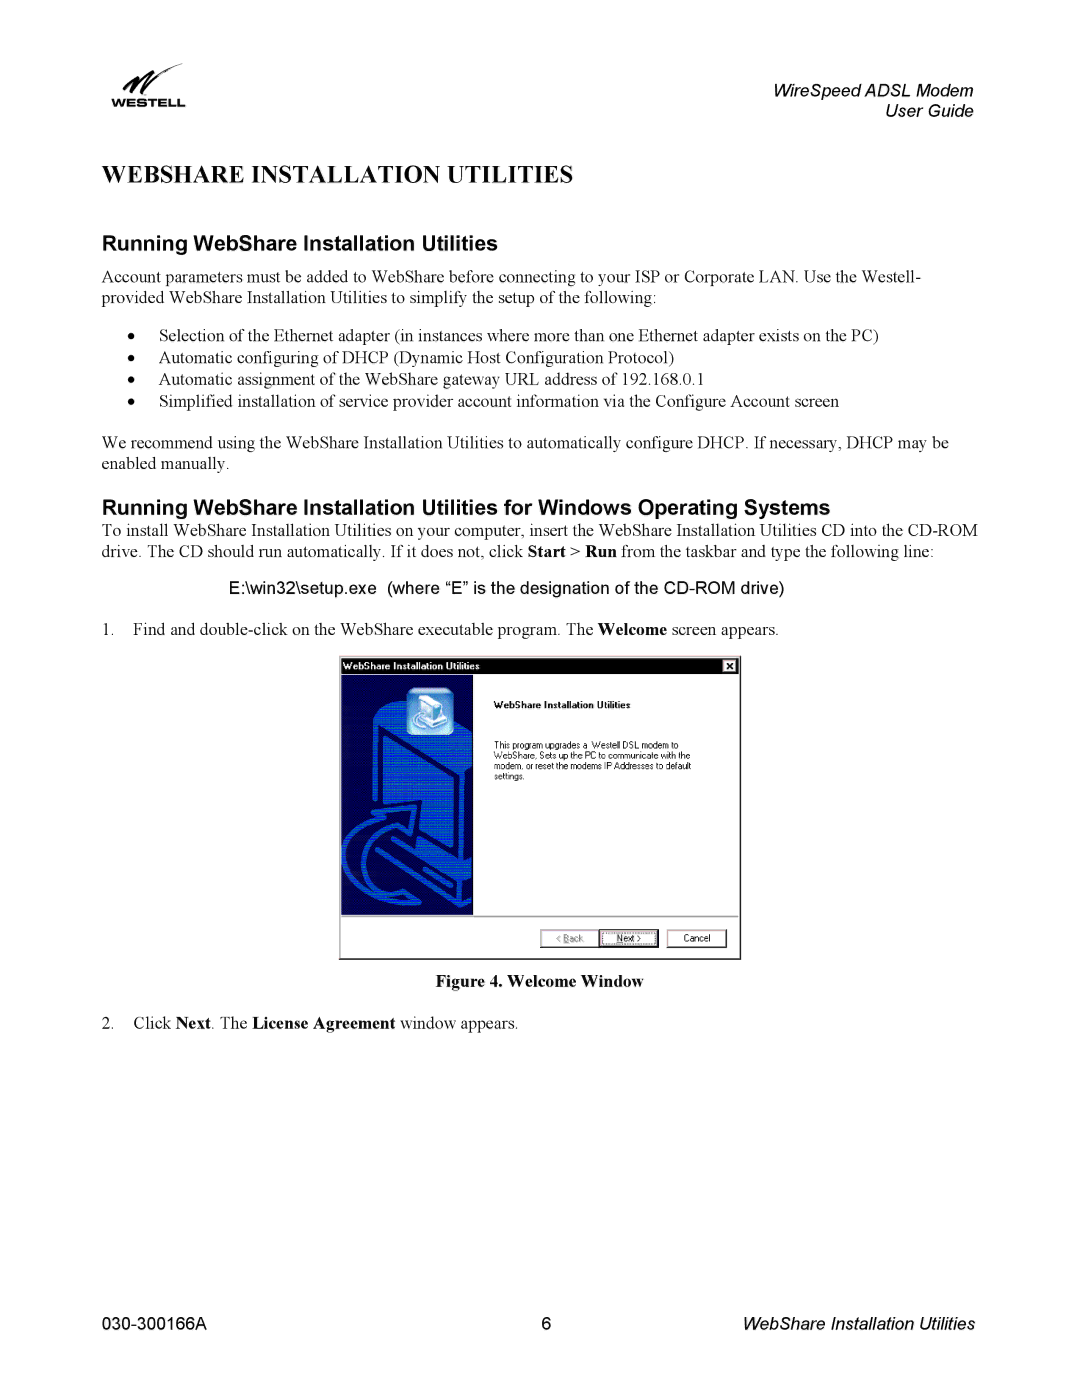
1.Find and
Figure 4. Welcome Window
2.Click Next. The License Agreement window appears.
6 | WebShare Installation Utilities |