IVX | Function 3: Extension programming |
Function 372: RFID tag number programming
As described earlier in this document, each electronic key has an embedded unique RFID tag number. This function is used to associate each RFID tag number to an extension or mailbox for Personal Call Routing and presence indication (except mailboxes). If Personal Call Routing or presence indication is not desired but access control is required, enter 0 instead of an extension or mailbox number.
1. Enter an RFID tag number, or use the scroll keys to select from the list of tag numbers.
Note: If using any RFID features — i.e., if using ESI Presence Management for anything more than its doorphone capabilities — you should save time by first scanning the electronic keys at any ESI Presence Management RFID Reader connected to the system. The system will store the electronic keys’ tag numbers automatically, and you can use the scroll keys to select the tag numbers to be assigned.
To delete a tag number, press HOLD.) Press # to confirm.
TAG ID: 2 9012345678 >
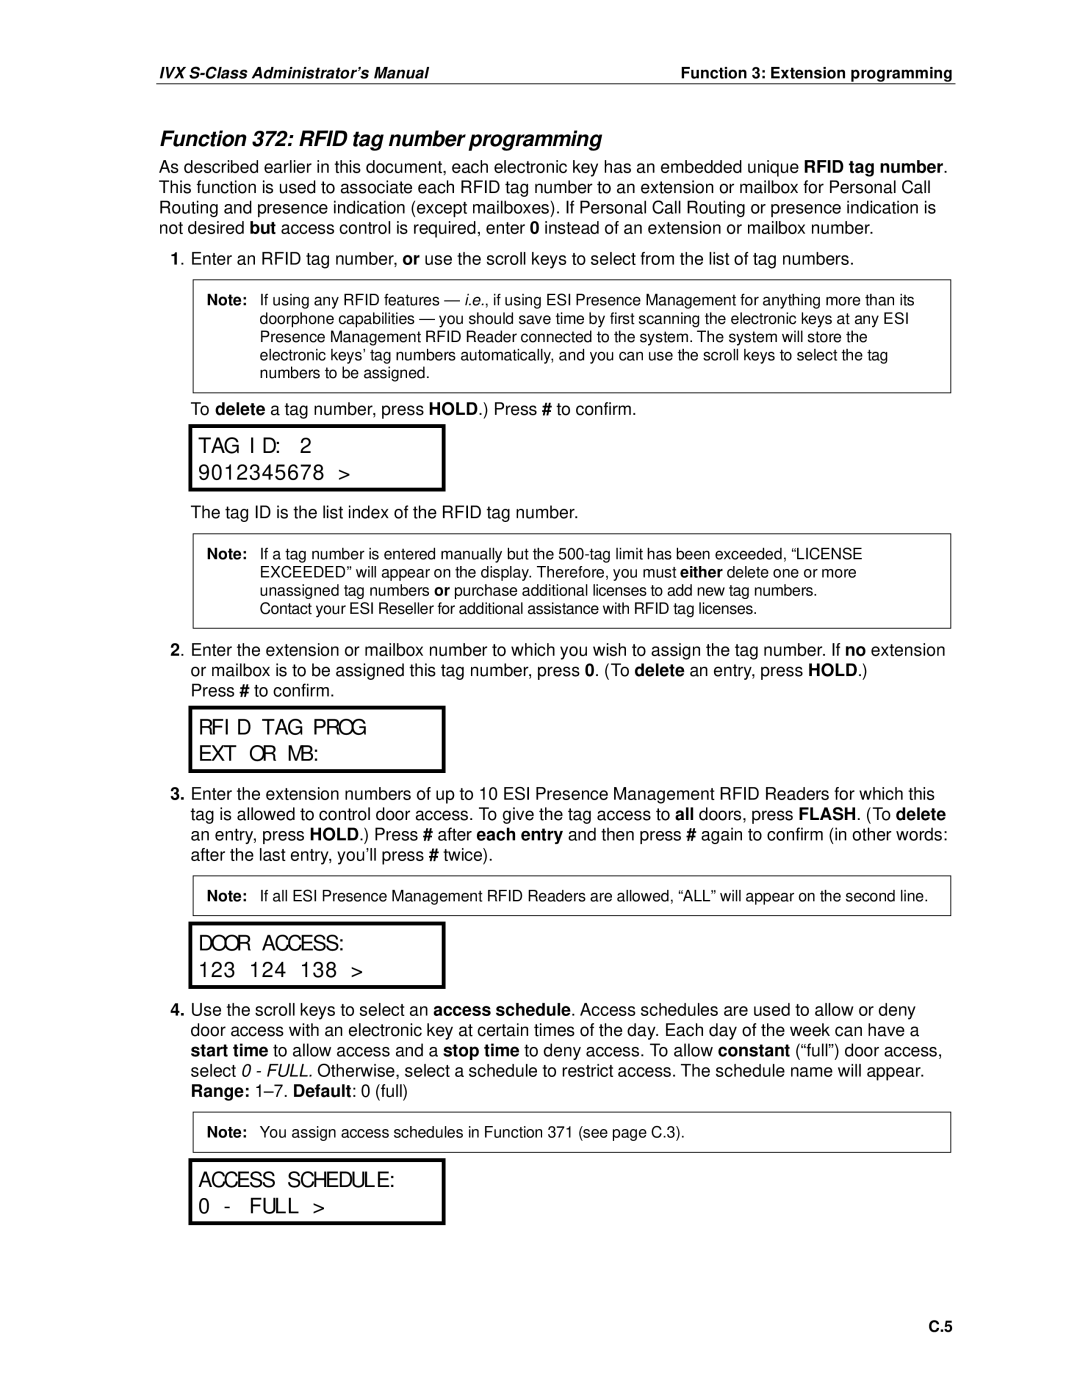
The tag ID is the list index of the RFID tag number.
Note: If a tag number is entered manually but the
Contact your ESI Reseller for additional assistance with RFID tag licenses.
2. Enter the extension or mailbox number to which you wish to assign the tag number. If no extension or mailbox is to be assigned this tag number, press 0. (To delete an entry, press HOLD.)
Press # to confirm.
RFID TAG PROG
EXT OR MB:
3.Enter the extension numbers of up to 10 ESI Presence Management RFID Readers for which this tag is allowed to control door access. To give the tag access to all doors, press FLASH. (To delete an entry, press HOLD.) Press # after each entry and then press # again to confirm (in other words: after the last entry, you’ll press # twice).
Note: If all ESI Presence Management RFID Readers are allowed, “ALL” will appear on the second line.
DOOR ACCESS: 123 124 138 >
4.Use the scroll keys to select an access schedule. Access schedules are used to allow or deny door access with an electronic key at certain times of the day. Each day of the week can have a start time to allow access and a stop time to deny access. To allow constant (“full”) door access, select 0 - FULL. Otherwise, select a schedule to restrict access. The schedule name will appear. Range:
Note: You assign access schedules in Function 371 (see page C.3).
ACCESS SCHEDULE: 0 - FULL >
C.5
