Configuring System Settings | 15 |
Drive Mapping
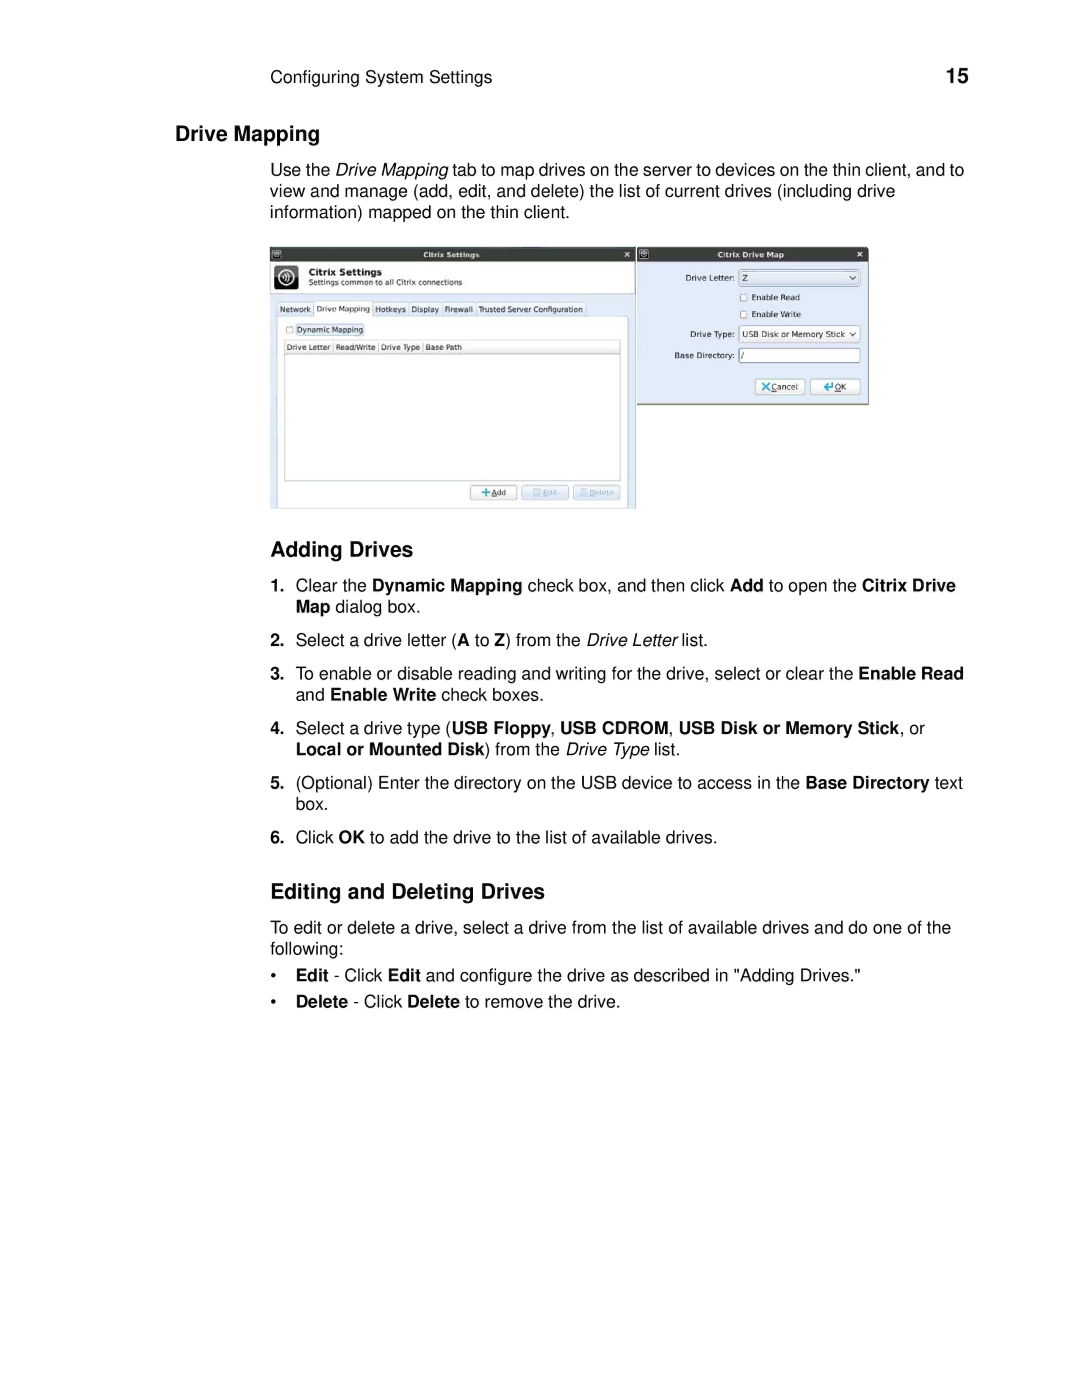
Use the Drive Mapping tab to map drives on the server to devices on the thin client, and to view and manage (add, edit, and delete) the list of current drives (including drive information) mapped on the thin client.
Adding Drives
1.Clear the Dynamic Mapping check box, and then click Add to open the Citrix Drive Map dialog box.
2.Select a drive letter (A to Z) from the Drive Letter list.
3.To enable or disable reading and writing for the drive, select or clear the Enable Read and Enable Write check boxes.
4.Select a drive type (USB Floppy, USB CDROM, USB Disk or Memory Stick, or Local or Mounted Disk) from the Drive Type list.
5.(Optional) Enter the directory on the USB device to access in the Base Directory text box.
6.Click OK to add the drive to the list of available drives.
Editing and Deleting Drives
To edit or delete a drive, select a drive from the list of available drives and do one of the following:
•Edit - Click Edit and configure the drive as described in "Adding Drives."
•Delete - Click Delete to remove the drive.