P100i Printer Operation
Printing
Creating a Sample Card
Before you begin a new printing session, print a sample card to ensure that the cards will be printed correctly. Follow the steps below to print your first card using the True ColoursTM Card Printer Ribbon Cartridge and the Windows printer driver.
Note • To simplify creating a sample card, you can use one of the sample files that were installed during the driver installation process. These samples (Word files) can be found in Start > All Programs > Zebra Card Printers.
1.Go to the Microsoft Word Software.
2.If the P100i Printer was not selected as the default printer, go to File > Select Printer; and choose Zebra P100i Card Printer from the printer names list. Close the Print dialog box.
3.Go to File > Page Setup.
4.Select the Size tab; and under Paper Size, choose Card. Under orientation, select Landscape or Portrait.
5.Select the Margins tab; and set the Top, Bottom, Left, and Right margins to 0 (zero).
6.Press OK to close Page Setup window.
7.The card appears on the window.
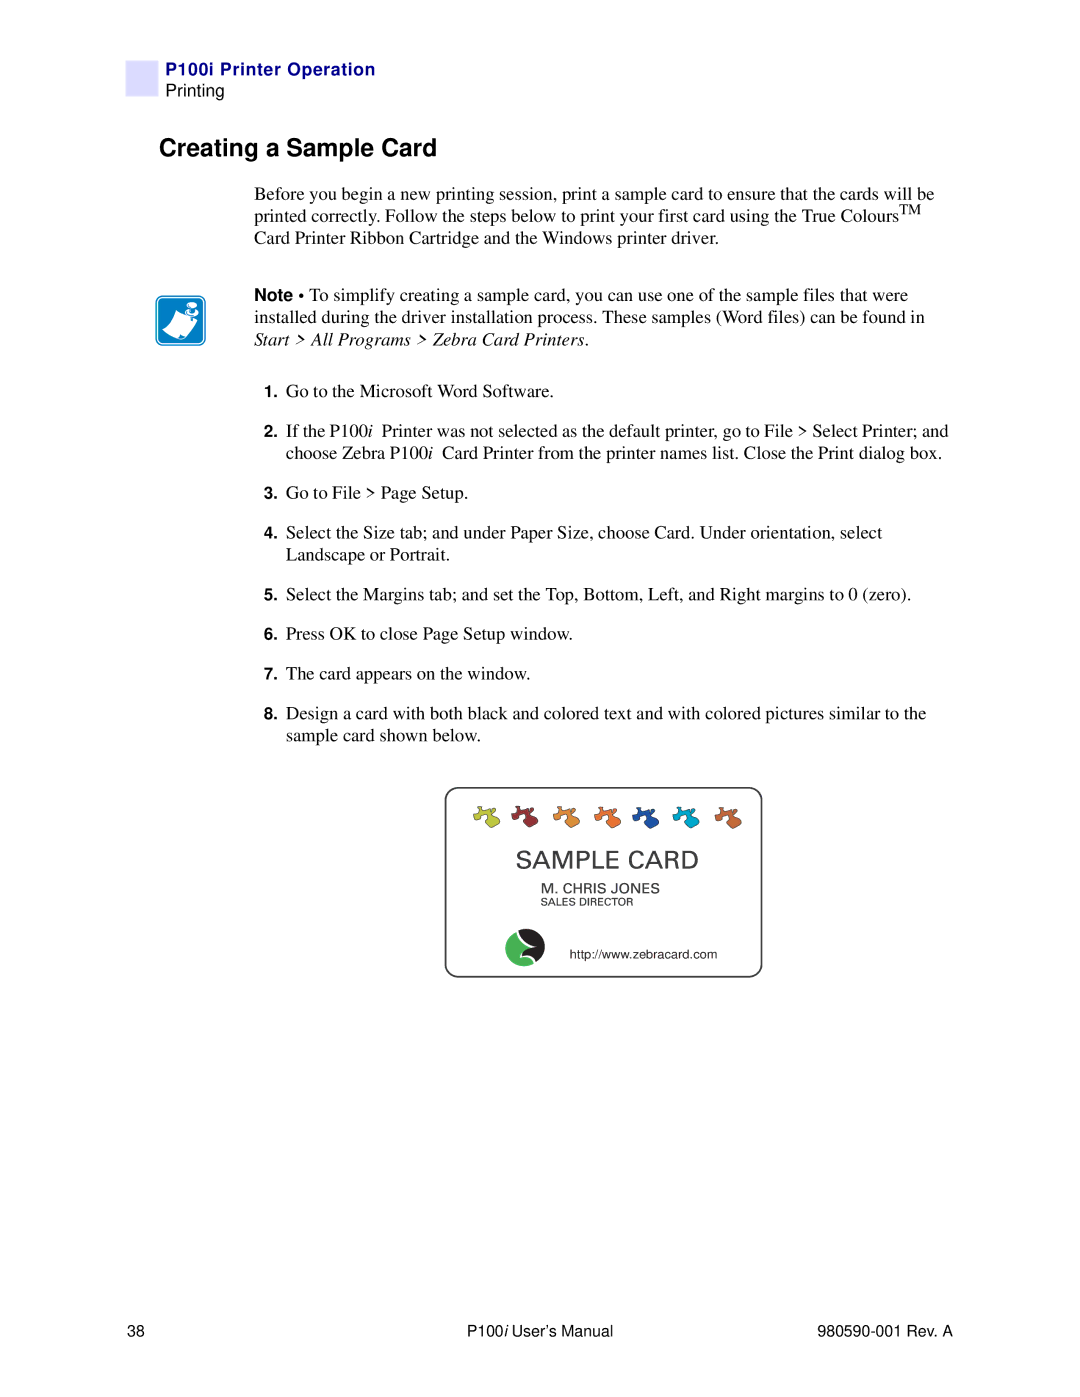
8.Design a card with both black and colored text and with colored pictures similar to the sample card shown below.
http://www.zebracard.com
38 | P100i User’s Manual |