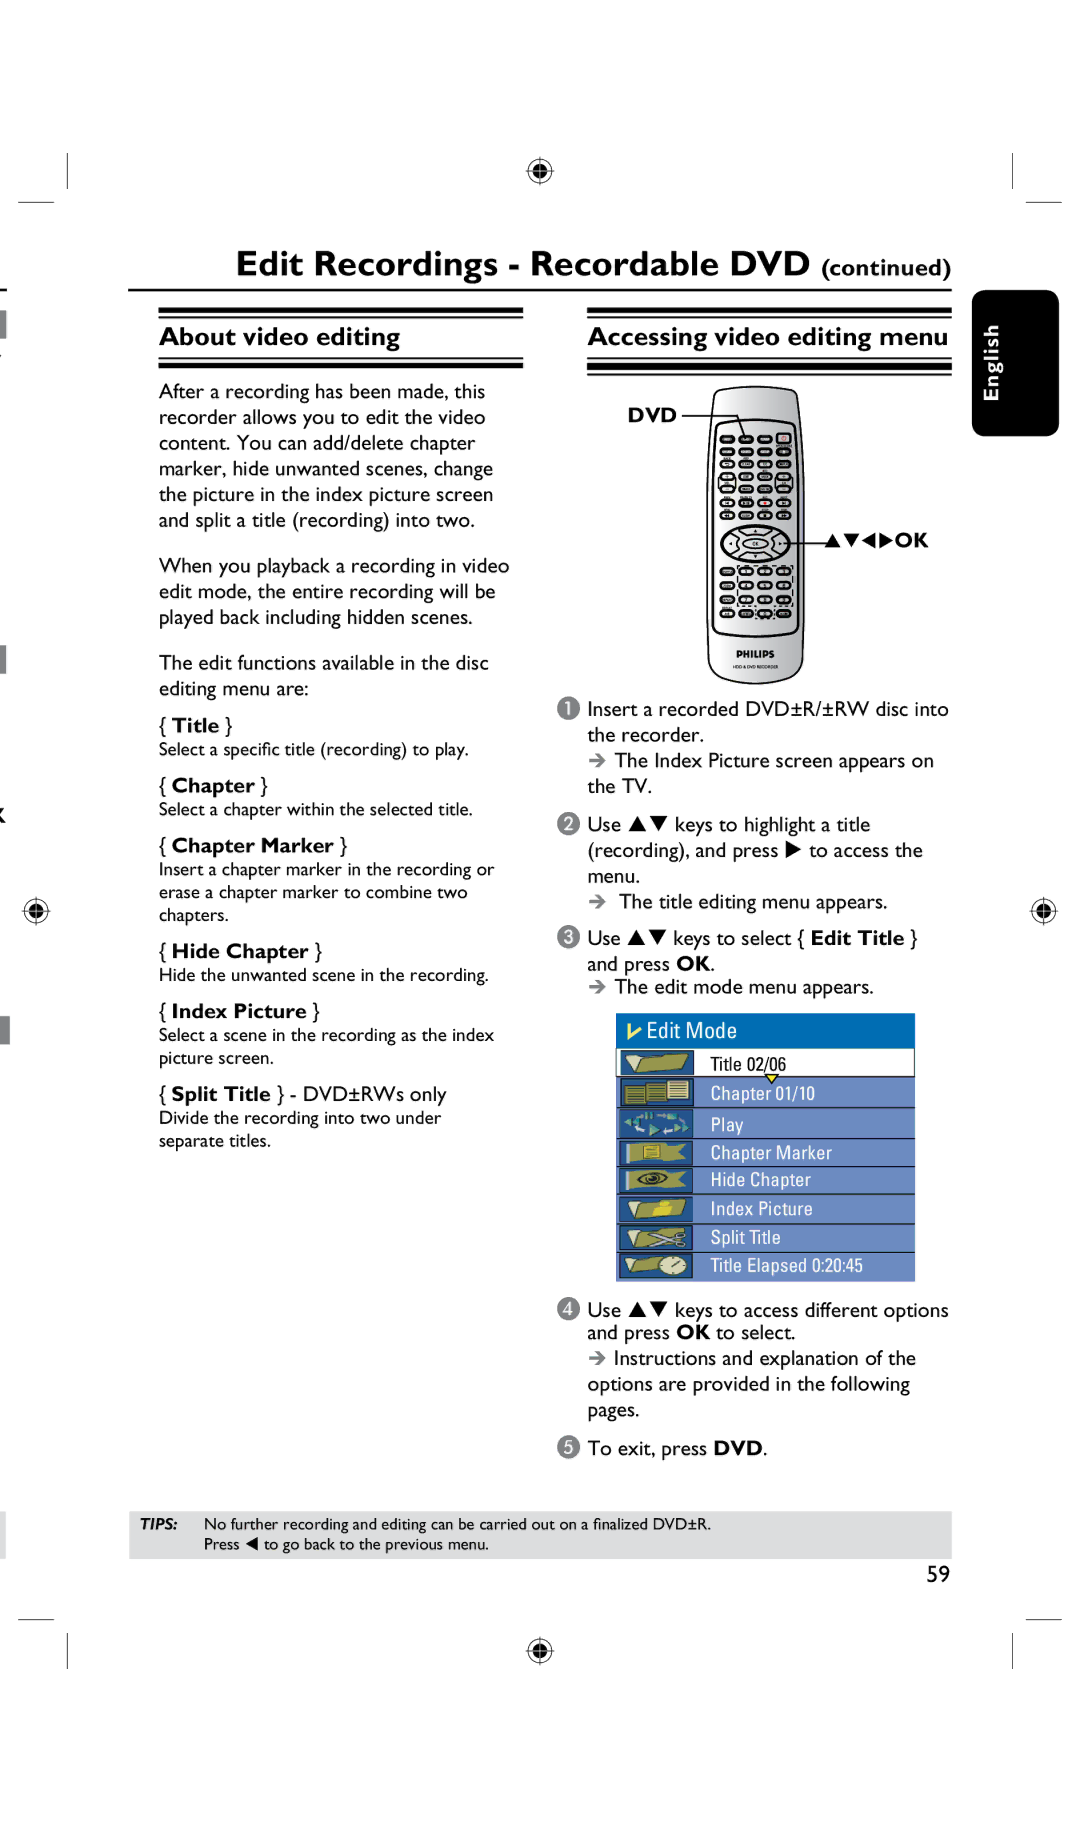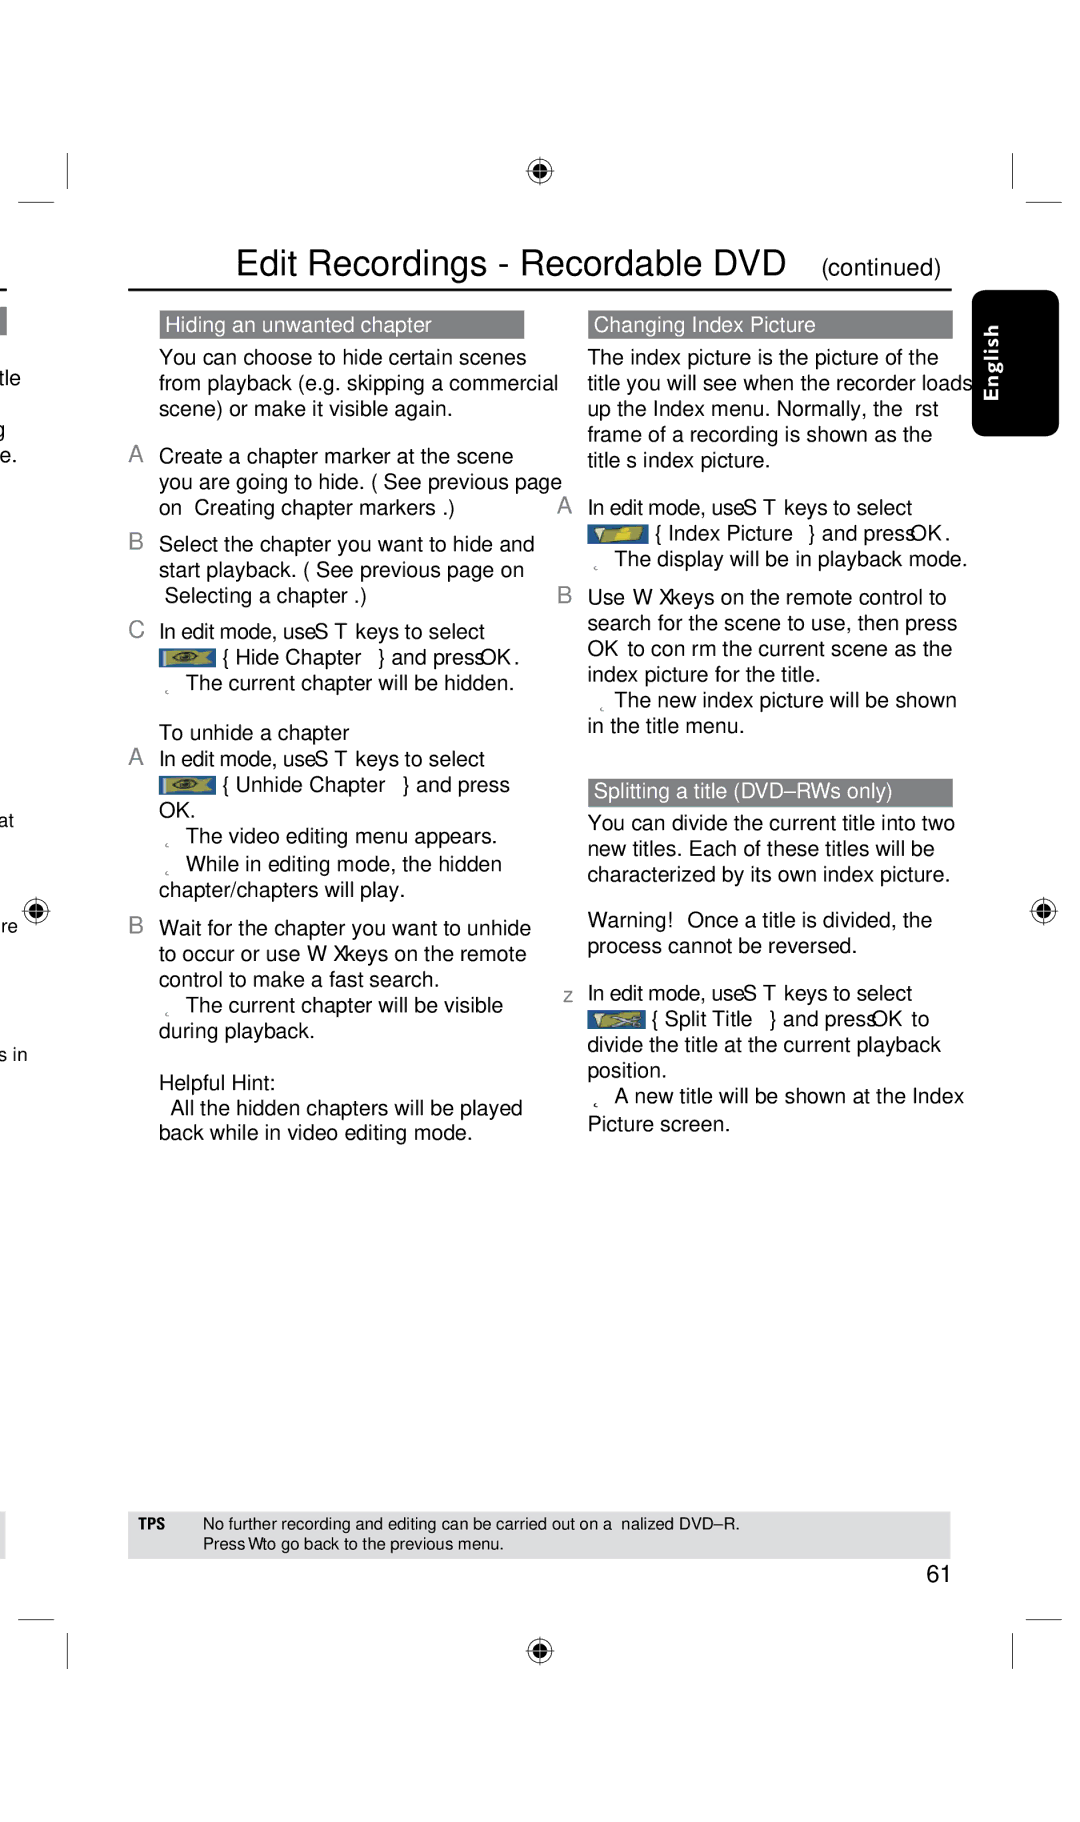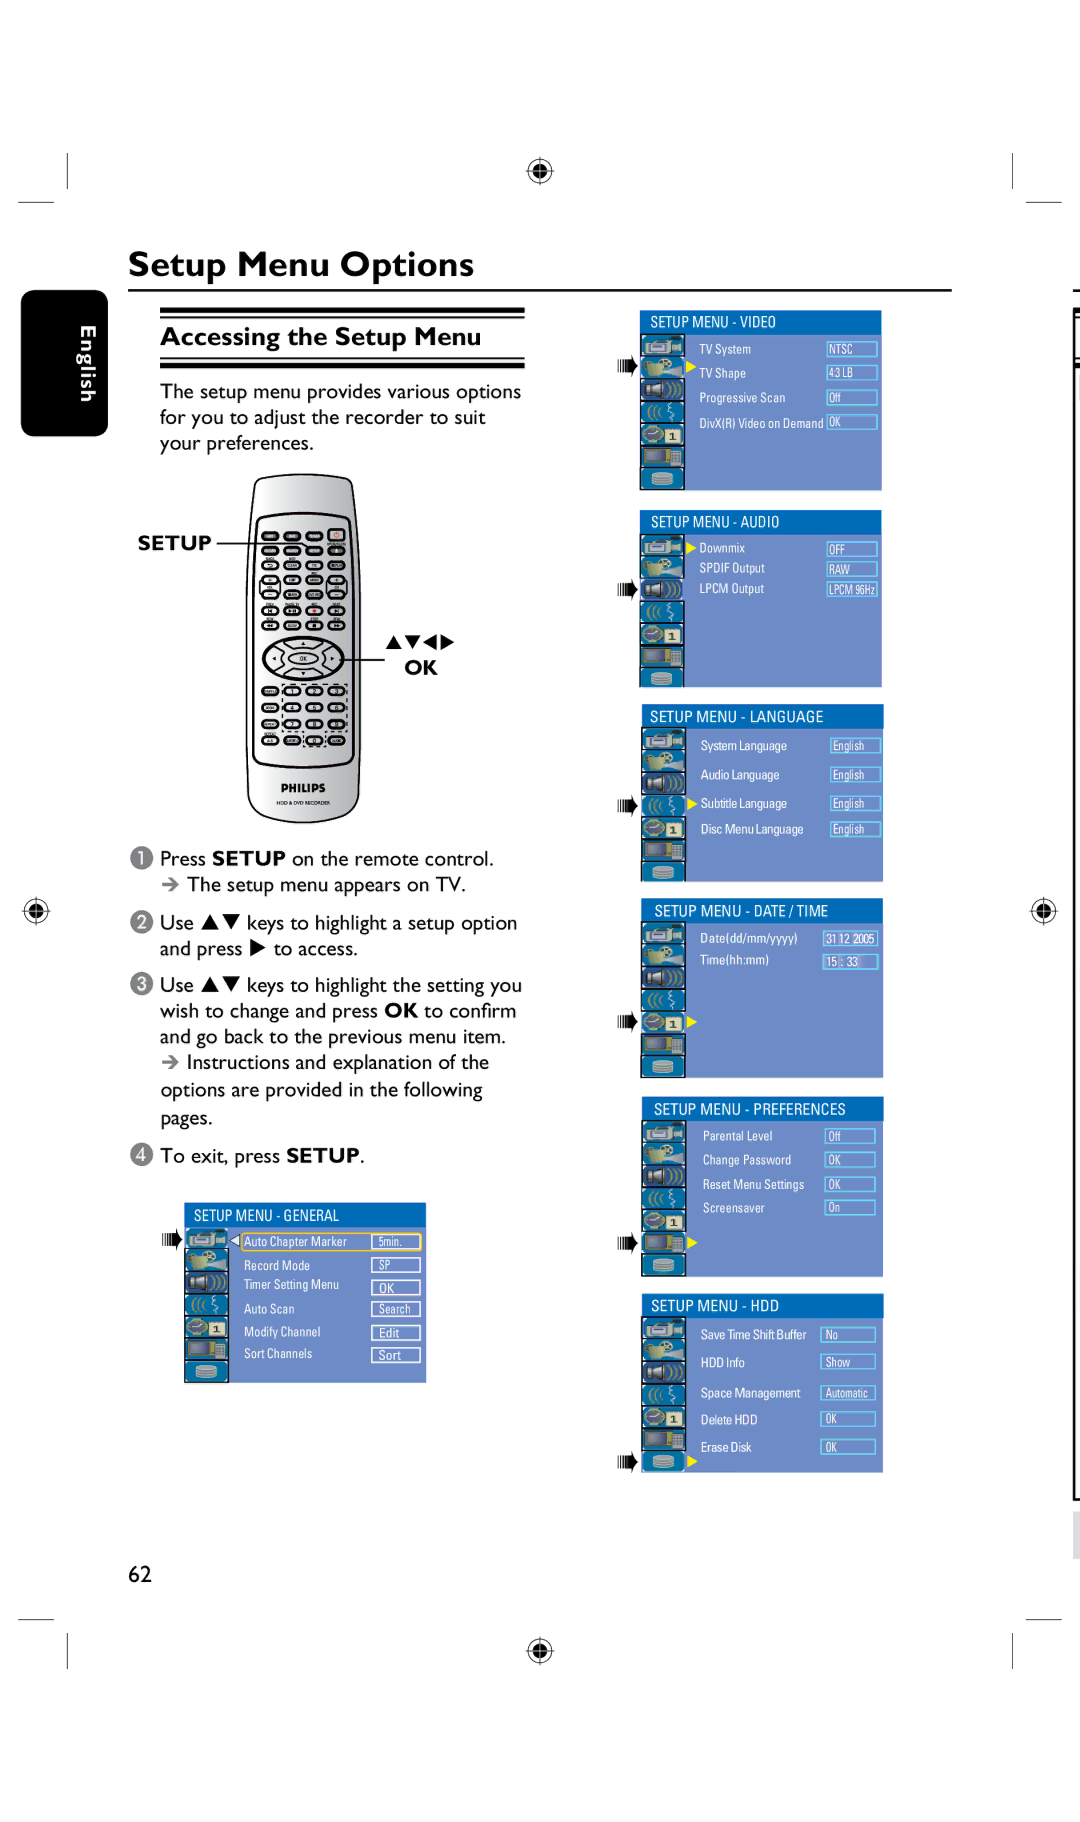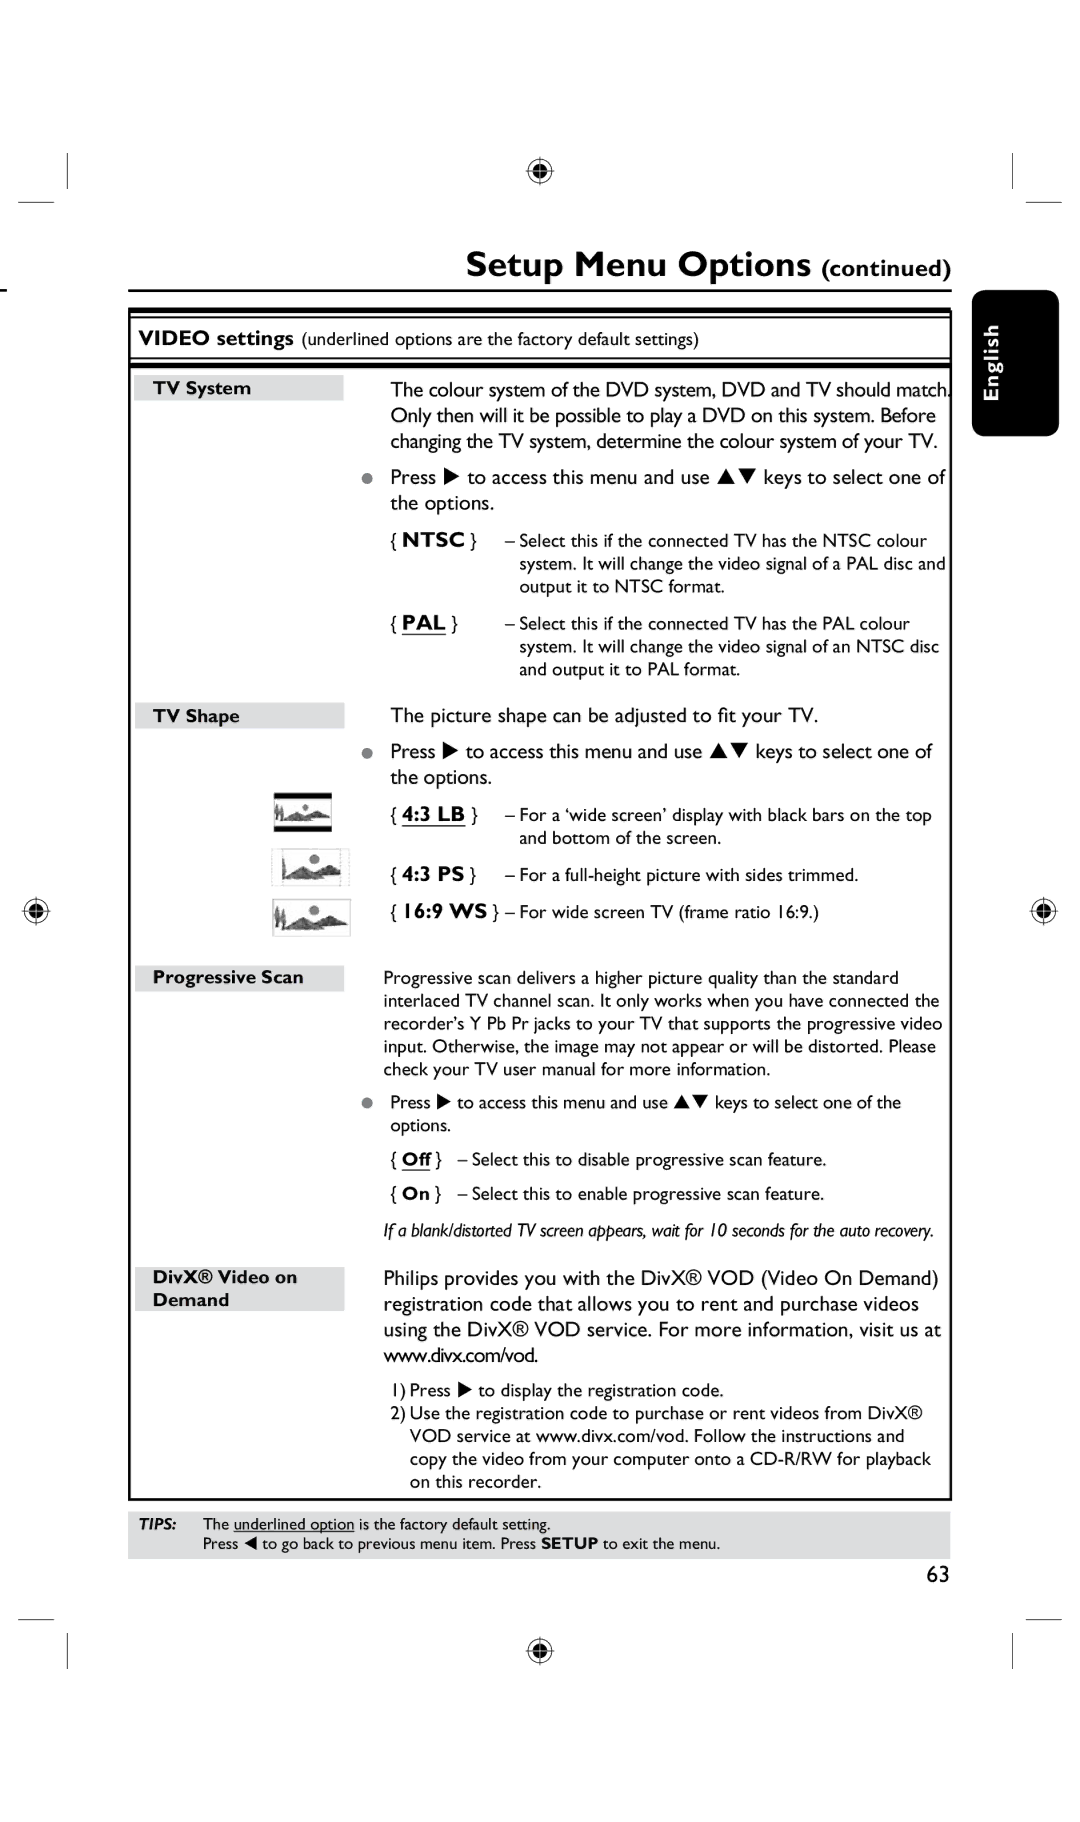
Timer Recording (continued)
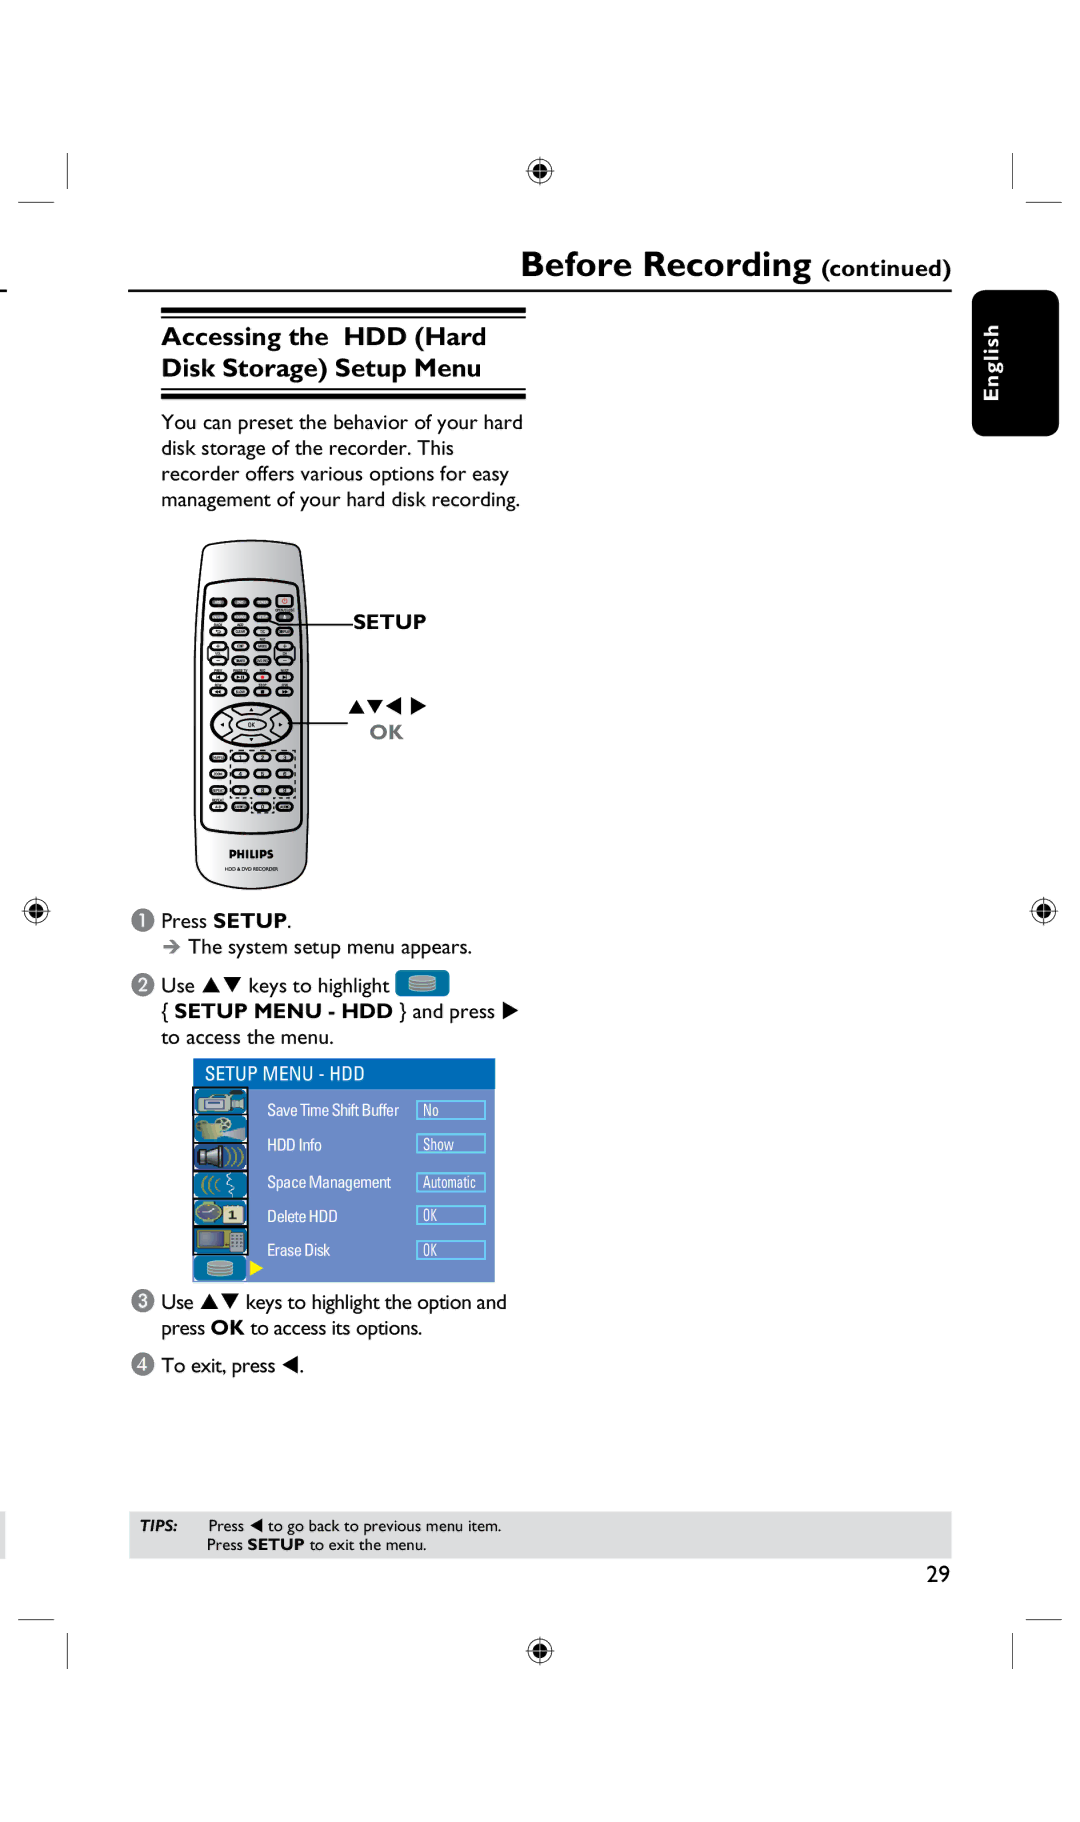
Setting a timer recording from an external Cable Box/
Satellite Receiver
If you have a Satellite Receiver/Cable Box connected to this recorder via the VIDEO (CVBS) (see page 20,) follow the
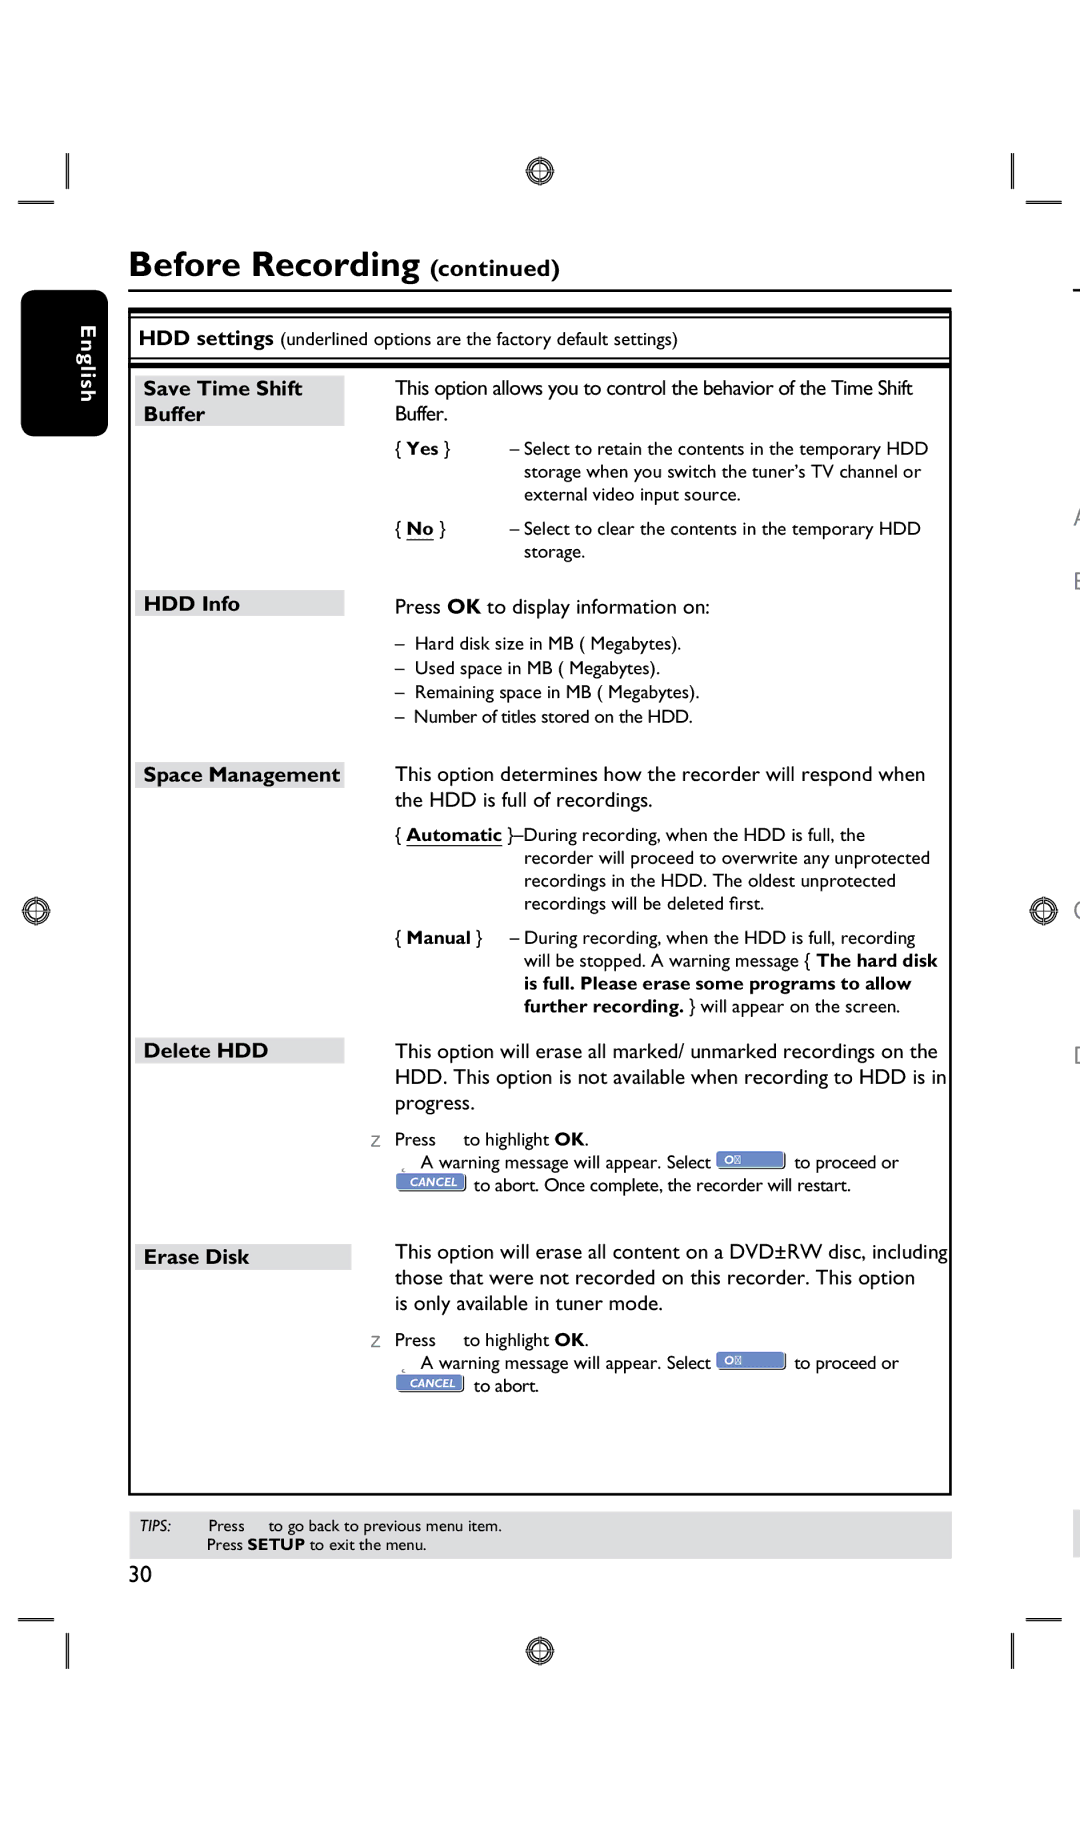
D To delete the timer entry, press ADD/CLEAR on the remote control.
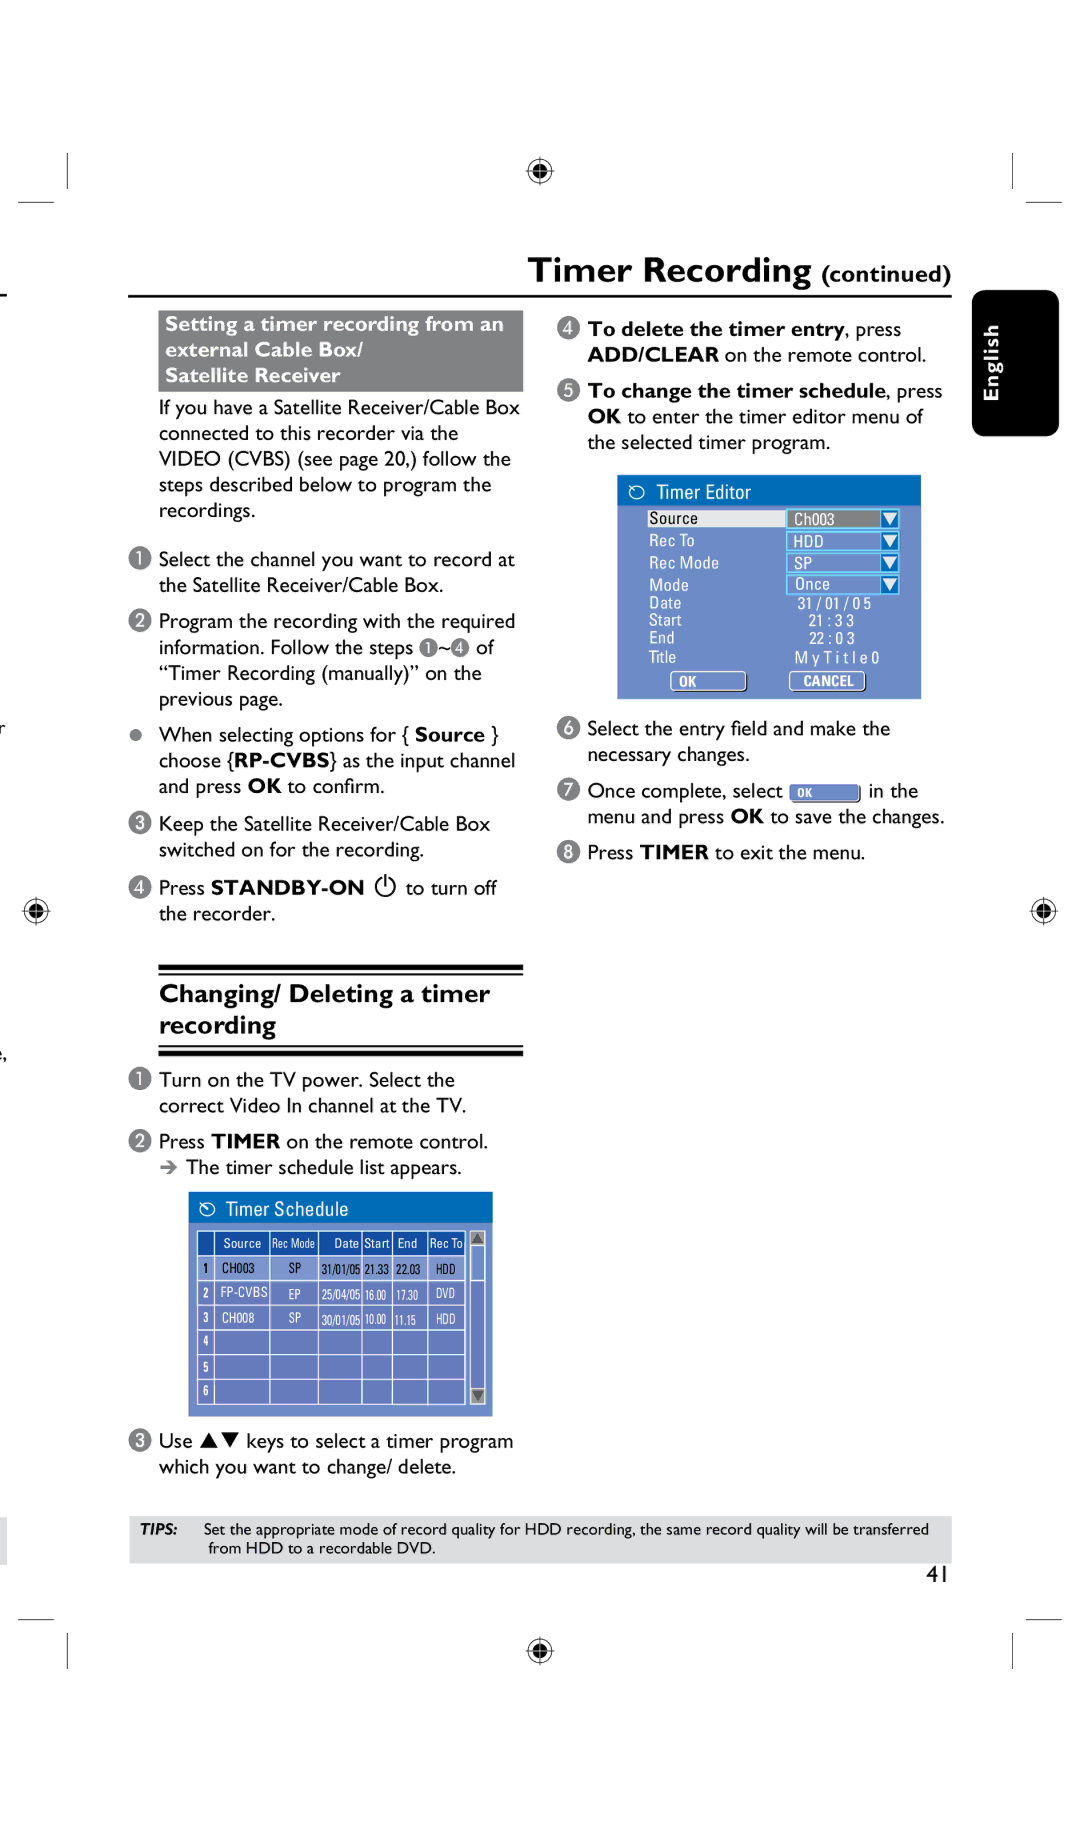
E To change the timer schedule, press OK to enter the timer editor menu of the selected timer program.
English
steps described below to program the recordings.
A Select the channel you want to record at the Satellite Receiver/Cable Box.
B Program the recording with the required information. Follow the steps A~D of “Timer Recording (manually)” on the previous page.
Timer Editor
Source
Rec To
Rec Mode
Mode
Date
Start
End
Title
OKOK
Ch003
HDD
SP
Once 31 / 01 / 0 5
21 : 3 3
22 : 0 3 M y T i t l e 0
CANCELOK
r
•When selecting options for { Source } choose
C Keep the Satellite Receiver/Cable Box switched on for the recording.
D Press
F Select the entry field and make the necessary changes.
G Once complete, select ![]() in the menu and press OK to save the changes.
in the menu and press OK to save the changes.
H Press TIMER to exit the menu.
e,
Changing/ Deleting a timer recording
A Turn on the TV power. Select the correct Video In channel at the TV.
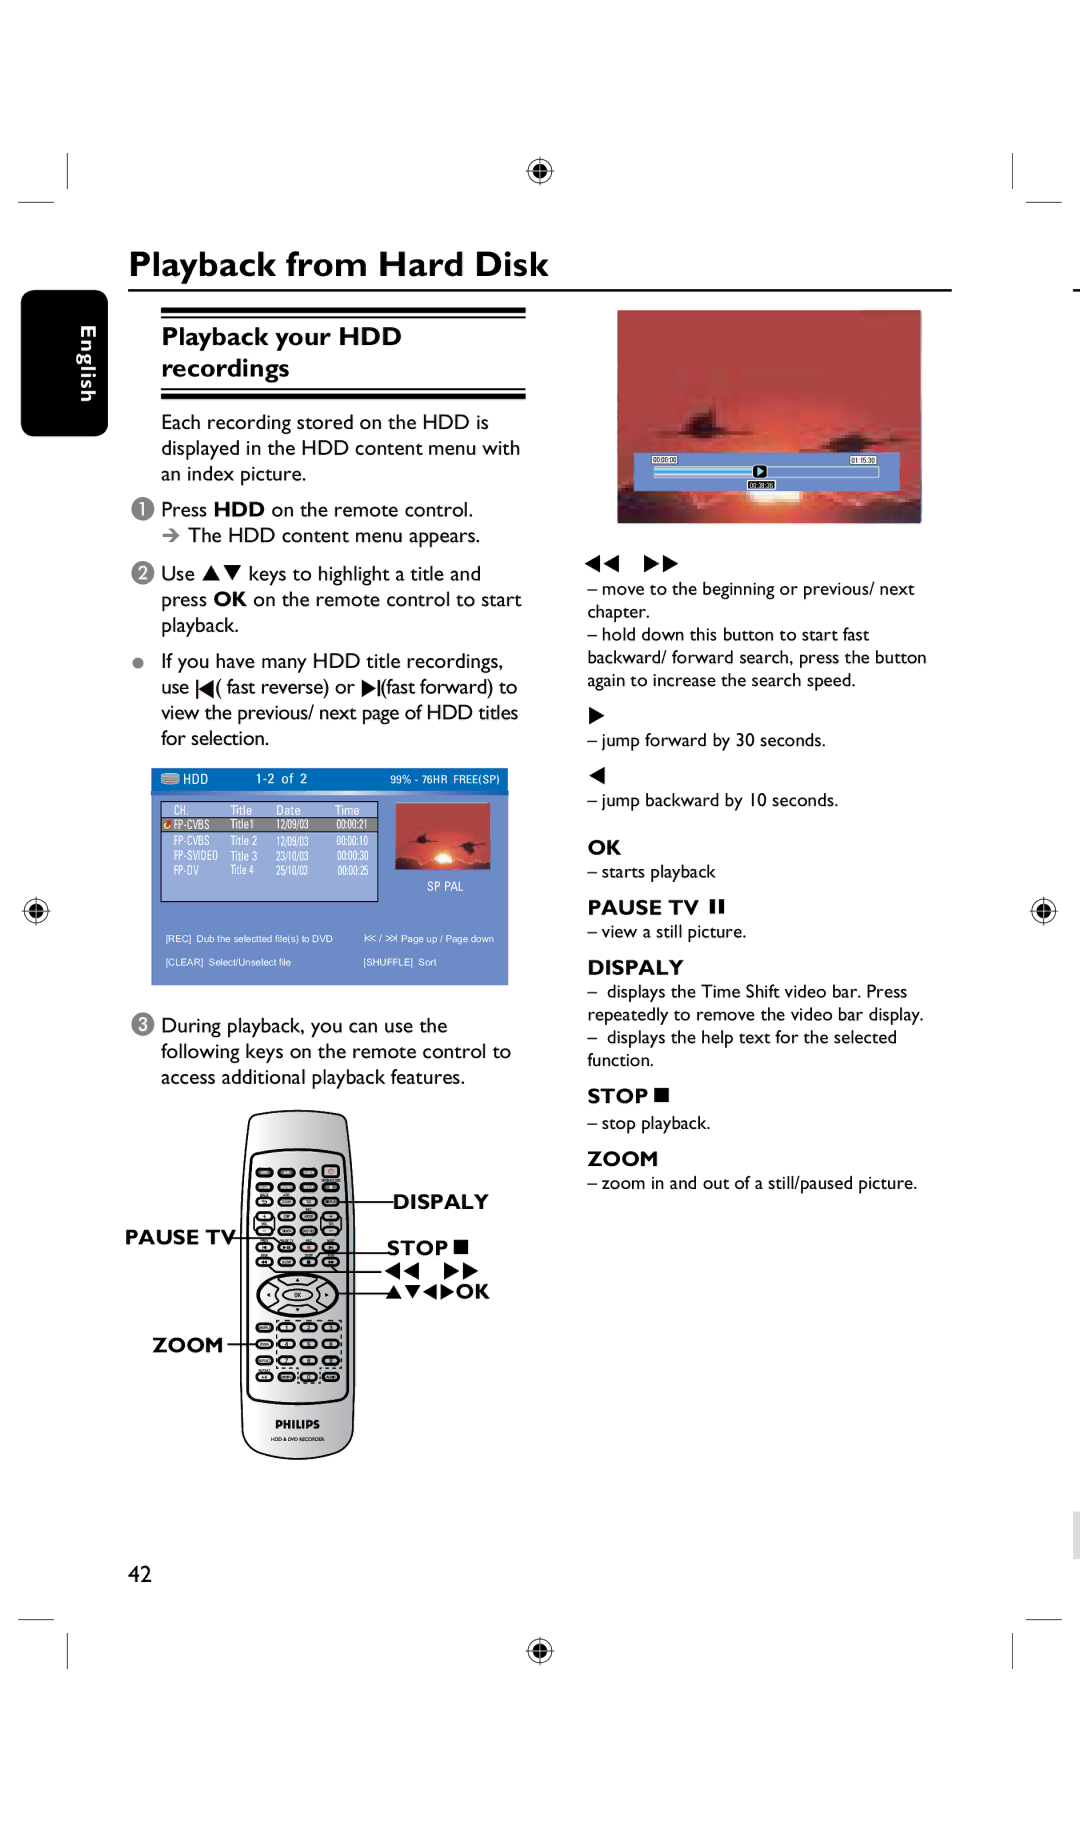
B Press TIMER on the remote control.
The timer schedule list appears.
 Timer Schedule
| Source | Rec Mode | Date Start | End | Rec To | ||
1 | CH003 | SP | 31/01/05 21.33 | 22.03 | HDD | ||
2 | EP | 25/04/05 | 16.00 | 17.30 | DVD | ||
3 | CH008 | SP | 30/01/05 | 10.00 | 11.15 | HDD | |
4 |
|
|
|
|
|
| |
|
|
|
|
|
|
| |
5
6
C Use keys to select a timer program which you want to change/ delete.
TIPS: Set the appropriate mode of record quality for HDD recording, the same record quality will be transferred from HDD to a recordable DVD.
41
