Bosch Appliances HDI7282U Electronic Ignitor, High Power Burner, Precision Burner, Oven Racks

Page 15

Getting Started

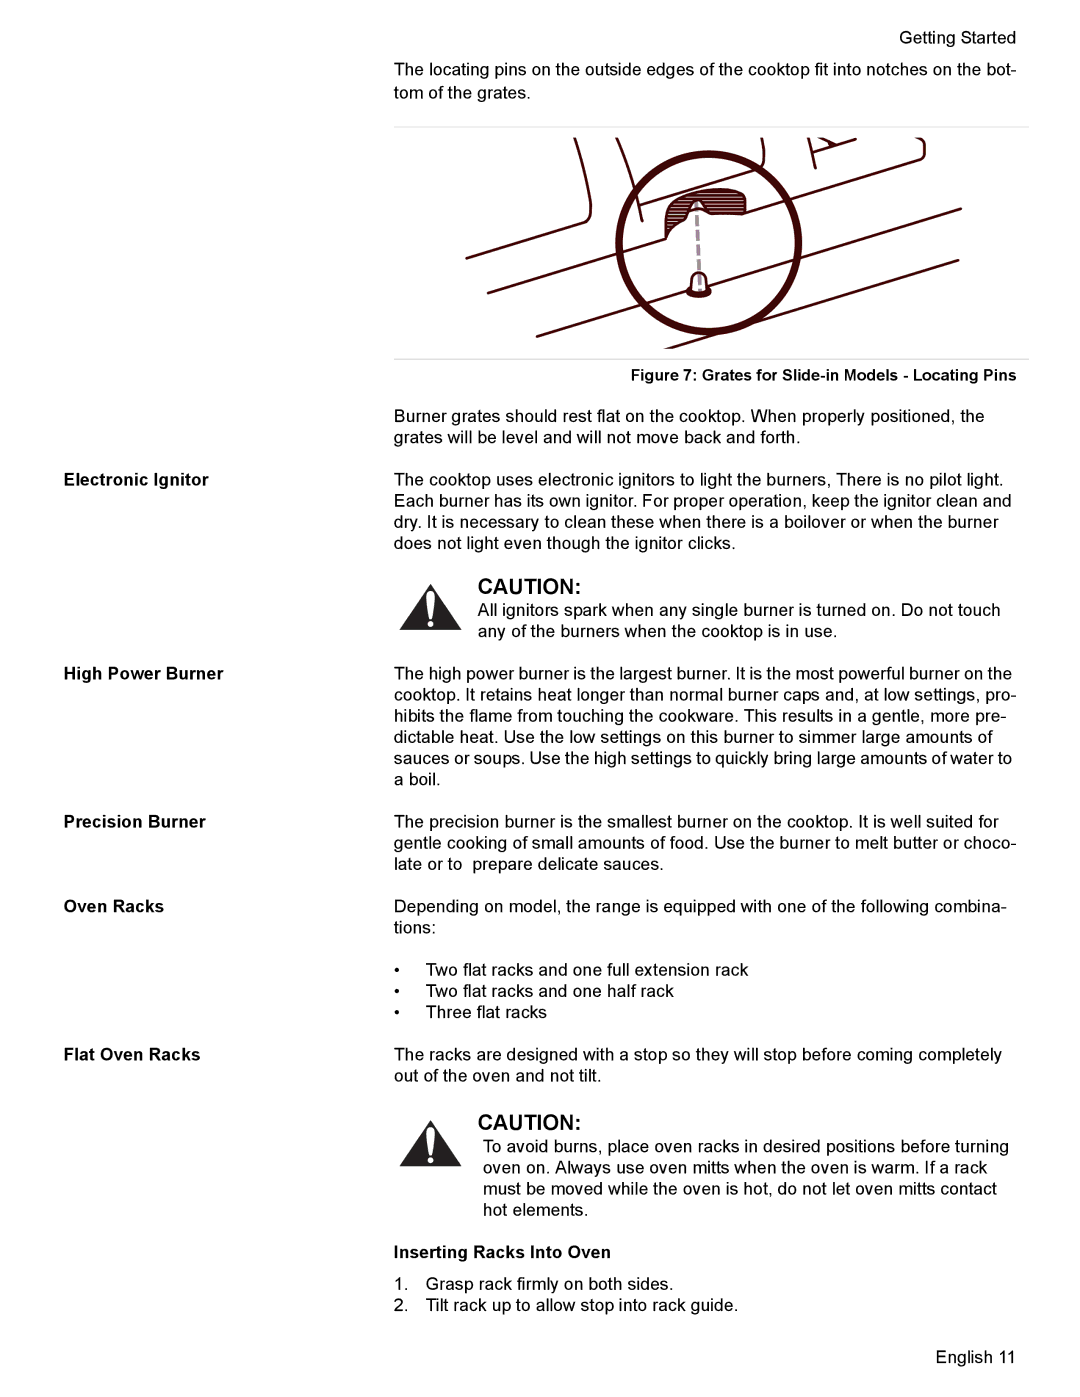
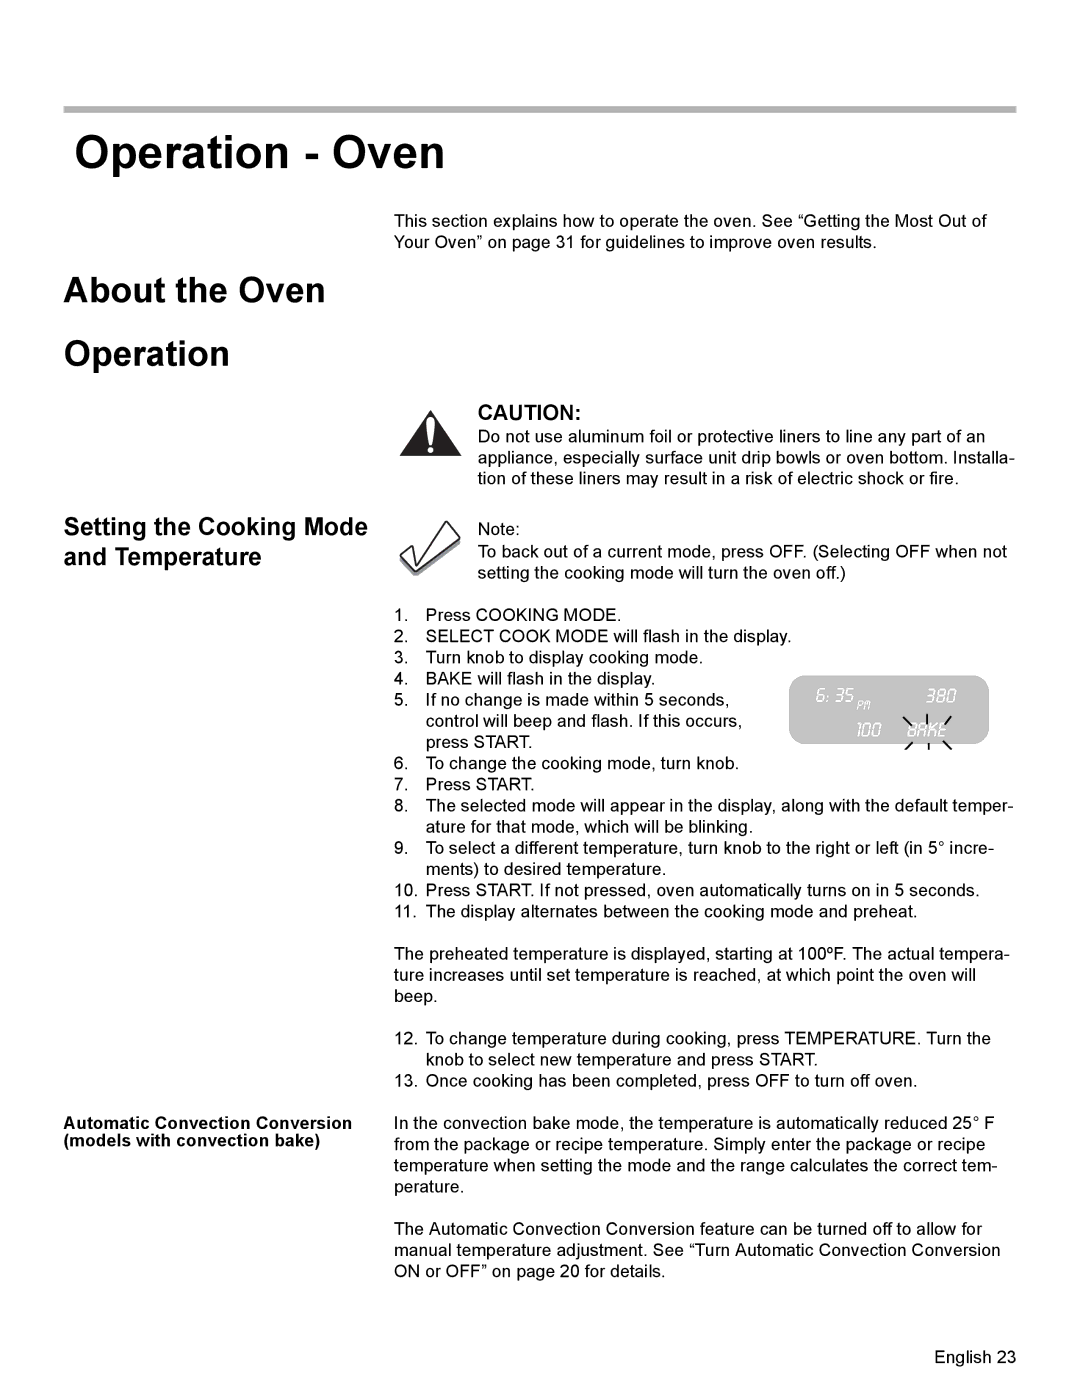
The locating pins on the outside edges of the cooktop fit into notches on the bot- tom of the grates.


Figure 7: Grates for Slide-in Models - Locating Pins


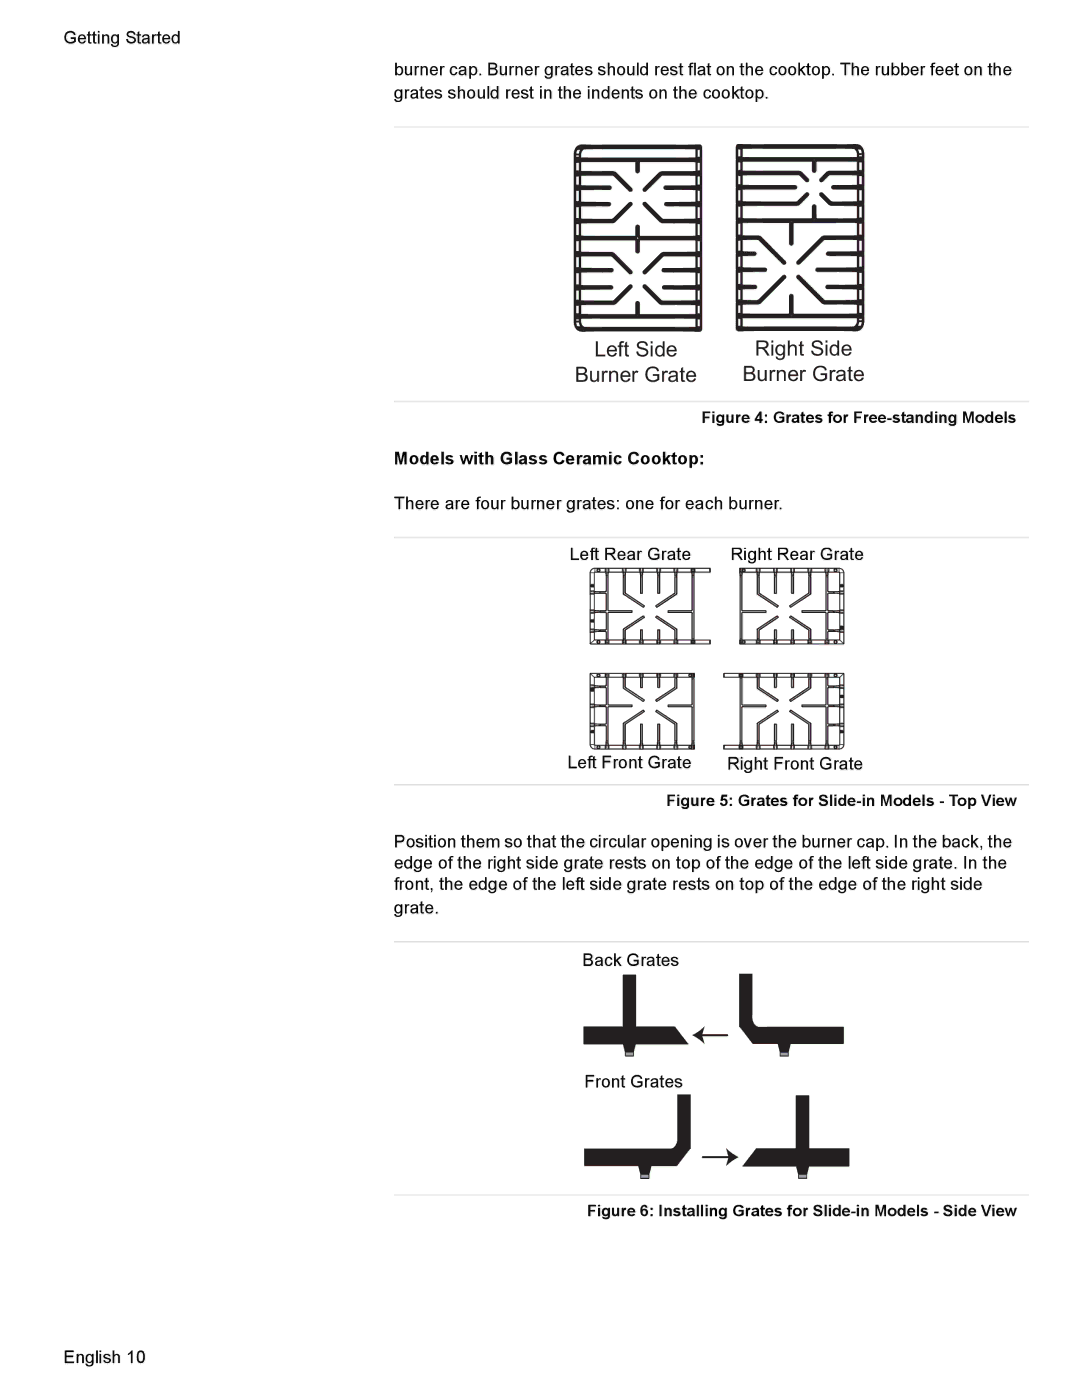
Burner grates should rest flat on the cooktop. When properly positioned, the


grates will be level and will not move back and forth.

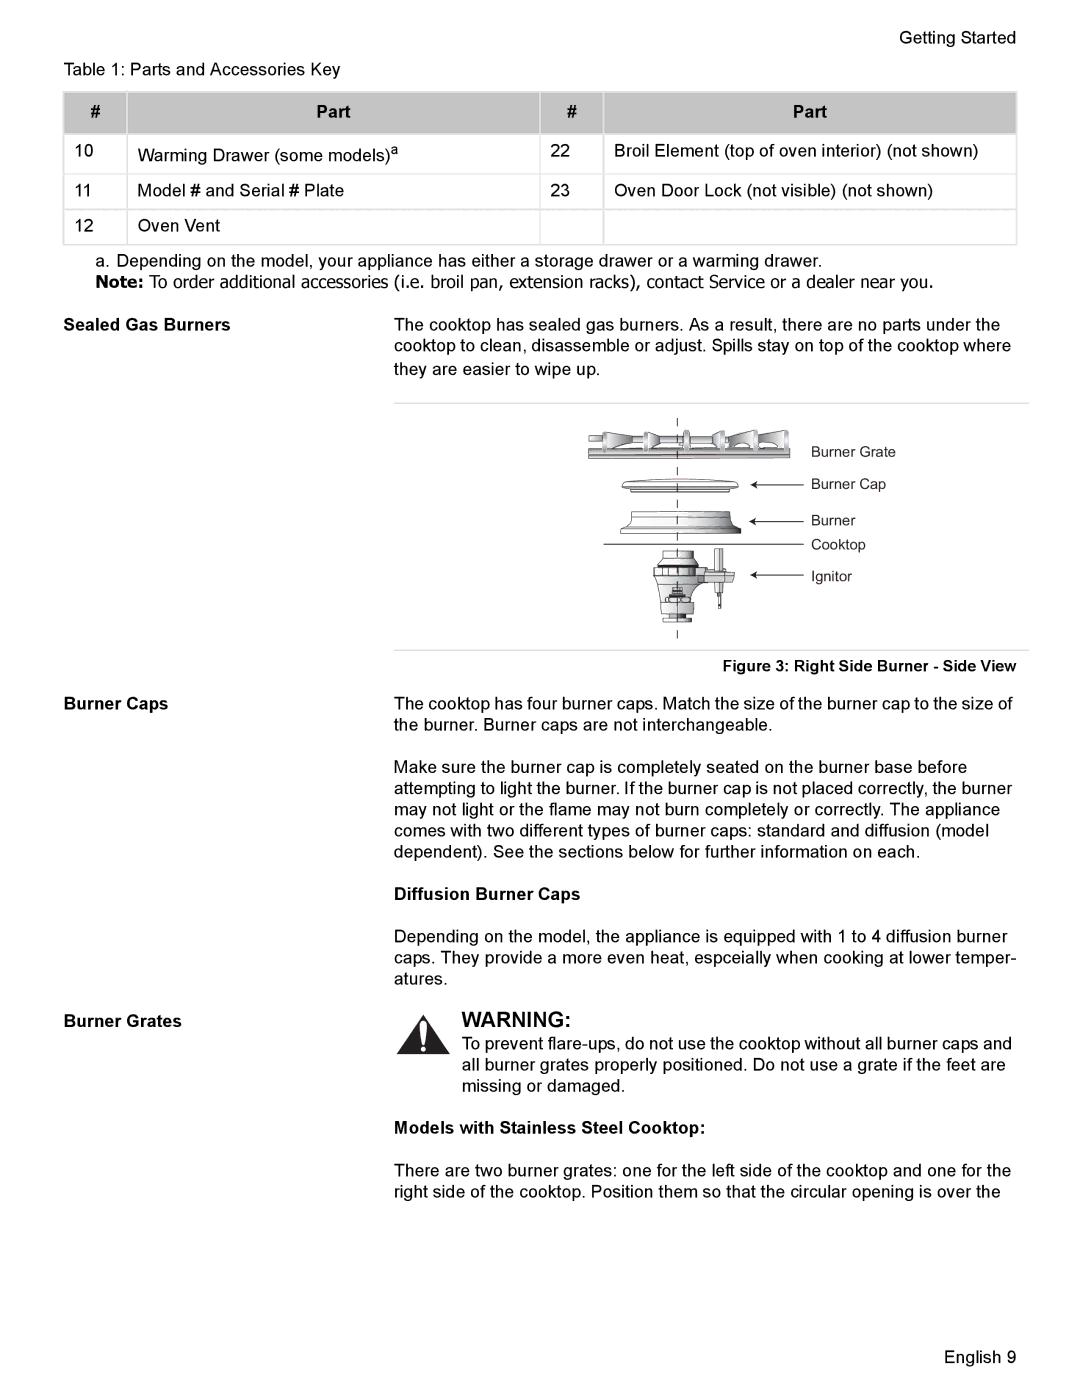
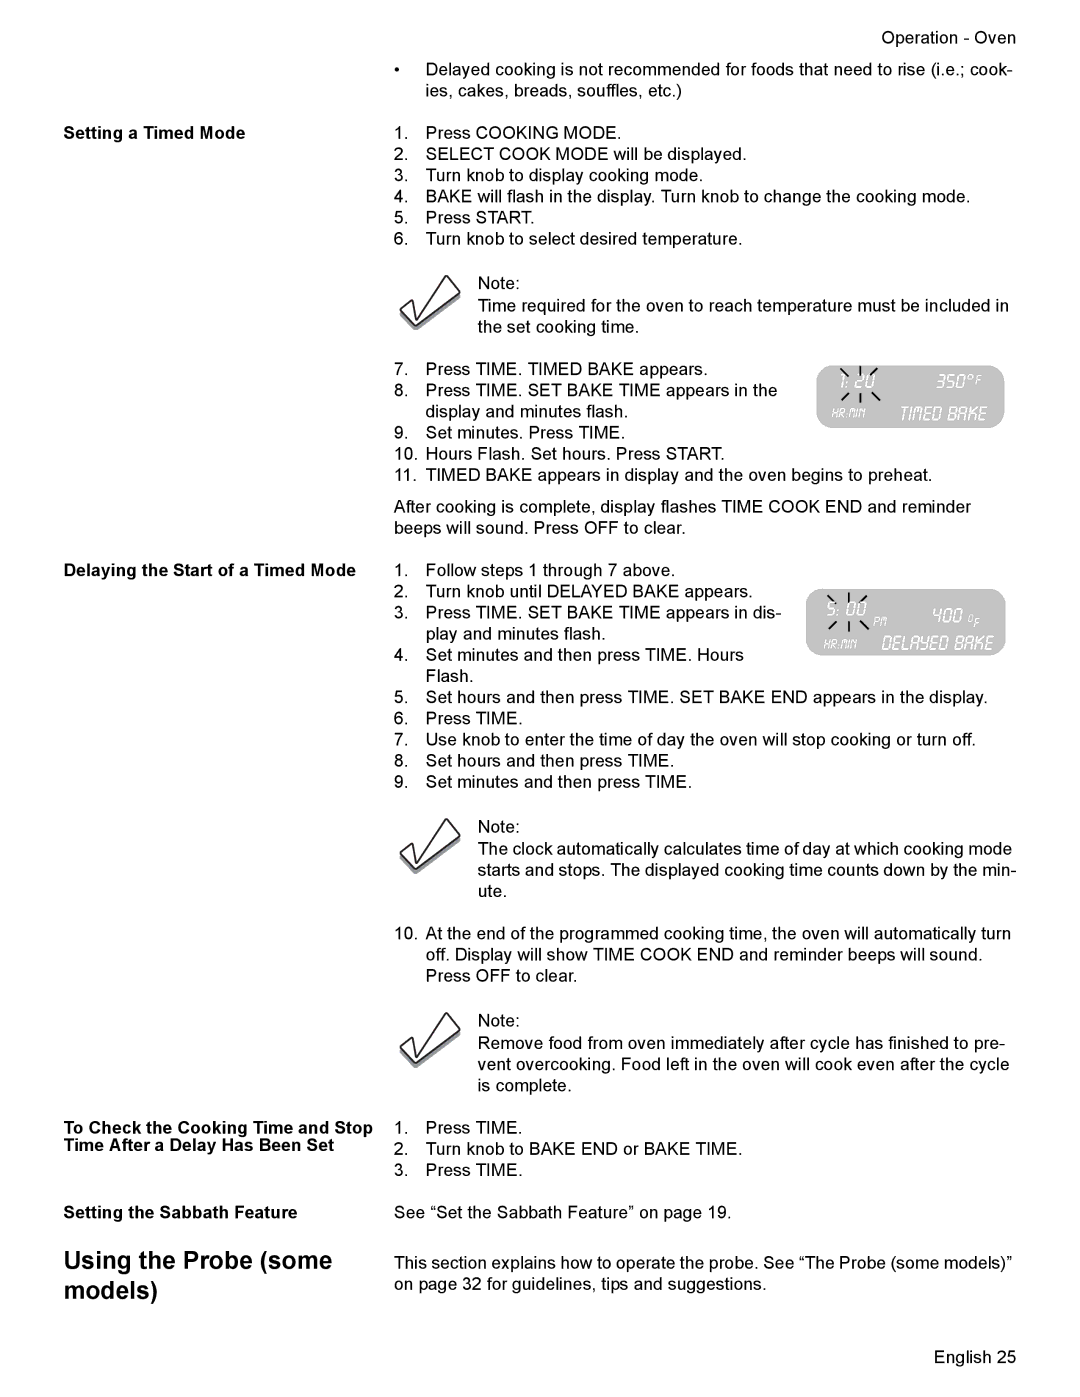
Electronic Ignitor

The cooktop uses electronic ignitors to light the burners, There is no pilot light.


Each burner has its own ignitor. For proper operation, keep the ignitor clean and


dry. It is necessary to clean these when there is a boilover or when the burner


does not light even though the ignitor clicks.


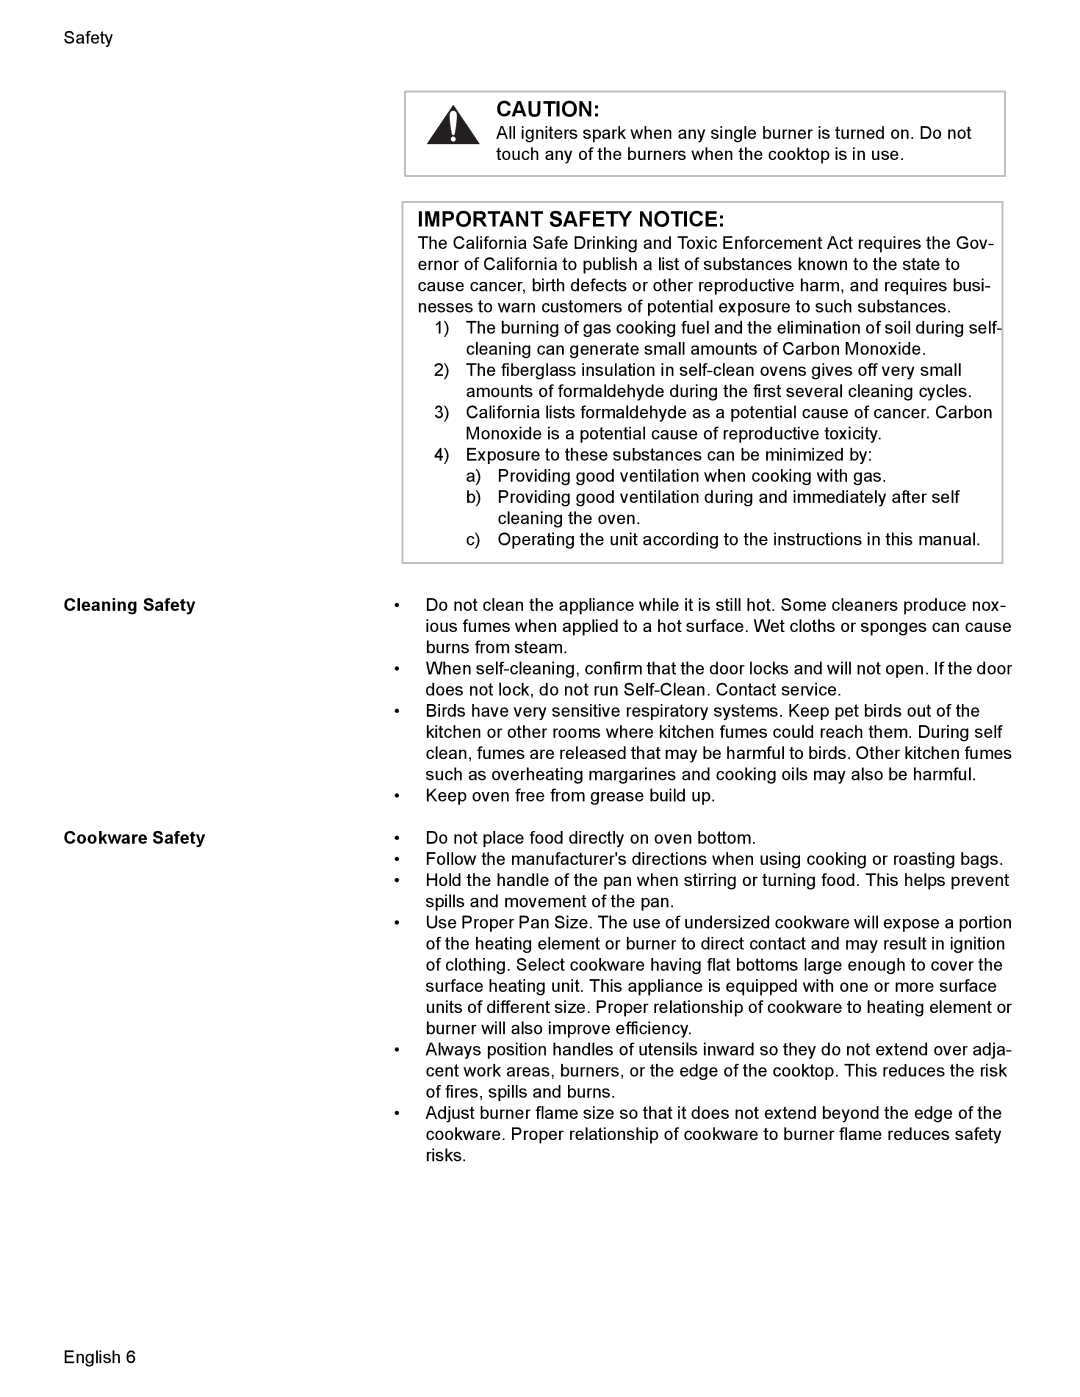
CAUTION:


All ignitors spark when any single burner is turned on. Do not touch


any of the burners when the cooktop is in use.

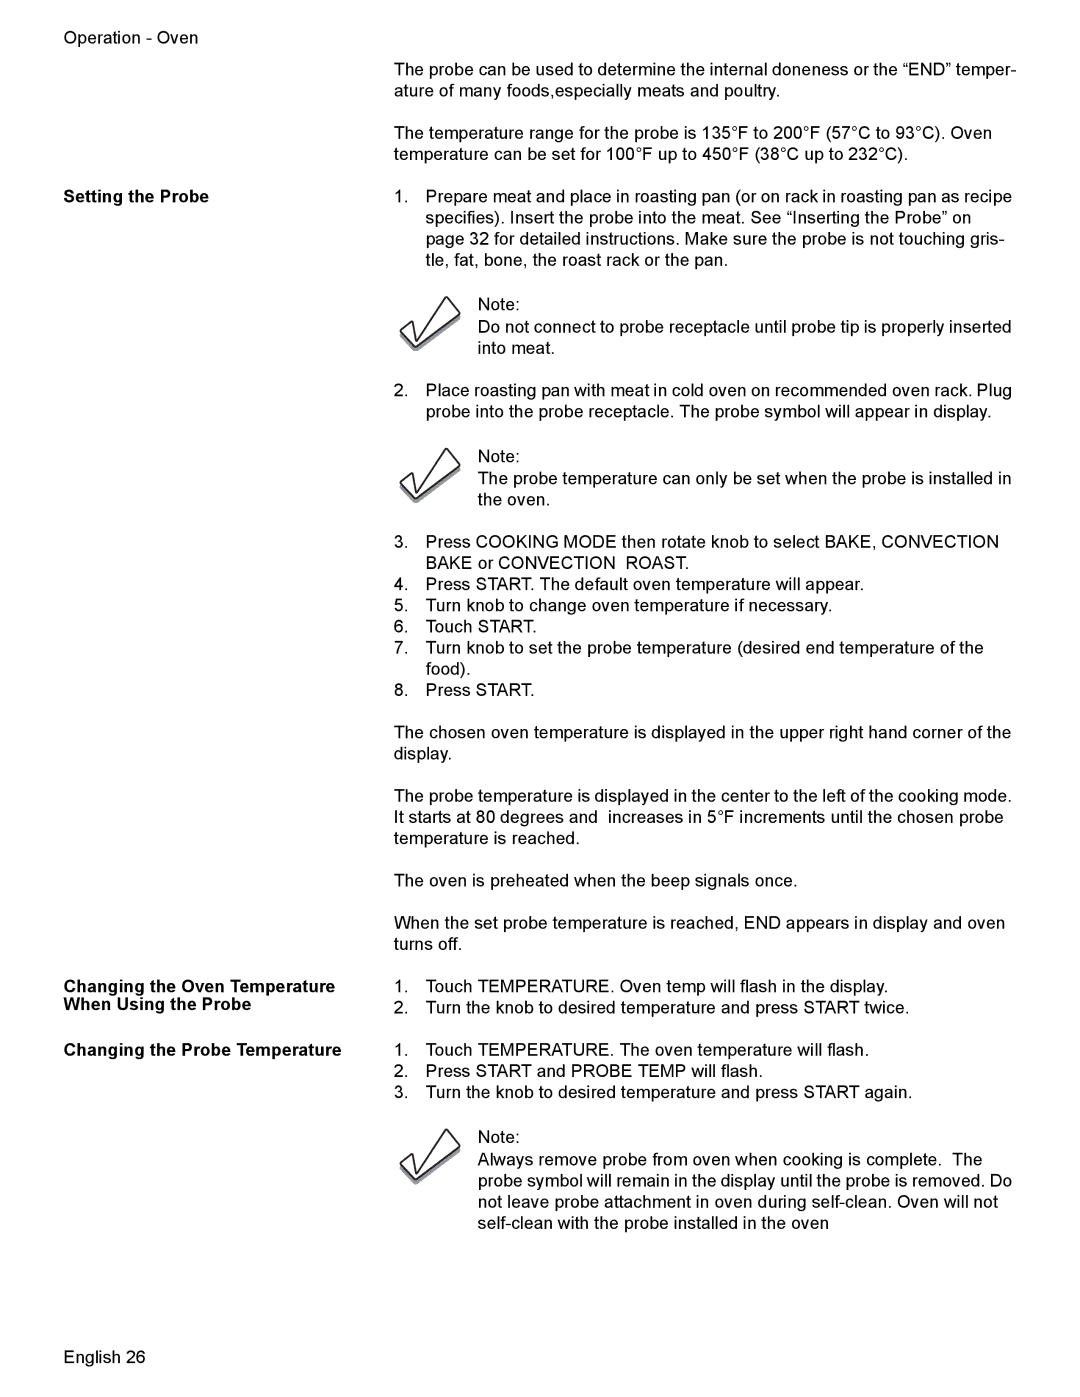
High Power Burner

The high power burner is the largest burner. It is the most powerful burner on the


cooktop. It retains heat longer than normal burner caps and, at low settings, pro-


hibits the flame from touching the cookware. This results in a gentle, more pre-


dictable heat. Use the low settings on this burner to simmer large amounts of


sauces or soups. Use the high settings to quickly bring large amounts of water to


a boil.

Precision Burner

The precision burner is the smallest burner on the cooktop. It is well suited for


gentle cooking of small amounts of food. Use the burner to melt butter or choco-


late or to prepare delicate sauces.

Oven Racks

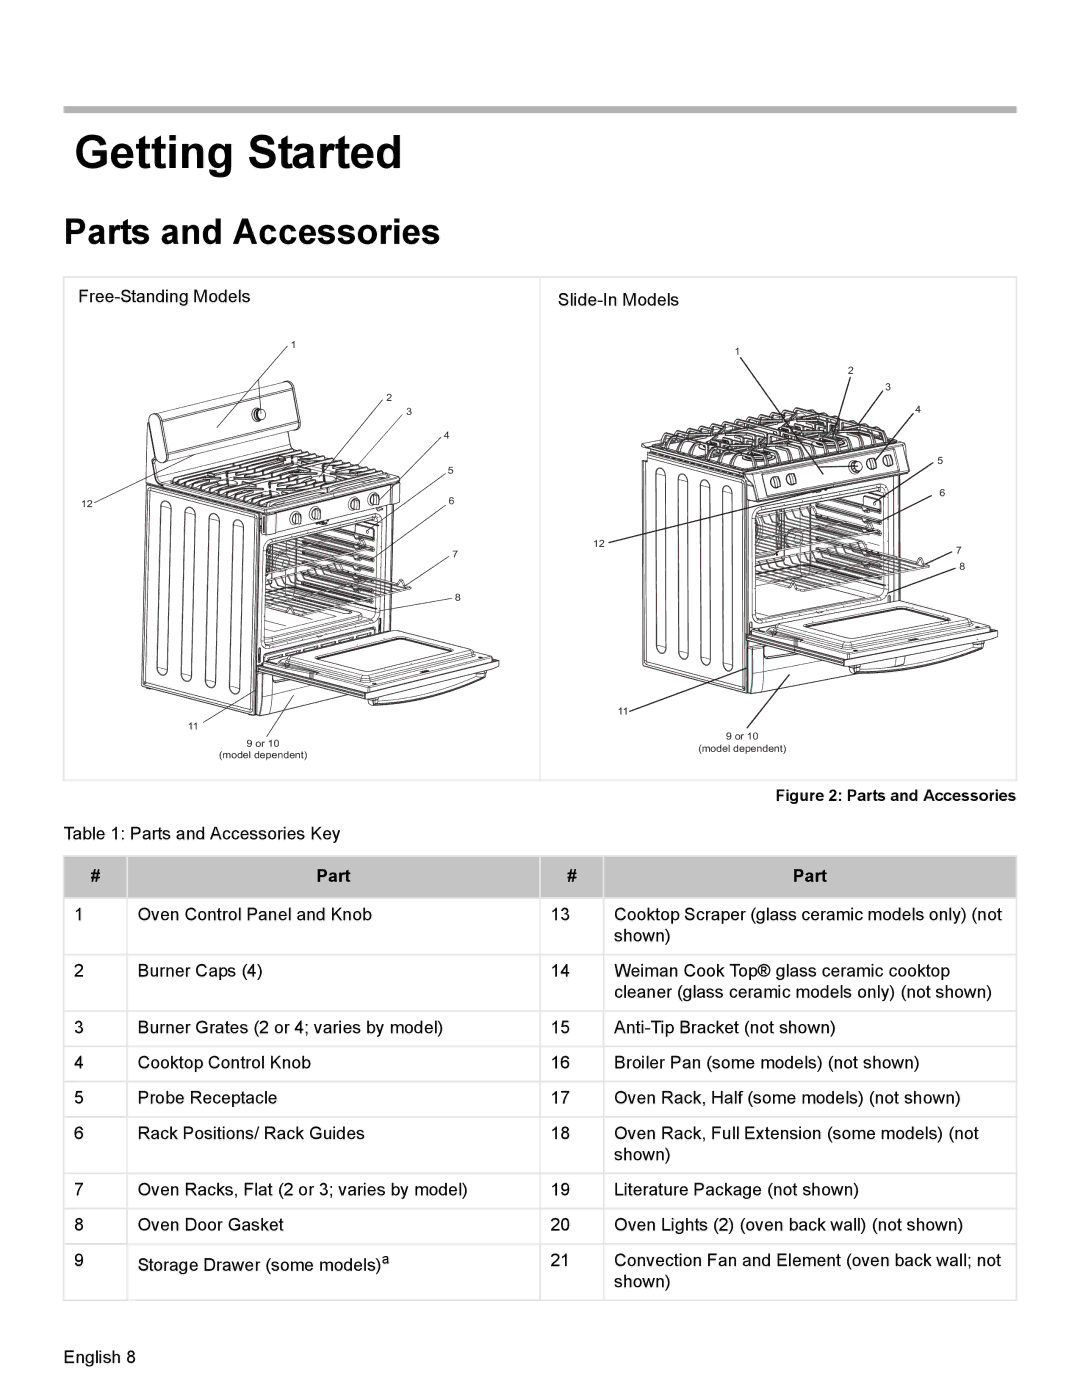
Depending on model, the range is equipped with one of the following combina-


tions:


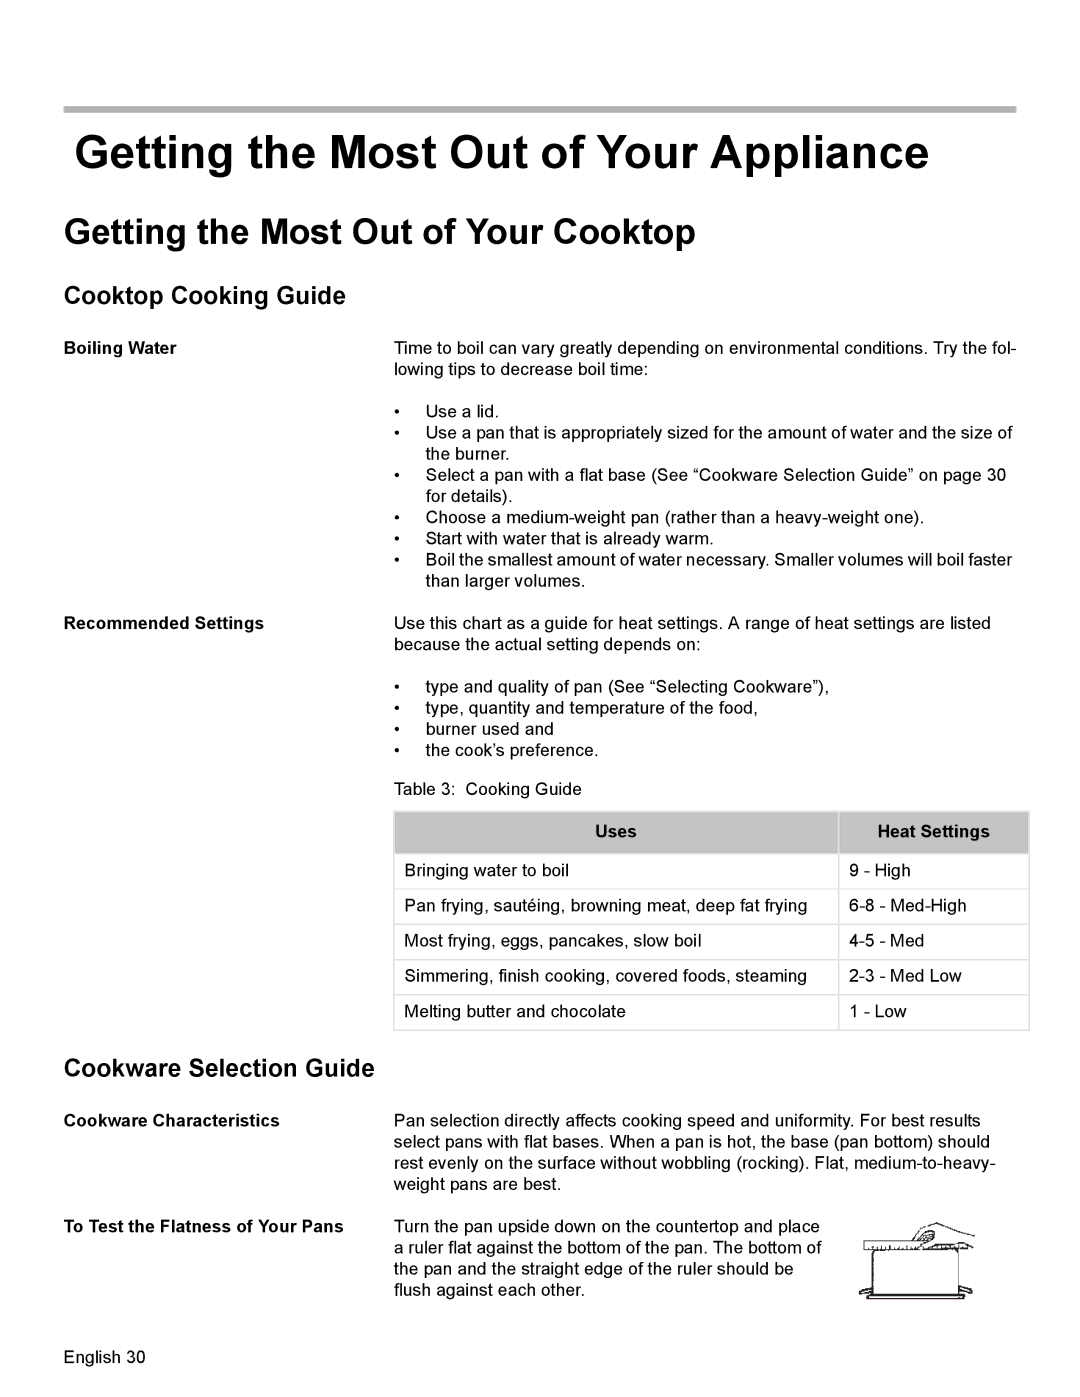
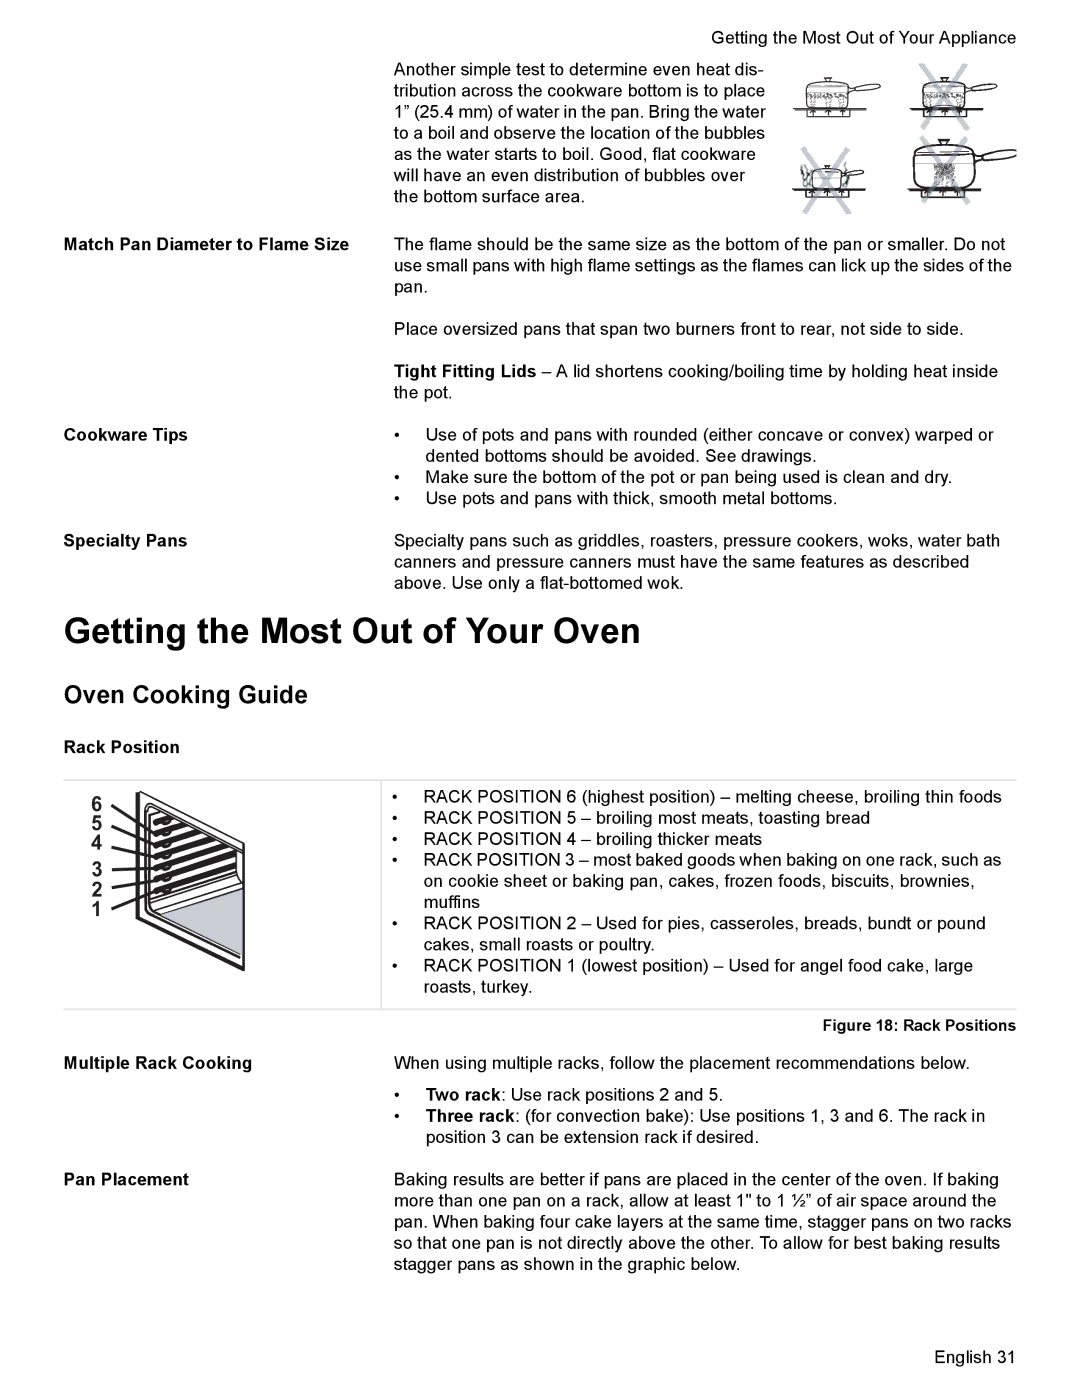
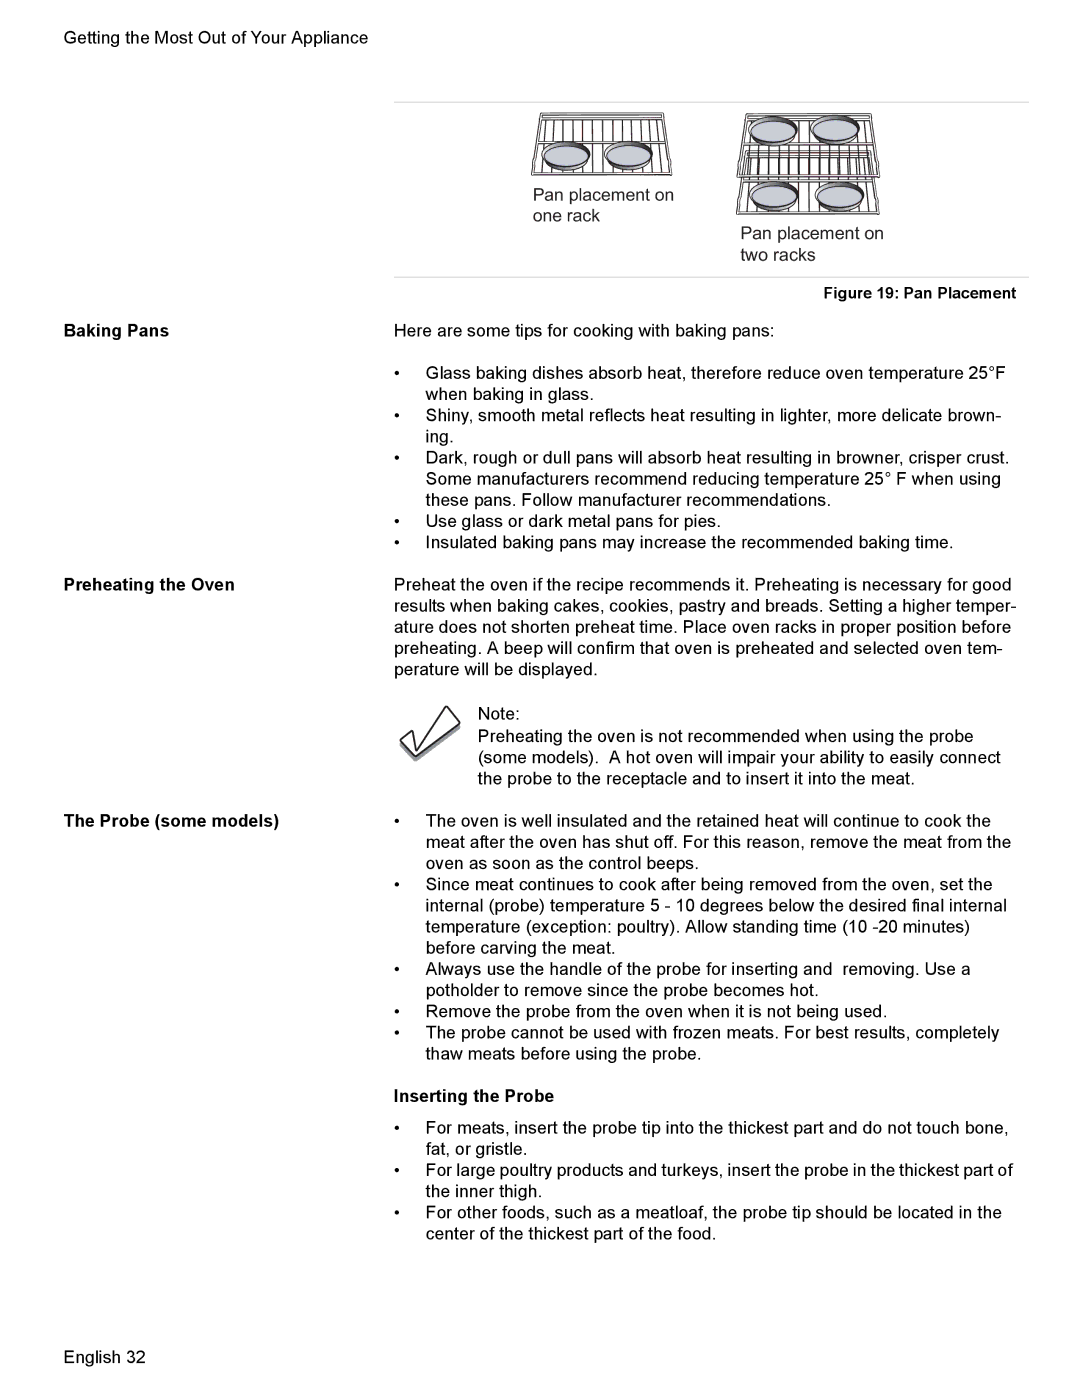
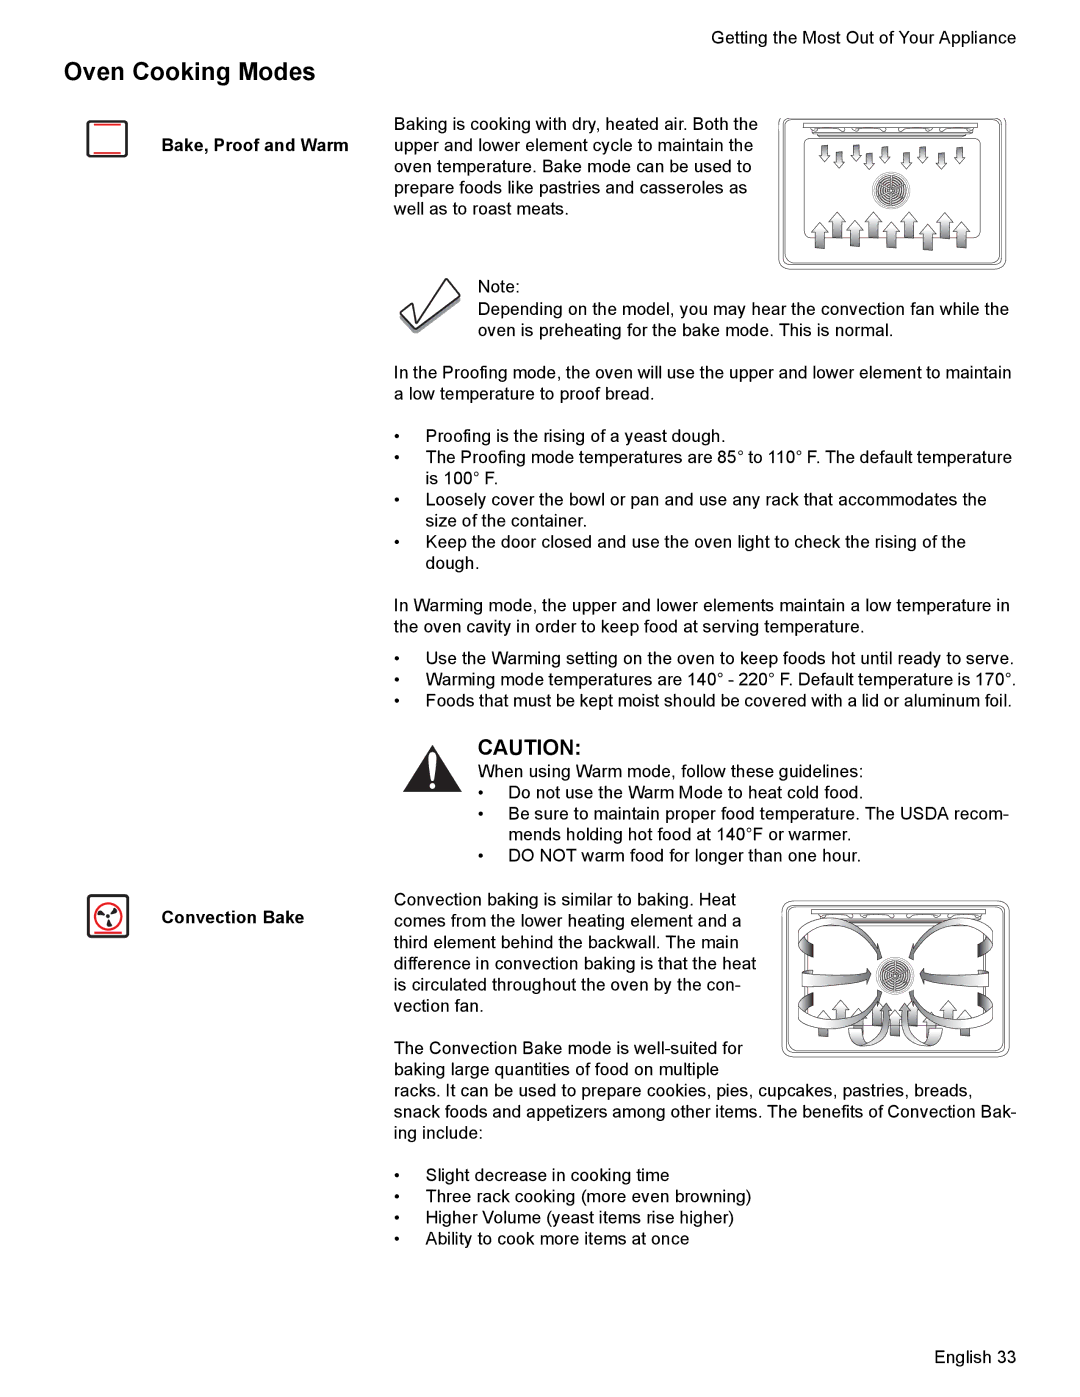
• Two flat racks and one full extension rack


• Two flat racks and one half rack


• Three flat racks

Flat Oven Racks

The racks are designed with a stop so they will stop before coming completely


out of the oven and not tilt.


CAUTION:


To avoid burns, place oven racks in desired positions before turning


oven on. Always use oven mitts when the oven is warm. If a rack


must be moved while the oven is hot, do not let oven mitts contact


hot elements.

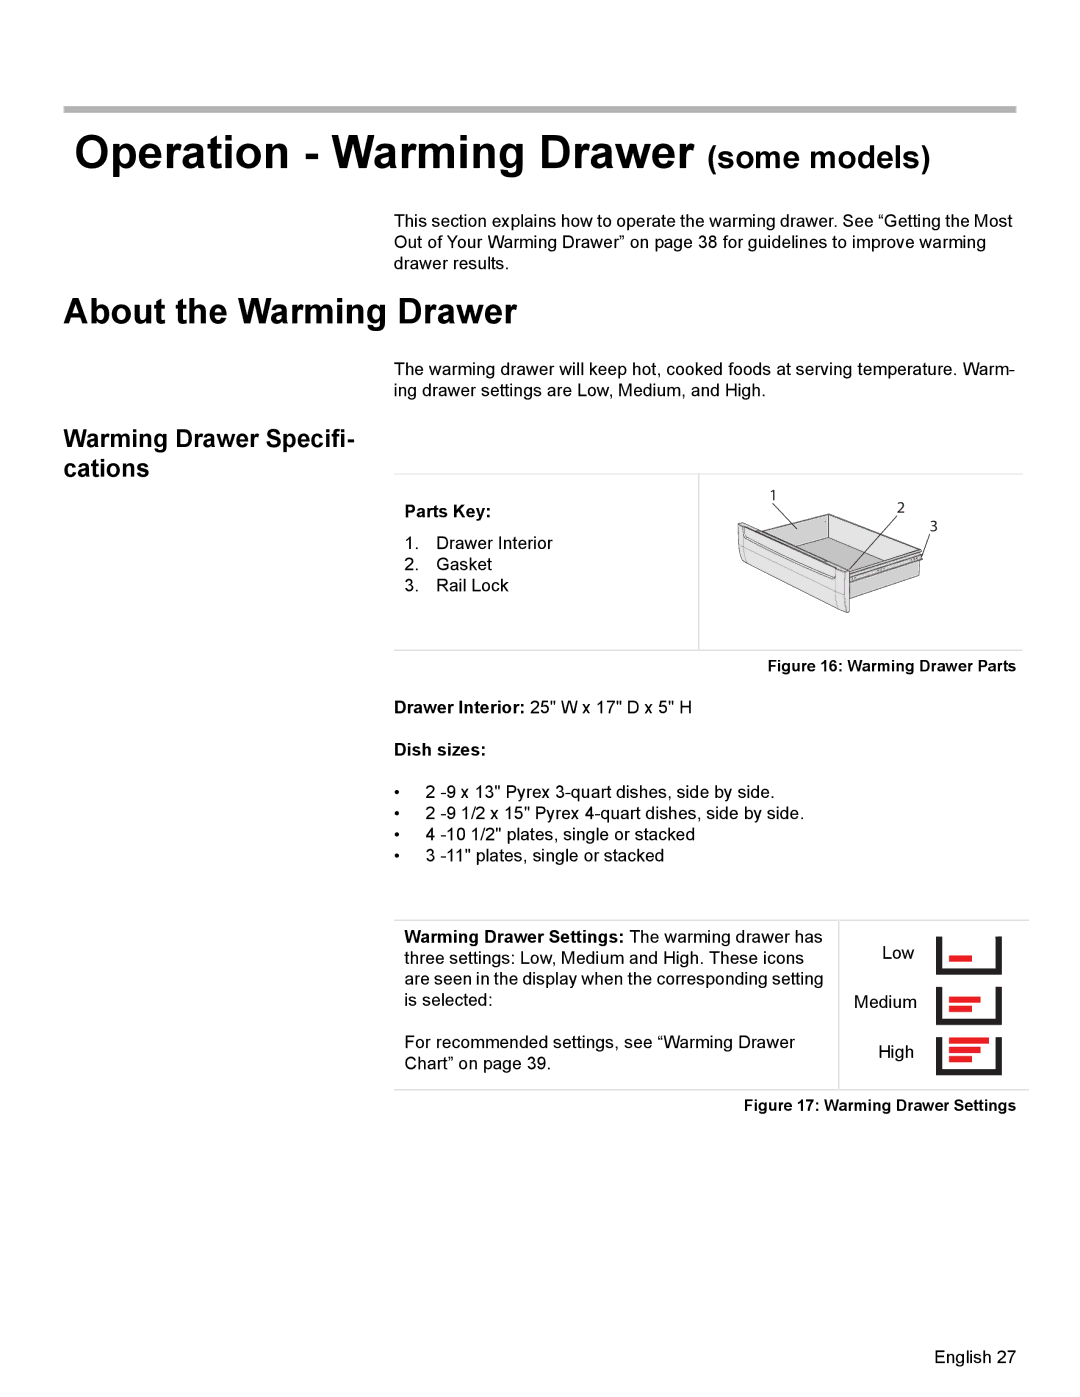
Inserting Racks Into Oven

1.Grasp rack firmly on both sides.

2.Tilt rack up to allow stop into rack guide.

English 11

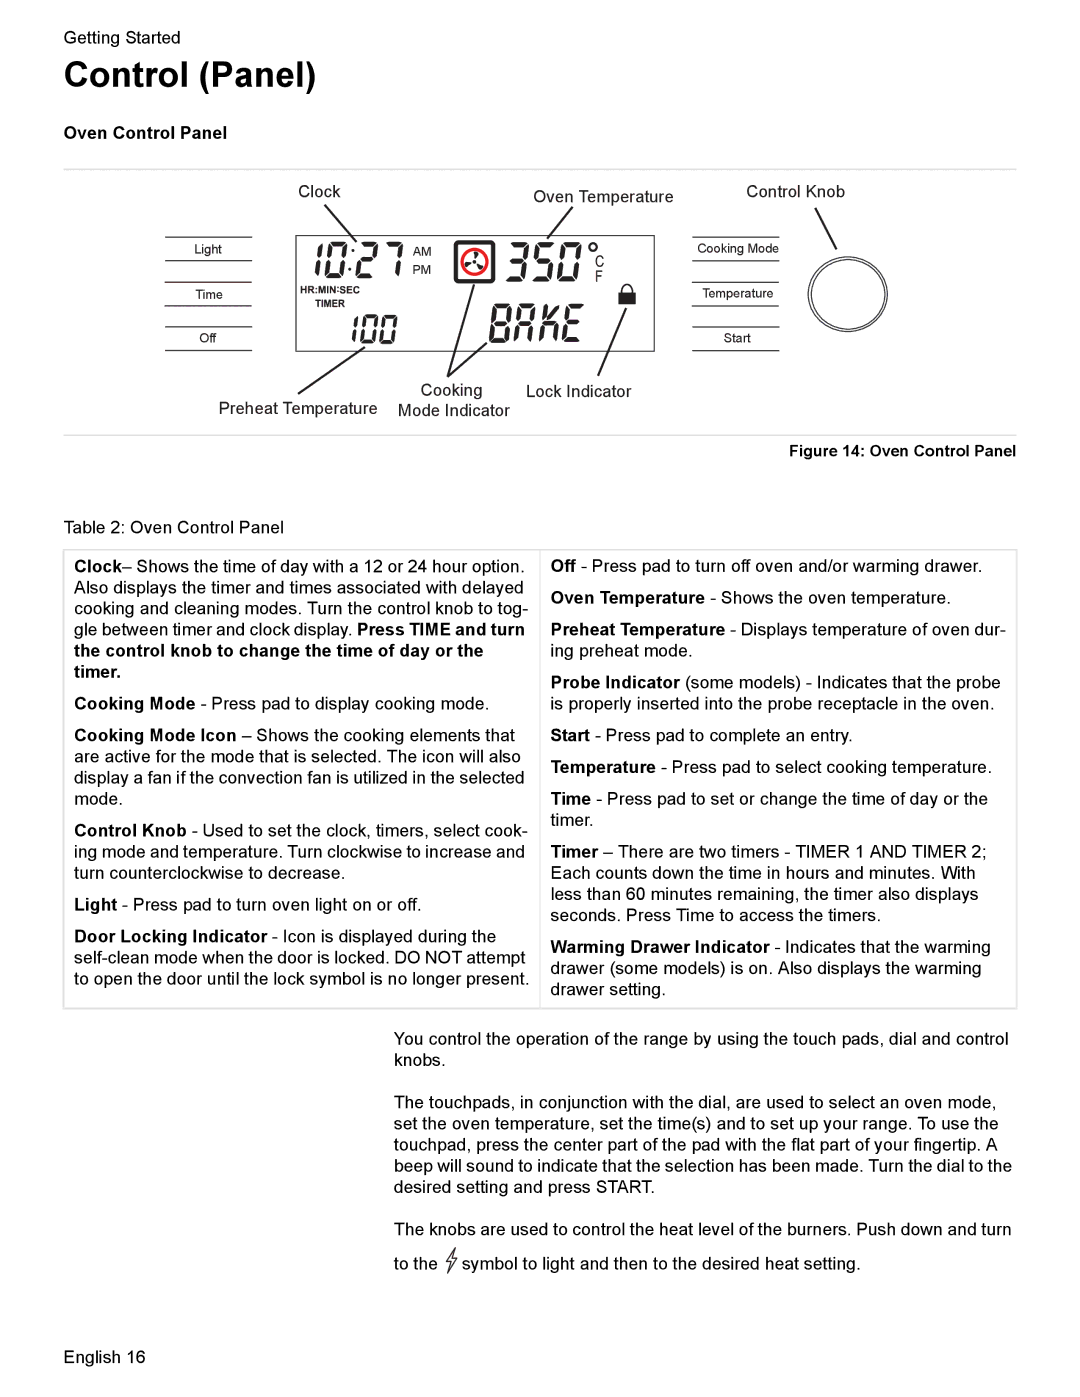
Image 15
Contents Use and Care Manual Page Table of Contents Page How This Manual Is Organized About This ManualProper Installation and Maintenance SafetyImportant Safety Instructions Important Safety Instruc- tionsWhat to do if YOU Smell GAS To Reduce the Risk of a Range TOP Grease Fire Fire SafetyBurn Prevention Child SafetyCookware Safety Cleaning SafetyConversion to Liquified Petroleum Gas Food SafetyParts and Accessories Getting StartedPart Burner Grates Sealed Gas BurnersBurner Caps Diffusion Burner CapsModels with Glass Ceramic Cooktop Left Side Burner Grate Right SideOven Racks High Power BurnerElectronic Ignitor Precision BurnerDisassembly for cleaning Removing Flat Racks From OvenRemoving and Replacing Half Oven Rack Some Models ReassemblyCleaning Closed Position Back of Rack Stop Ball Front of RackOven Bottom Combustion Vents slide-in models only Oven Vent Free-standing ModelsSlide-in Models Cooling Fan Slide-in models only Self CleaningIndicators and Other Features Automatic ShutoffOven Control Panel Control PanelSelect Functions Menu ClockChange the Beep Volume Change the TemperatureScale Reset the Factory Set- tings Set the Sabbath Feature About the Sabbath FeatureSetting the Sabbath Feature for the Oven Only Setting the Sabbath Feature for the Warming Drawer Only Before Using the Appliance for the First TimeOperation Setting the Burner Heat LevelOperation Cooktop About the CooktopOperation Cooktop Automatic Convection Conversion models with convection bake Setting the Cooking Mode and TemperatureOperation Oven About the Oven OperationUsing Timed or Delayed Cook Using the TimerModels Using the Probe someChanging the Probe Temperature Setting the ProbeChanging the Oven Temperature When Using the ProbeOperation Warming Drawer some models About the Warming DrawerWarming Drawer Specifi- cations Preheating Turning on the Warming DrawerTurning Off the Warming Drawer Warming Empty Serving Bowls and Plates Crisping Stale ItemsCookware Selection Guide Getting the Most Out of Your ApplianceGetting the Most Out of Your Cooktop Cooktop Cooking GuideOven Cooking Guide Getting the Most Out of Your OvenInserting the Probe Baking PansPreheating the Oven Probe some modelsOven Cooking Modes For Best Results Convection Broil some models For Best Results Dehydrate General Tips Getting the Most Out Your Warming DrawerFood Temperature Covered Uncovered Avoid these Cleaners Cleaning and MaintenanceCleaning Cooktop Daily Cleaning Cleaning GuidelinesExterior Finish / Stainless Control Knobs / PlasticGreasy spatters Spills. Melted plastic film or foil. All theseBurned-on food soil, dark streaks, SpecksDaily Cleaning Cleaning OvenPreparing the Oven for Self Clean Self Cleaning the OvenDelaying the Start Self-Clean Setting the Self-Clean ModeCleaning Drawers Storage or Warming MaintenanceAfter Self-Cleaning Stainless Steel Cooktop Models Cooktop MaintenanceTo remove the oven door Oven MaintenanceReplacing an Oven Light To replace the oven doorCooktop Problem Possible Causes and Suggested Solutions ServiceBefore Calling Service Troubleshooting ChartsOven Oven Problem Possible Causes Suggested SolutionsProduct Data Plate How to Obtain Service or PartsWarranty What this Warranty Covers & Who it Applies toWarranty Exclusions Out of Warranty ProductHow to Obtain Warranty Service Service English