Husqvarna ZTH6125, ZTH5223 manual Hydraulic Tank, Draining, Filling

Page 58

HYDRAULIC SYSTEM

Hydraulic Tank

Draining

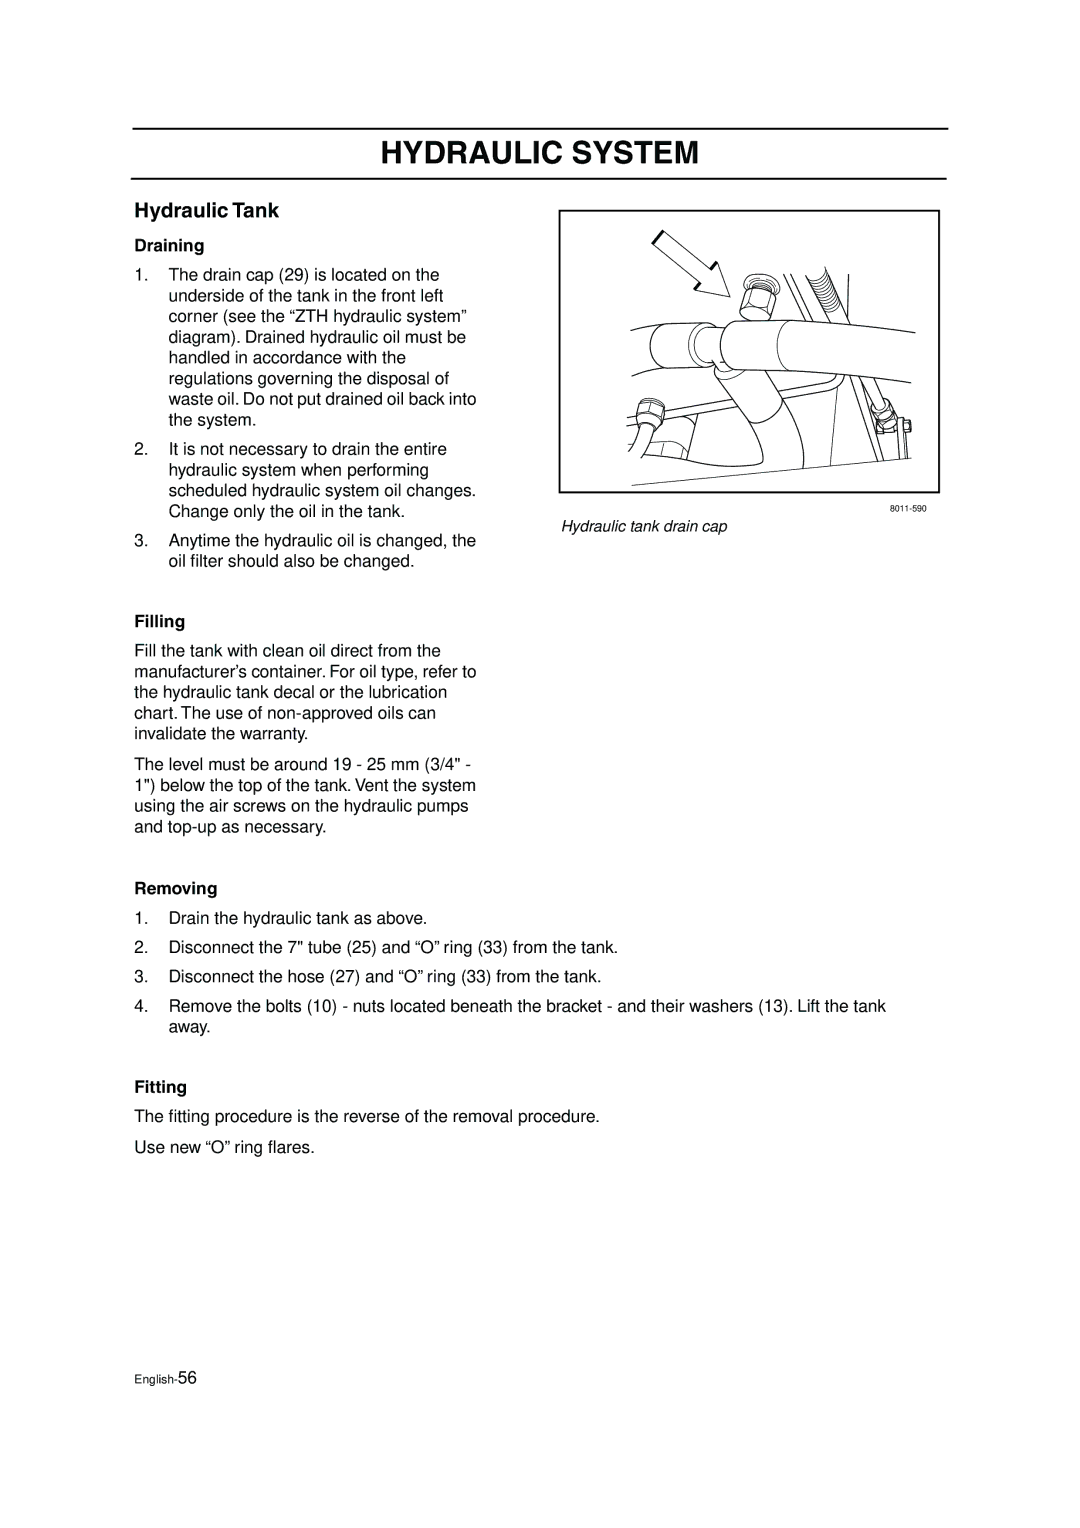
1.The drain cap (29) is located on the

underside of the tank in the front left corner (see the “ZTH hydraulic system” diagram). Drained hydraulic oil must be handled in accordance with the regulations governing the disposal of waste oil. Do not put drained oil back into the system.

2. It is not necessary to drain the entire


hydraulic system when performing


scheduled hydraulic system oil changes.


Change only the oil in the tank.

8011-590


Hydraulic tank drain cap

3.Anytime the hydraulic oil is changed, the oil filter should also be changed.

Filling

Fill the tank with clean oil direct from the manufacturer’s container. For oil type, refer to the hydraulic tank decal or the lubrication chart. The use of non-approved oils can invalidate the warranty.

The level must be around 19 - 25 mm (3/4" - 1") below the top of the tank. Vent the system using the air screws on the hydraulic pumps and top-up as necessary.

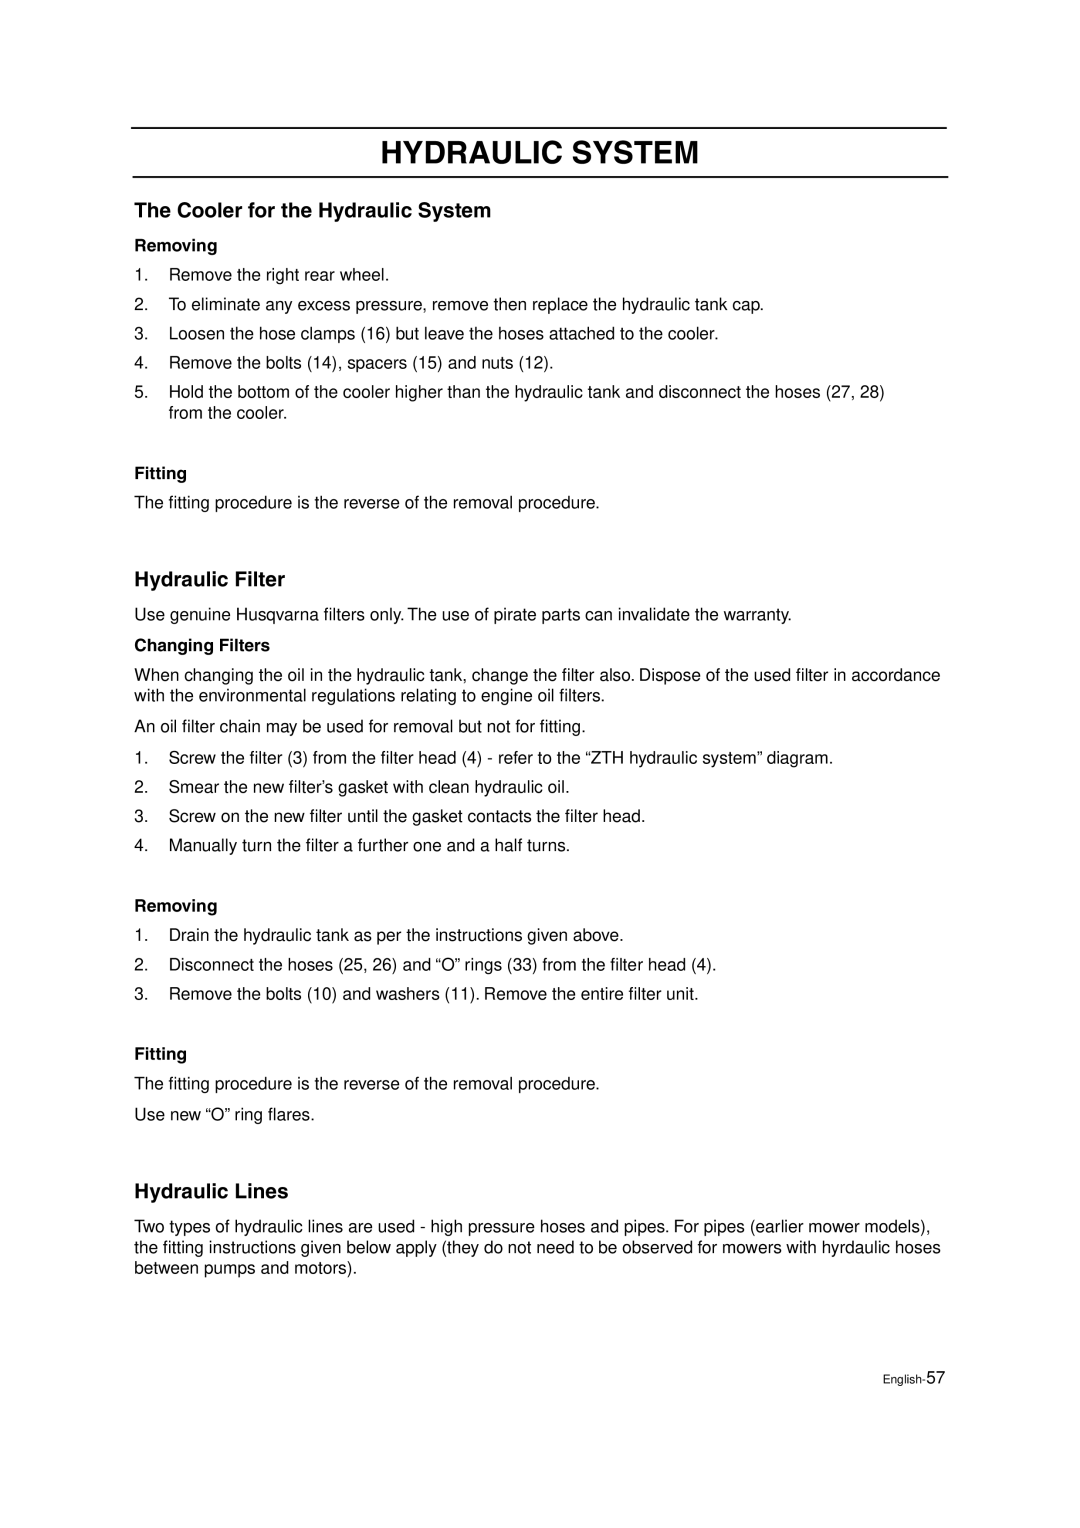
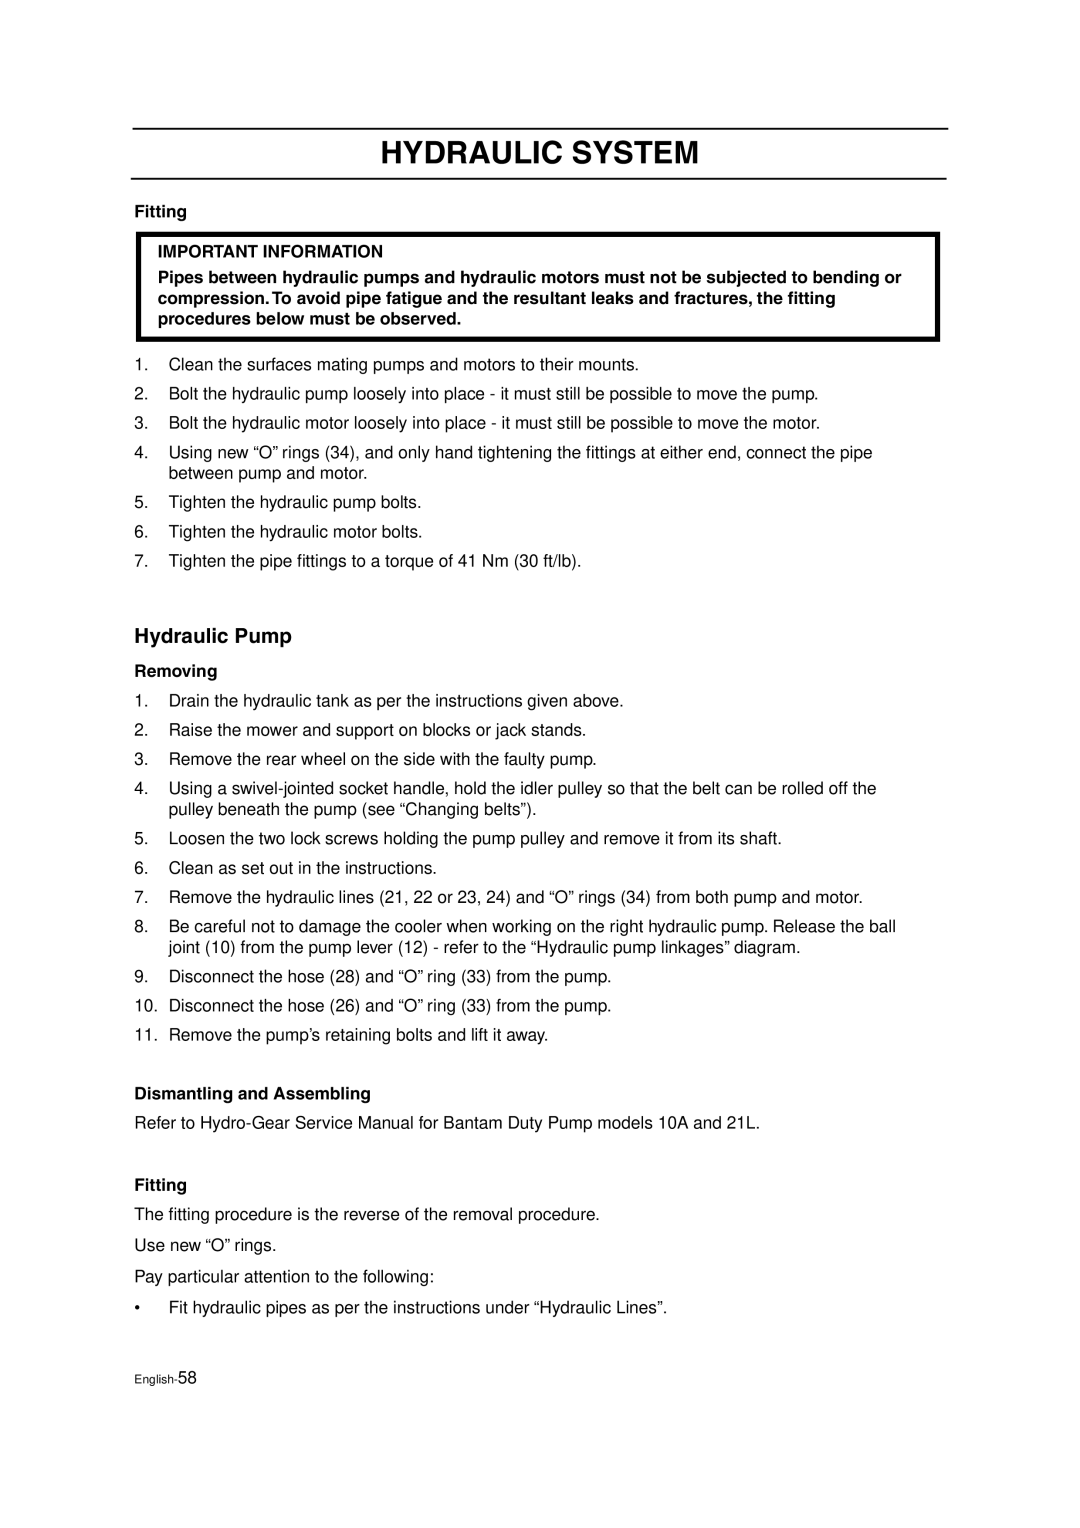
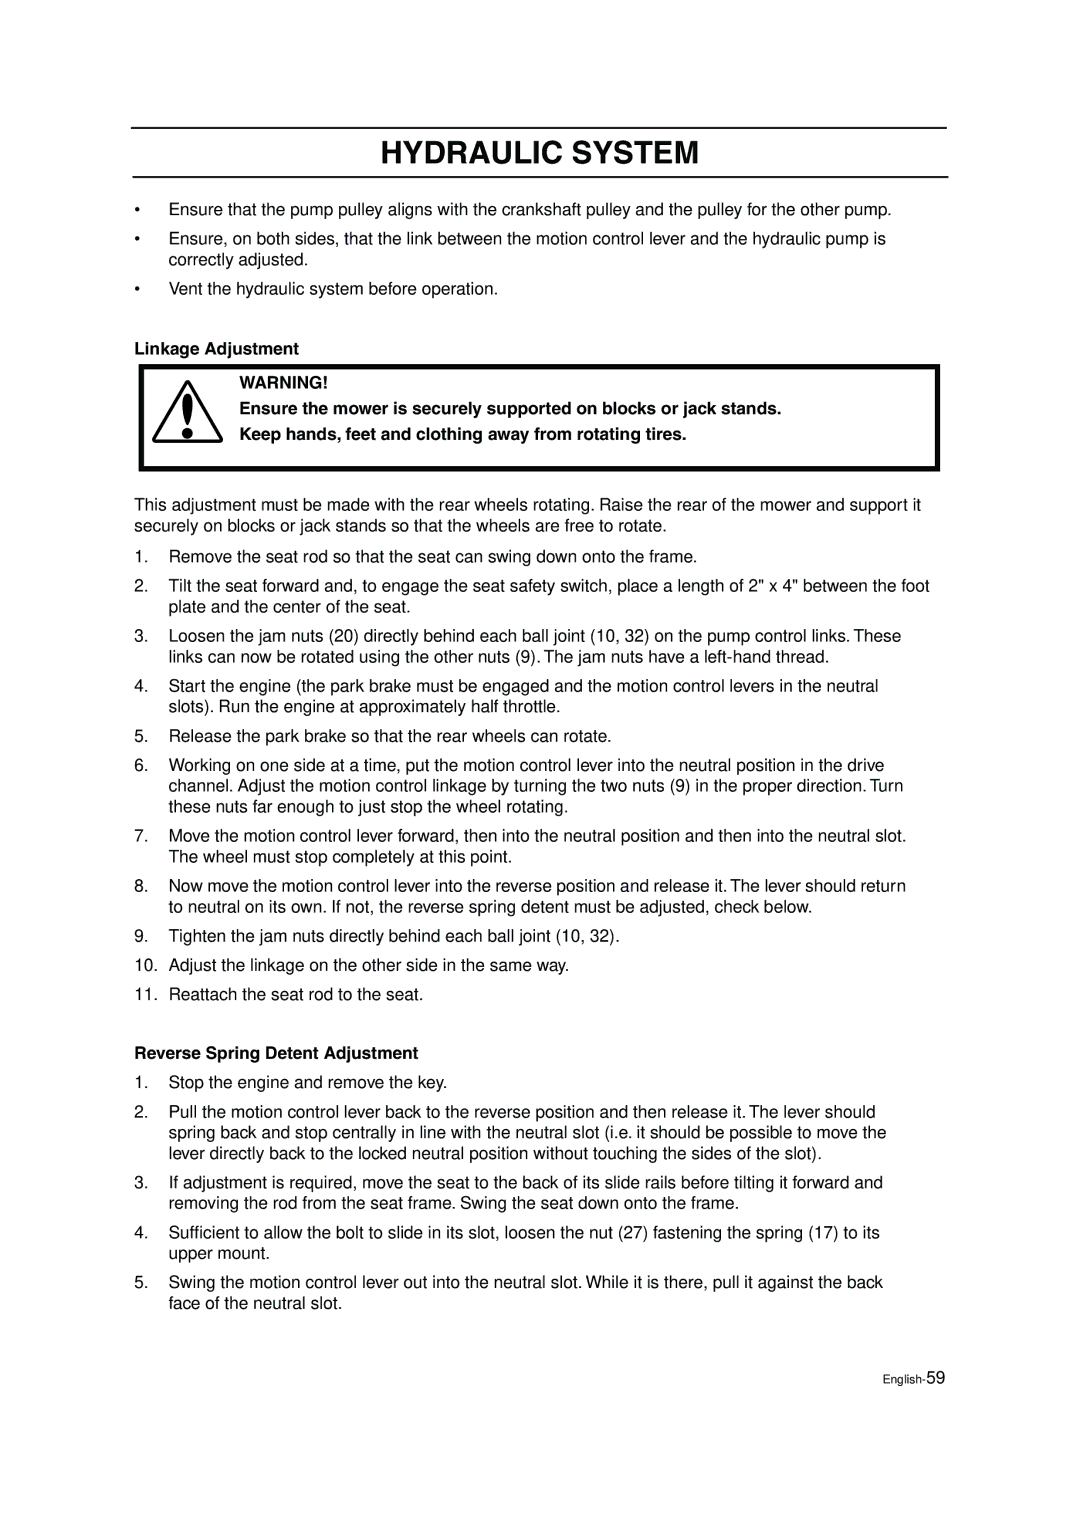
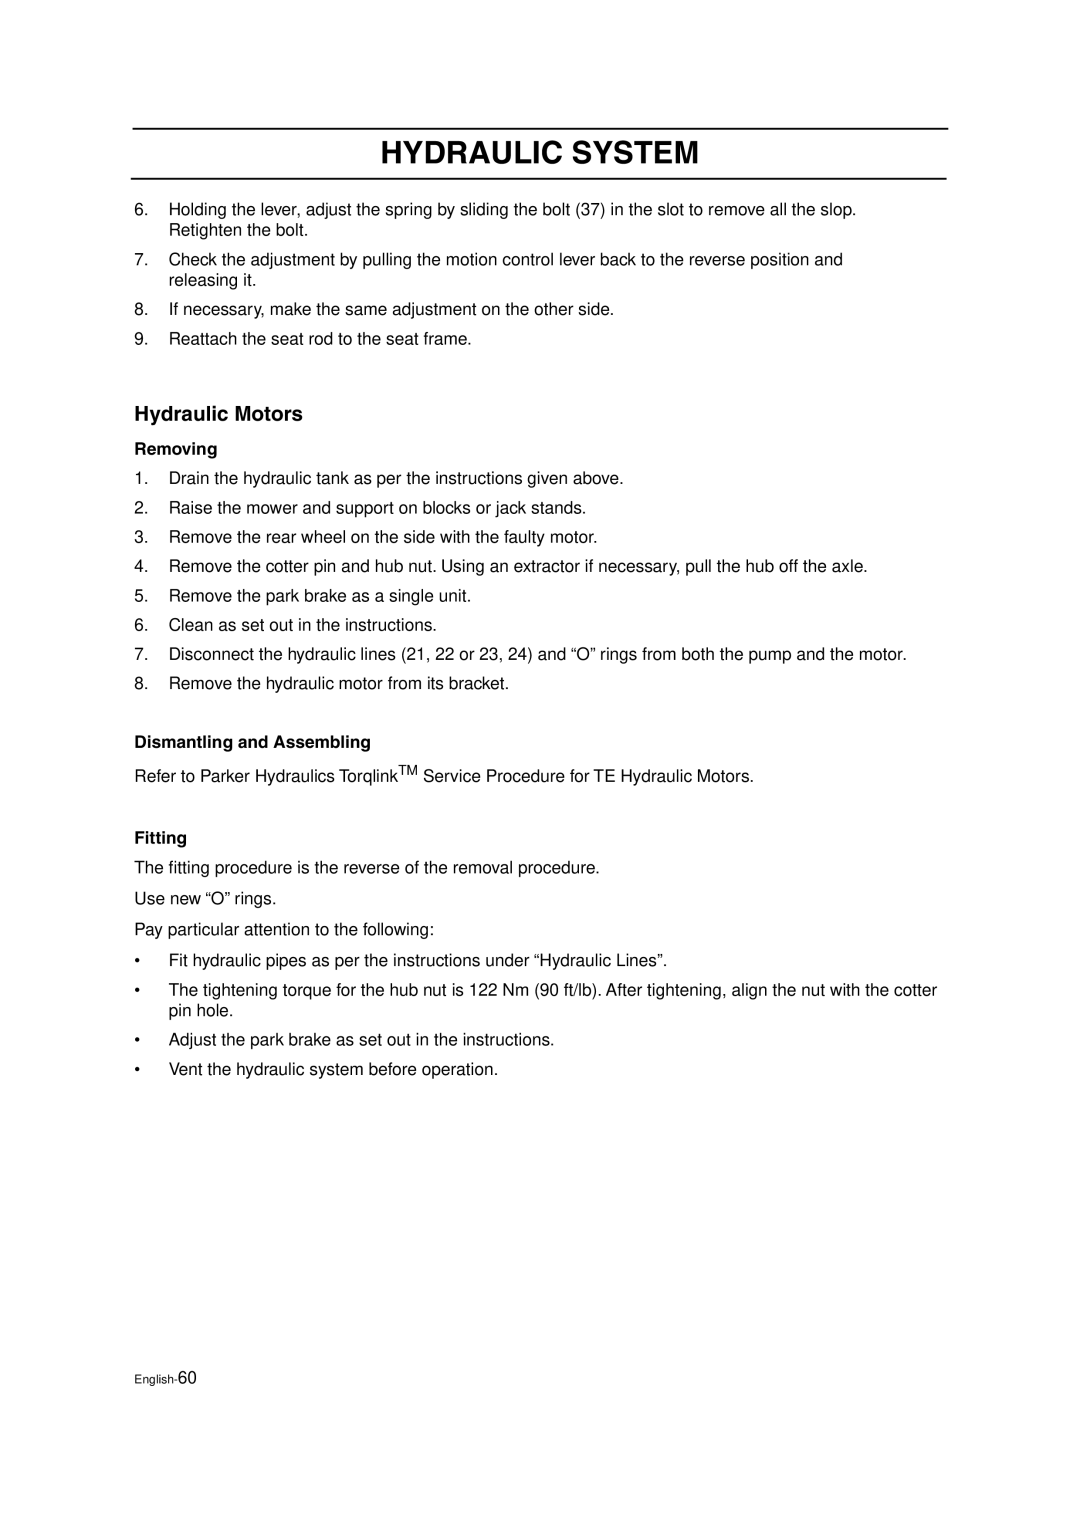
Removing

1.Drain the hydraulic tank as above.

2.Disconnect the 7" tube (25) and “O” ring (33) from the tank.

3.Disconnect the hose (27) and “O” ring (33) from the tank.

4.Remove the bolts (10) - nuts located beneath the bracket - and their washers (13). Lift the tank away.

Fitting

The fitting procedure is the reverse of the removal procedure.

Use new “O” ring flares.
English-56

Image 58
Contents ZTH Svenska Contents Workshop Manual RIDE-ON Lawn Mower ZTHEnglish-2 General Instructions Safety InstructionsSafety Instructions Special InstructionsSafety Regulations Explanation of Symbols Explanation of SymbolsXxxxxxx xxxx xxxxxxxx xxx x. xxxx xxxxxx Tools ToolsZTH5223 Technical DataTechnical Data ZTH6125Tightening torque, standard Bolts ZTH5223 ZTH6125Fuel capacity Litres 11.4 US Gal., 22 litres 12 Nm 9 ft/lb 25 Nm 18 ft/lb 44 Nm 33 ft/lbAccessories 70 Nm 52 ft/lb 110 Nm 80 ft/lbEnglish-10 Pre-delivery Service Delivery and Dealer ServiceDelivery and Dealer Service Charge the battery Mount the rear tiresAfter the First 8 Hours Hour ServiceCarry out a 25 hour service Change the motor oilEnglish-13 At Least Once a Year Maintenance Schedule Daily Weekly Service Records English-18 To our Dealers Delivery ServicingDelivery Servicing Removing the Mower from its PackagingDelivery Service Risk of incorrect assembly/fitting Important InformationADD Gasoline is highly flammable Take great care Administration Test RunningGeneral Design and FunctionDesign and Function Mower IdentificationEngine identification Drive and Control EngineBrakes Mower Deck Belt is automatically adjusted by a springWith the belt and the other pulleys Removing RepairsRepairs Disconnect the cable from the starter motorFitting Adjusting Throttle Lever Tension Adjusting the Throttle WireChecking and Adjusting the Throttle Wire Checking and Adjusting the Choke Wire DiagramThree nuts 10 all with washers Fuel tankFire and health hazard Avoid spills Wipe dry if necessary Springs 9 located on the underside of the splashguardAdjusting the Park Brake Adjusting Motion Control Lever LinkagesAdjusting Motion Control Lever Spring-back See Hydraulic system\Hydraulic pump\Adjusting the linkagesZTH mower deck diagram Removing Bearings Repairing BearingsSpindle Blade Bearings Roll the belt off see Changing BeltsReplacing Bearings Sharpening and Balancing BladesOr any other damage. If they do, scrap Deck Belt Setting the Mower DeckAdjusting Cutting Height LevelingBelt Tensioning Assembly Hydraulic Pump Belt Changing Pump and Deck BeltsDismantling Pump Belt Tensioning AssemblyFront Wheel Bearings AssemblingEnglish-42 Diagram below shows the structure of the electrical system TroubleshootingWiring Assembly Electrical SystemZTH console harness ZTH frame harness Refer to the ZTH electrical system diagram BatteryFuses Starter Motor Contactor RelaysChanging Ignition and Start Switch Hour MeterMower Deck Clutch Blade SwitchTroubleshooting Guide Measuring the Supply VoltageMotion Control Switches Park Brake Interlock Switch Check that the start interlock functions correctlyWelding Hydraulic System Hydraulic SystemHydraulics Hygiene Correct Oil Leaks Keep Hydraulic Oil CleanHydraulic Oils Work MethodsZTH Hydraulic System Draining Hydraulic TankFilling Hydraulic Filter fitting procedure is the reverse of the removal procedureCooler for the Hydraulic System Hydraulic LinesHydraulic Pump Dismantling and Assembling FittingReverse Spring Detent Adjustment Stop the engine and remove the keyHydraulic Motors Dismantling and AssemblingTroubleshooting TroubleshootingWiring Harness To RUN? Clutch Large more than Useful life 125/3.18 mm Problem Possible causes Clutch will not engageSolution Brake will not engageNoisy clutch/vibrations Faulty. Repair or replaceFailed bearing Loose mounting bolt not tightened Troubleshooting Checklist, Hydraulic Pump Problem Cause Corrective actionEspecially the cooler ´+H¶6D¨ Svenska ´+H¶6D¨ 2002W20 Also See