C
Product Specifications
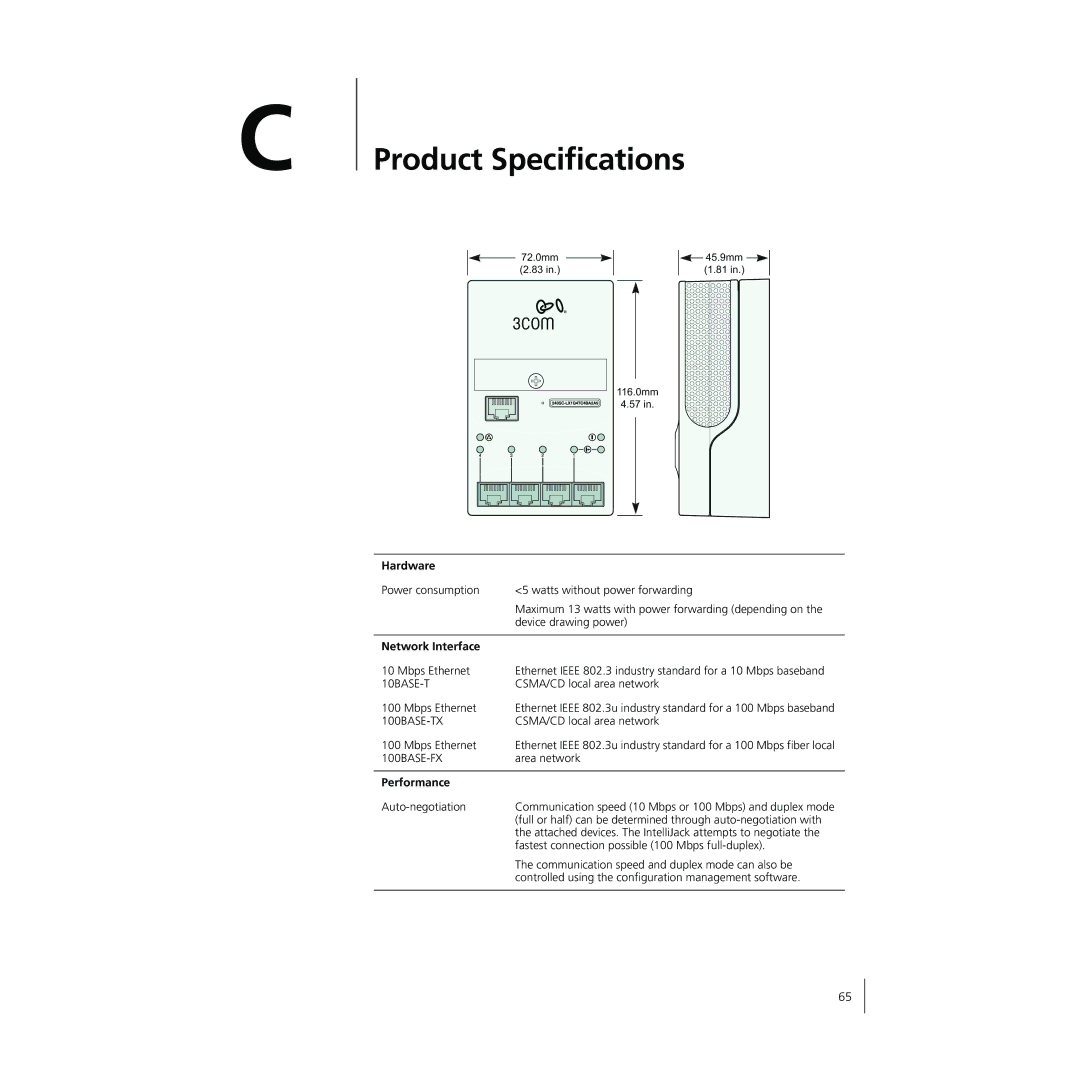
Hardware |
|
Power consumption | <5 watts without power forwarding |
| Maximum 13 watts with power forwarding (depending on the |
| device drawing power) |
|
|
Network Interface |
|
10 Mbps Ethernet | Ethernet IEEE 802.3 industry standard for a 10 Mbps baseband |
| CSMA/CD local area network |
100 Mbps Ethernet | Ethernet IEEE 802.3u industry standard for a 100 Mbps baseband |
| CSMA/CD local area network |
100 Mbps Ethernet | Ethernet IEEE 802.3u industry standard for a 100 Mbps fiber local |
area network | |
|
|
Performance |
|
Communication speed (10 Mbps or 100 Mbps) and duplex mode | |
| (full or half) can be determined through |
| the attached devices. The IntelliJack attempts to negotiate the |
| fastest connection possible (100 Mbps |
| The communication speed and duplex mode can also be |
| controlled using the configuration management software. |
|
|
65