8CHAPTER 1: INSTALLING THE NJ240FX INTELLIJACK
13Align the main housing mounting hole with the metal mounting boss on the metal mounting plate and secure with the supplied long oval head machine screw.
NOTE: An access hole is provided for installations that require the supplied AC power cord to be routed back into the NEMA box. Place the AC power cord between the metal and plastic housing cable tray and route through the lower rectangular opening in the metal mounting plate. Adjust cable for desired loop length before securing in place.
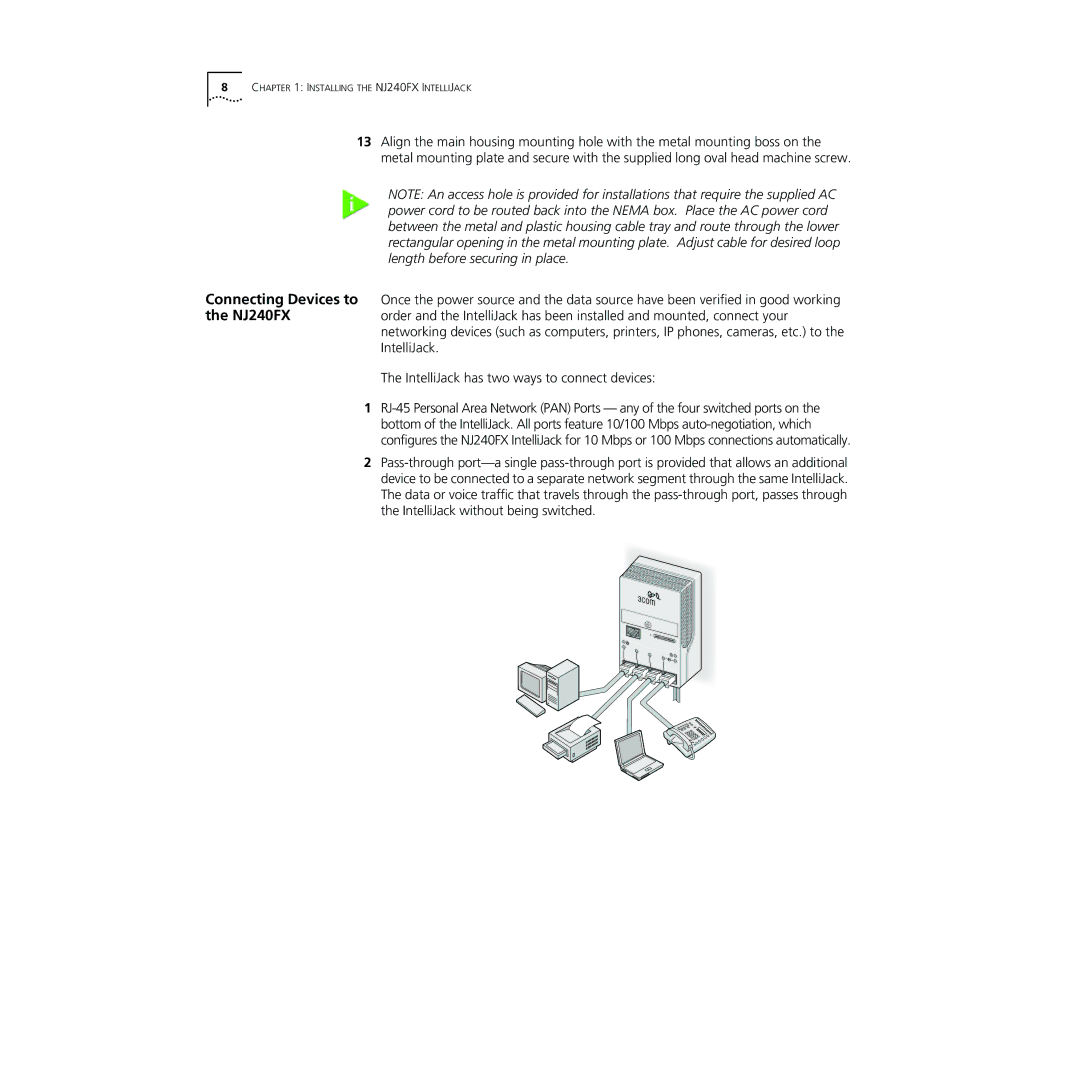
Connecting Devices to Once the power source and the data source have been verified in good working
the NJ240FXorder and the IntelliJack has been installed and mounted, connect your networking devices (such as computers, printers, IP phones, cameras, etc.) to the IntelliJack.
The IntelliJack has two ways to connect devices:
1
2