Chapter 3 - Setup
Video Settings
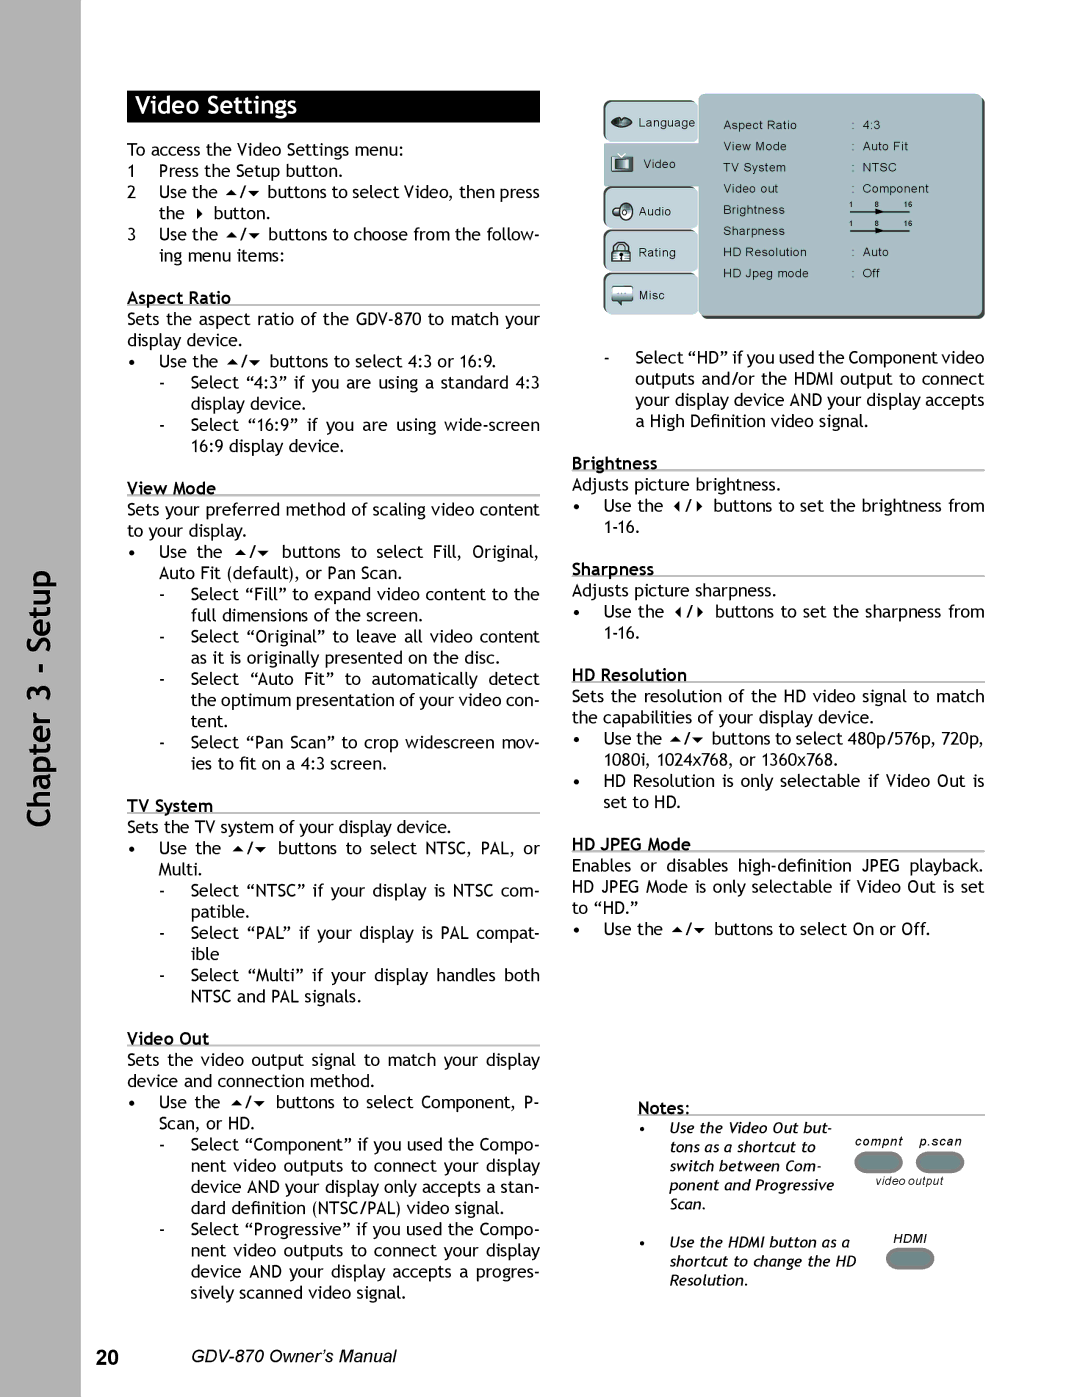
To access the Video Settings menu:
1Press the Setup button.
2Use the / buttons to select Video, then press the button.
3Use the / buttons to choose from the follow- ing menu items:
Aspect Ratio
Sets the aspect ratio of the
•Use the / buttons to select 4:3 or 16:9.
-Select “4:3” if you are using a standard 4:3 display device.
-Select “16:9” if you are using
View Mode
Sets your preferred method of scaling video content to your display.
•Use the / buttons to select Fill, Original, Auto Fit (default), or Pan Scan.
-Select “Fill” to expand video content to the full dimensions of the screen.
-Select “Original” to leave all video content as it is originally presented on the disc.
-Select “Auto Fit” to automatically detect the optimum presentation of your video con- tent.
-Select “Pan Scan” to crop widescreen mov- ies to fit on a 4:3 screen.
TV System
Sets the TV system of your display device.
•Use the / buttons to select NTSC, PAL, or Multi.
-Select “NTSC” if your display is NTSC com- patible.
-Select “PAL” if your display is PAL compat- ible
-Select “Multi” if your display handles both NTSC and PAL signals.
Video Out
Sets the video output signal to match your display device and connection method.
•Use the / buttons to select Component, P- Scan, or HD.
-Select “Component” if you used the Compo- nent video outputs to connect your display device AND your display only accepts a stan- dard definition (NTSC/PAL) video signal.
-Select “Progressive” if you used the Compo- nent video outputs to connect your display device AND your display accepts a progres- sively scanned video signal.
Language | Aspect Ratio | : | 4:3 |
|
| ||
| View Mode | : | Auto Fit | ||||
Video | TV System | : | NTSC |
|
| ||
| Video out | : | Component | ||||
Audio | Brightness | 1 | 8 | 16 | |||
|
|
|
|
| |||
1 | 8 | 16 | |||||
| Sharpness | ||||||
|
|
|
|
|
| ||
Rating | HD Resolution |
| : Auto |
|
| ||
| HD Jpeg mode |
| : Off |
|
| ||
![]() Misc
Misc
-Select “HD” if you used the Component video outputs and/or the HDMI output to connect your display device AND your display accepts a High Definition video signal.
Brightness
Adjusts picture brightness.
•Use the / buttons to set the brightness from
Sharpness
Adjusts picture sharpness.
•Use the / buttons to set the sharpness from
HD Resolution
Sets the resolution of the HD video signal to match the capabilities of your display device.
•Use the / buttons to select 480p/576p, 720p, 1080i, 1024x768, or 1360x768.
•HD Resolution is only selectable if Video Out is set to HD.
HD JPEG Mode
Enables or disables
•Use the / buttons to select On or Off.
Notes: |
| |
• Use the Video Out but- | compnt p.scan | |
tons as a shortcut to | ||
| ||
switch between Com- | video output | |
ponent and Progressive | ||
Scan. |
| |
• Use the HDMI button as a | HDMI |
shortcut to change the HD Resolution.
20