INSTALLATION
Check the appliance is electrically safe and gas sound when you have finished.
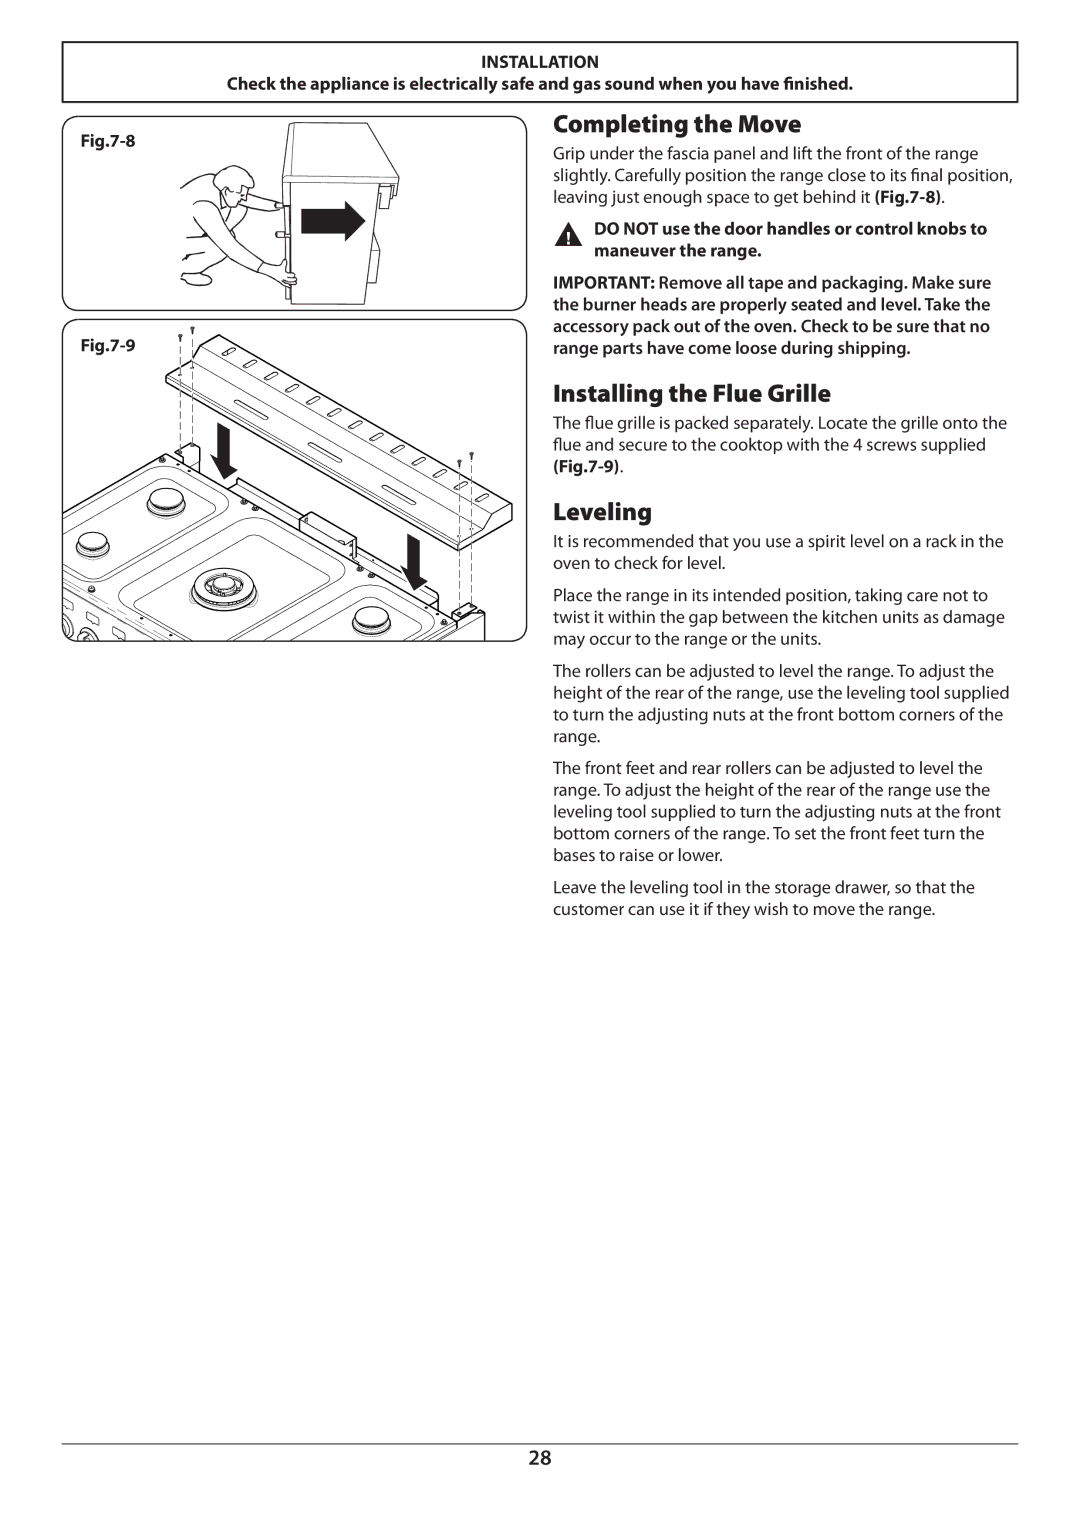
Completing the Move
Grip under the fascia panel and lift the front of the range slightly. Carefully position the range close to its final position, leaving just enough space to get behind it
DO NOT use the door handles or control knobs to maneuver the range.
IMPORTANT: Remove all tape and packaging. Make sure the burner heads are properly seated and level. Take the accessory pack out of the oven. Check to be sure that no range parts have come loose during shipping.
Installing the Flue Grille
The flue grille is packed separately. Locate the grille onto the flue and secure to the cooktop with the 4 screws supplied
Leveling
It is recommended that you use a spirit level on a rack in the oven to check for level.
Place the range in its intended position, taking care not to twist it within the gap between the kitchen units as damage may occur to the range or the units.
The rollers can be adjusted to level the range. To adjust the height of the rear of the range, use the leveling tool supplied to turn the adjusting nuts at the front bottom corners of the range.
The front feet and rear rollers can be adjusted to level the range. To adjust the height of the rear of the range use the leveling tool supplied to turn the adjusting nuts at the front bottom corners of the range. To set the front feet turn the bases to raise or lower.
Leave the leveling tool in the storage drawer, so that the customer can use it if they wish to move the range.
28