Manuals
/
Aspire Digital
/
Computer Equipment
/
Computer Hardware
Aspire Digital
M1610, M261
manual
Install the TV&VGA&MODEM card Close the system
Models:
M261
M1610
1
66
80
80
Download
80 pages
33.8 Kb
63
64
65
66
67
68
69
70
Troubleshooting
Specification
Install
Parts list
Block Diagram
Password
Load Optimized Defaults
PnP/PCI Configuration
Entering Setup
Connector
Page 66
Image 66
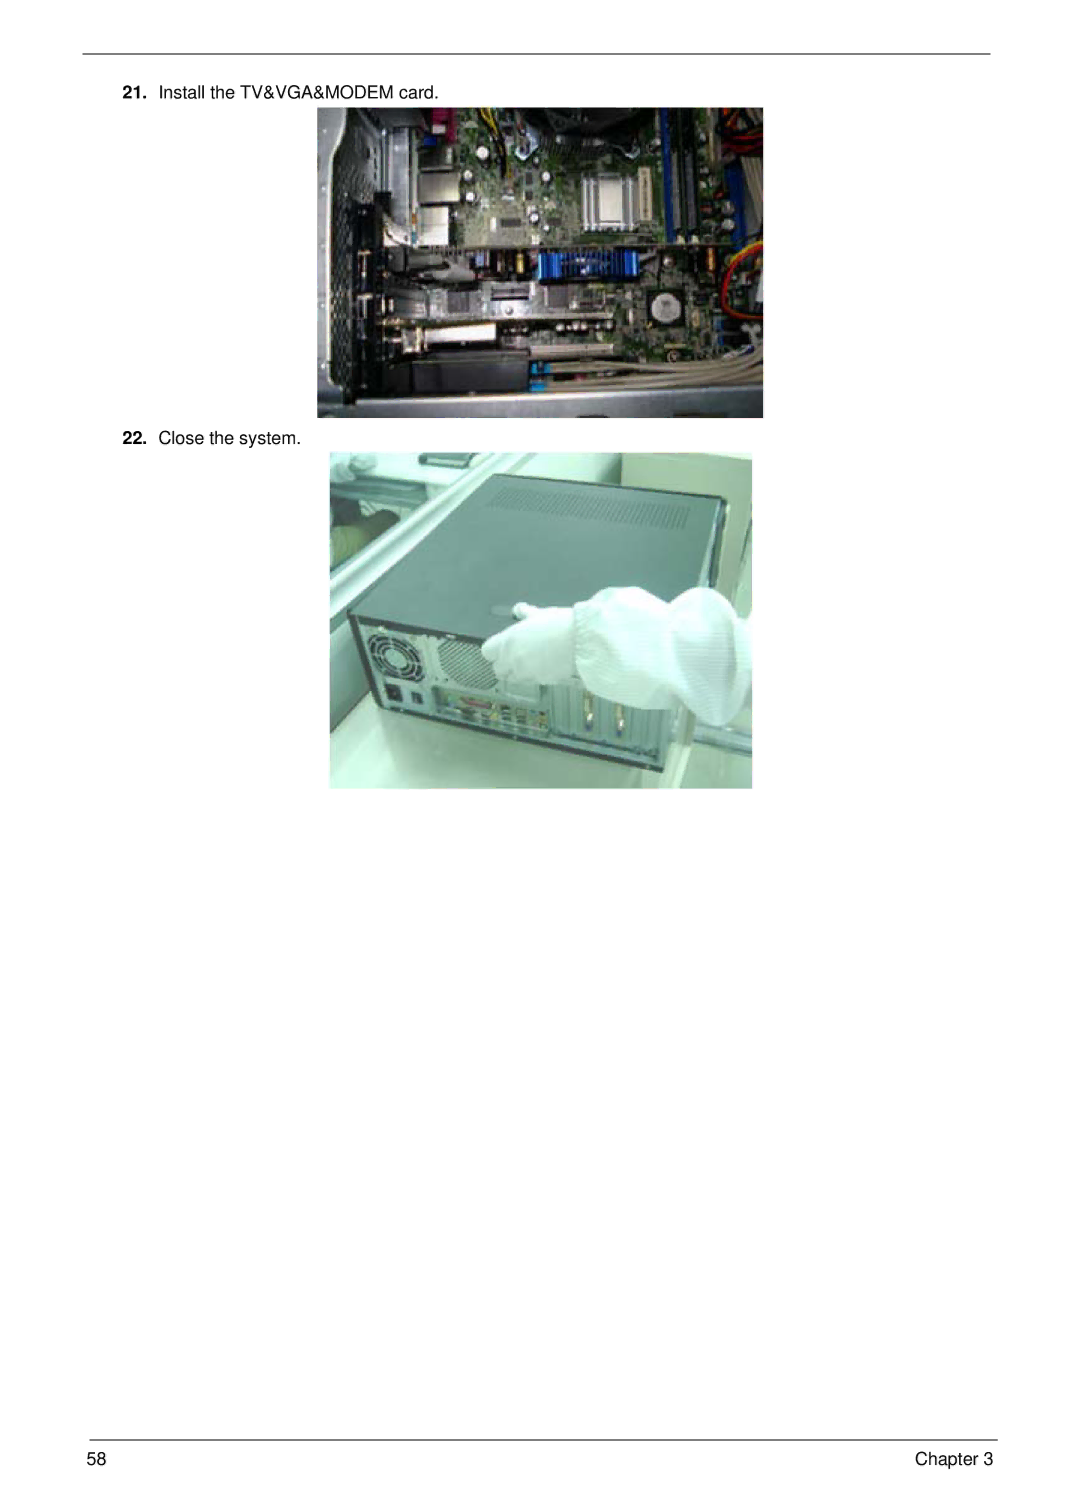
21.
Install the TV&VGA&MODEM card.
22.
Close the system.
58
Chapter 3
Page 65
Page 67
Page 66
Image 66
Page 65
Page 67
Contents
Aspire M1610/Veriton M261 Service Guide
Date Chapter Updates
Revision History
Copyright
Disclaimer
Conventions
Messages
Preface
Page
Table of Contents
Machine Disassembly and Replacement
Troubleshooting Jumper and Connector Information
FRU Field Replaceable Unit List
System Specifications
Features
FDD
Connector
Mainboard Placement
Block Diagram
Aspire M1610 Front Panel
Label Description
Aspire M1610 Rear Panel
Computer’s rear panel consists of the following
Veriton M261 Front Panel
Veriton M261 Rear Panel
System Memory Interface
Hardware Specifications and Configurations
Processor Support
System Clock
SiS 968 MuTIOL 1G Media I/O
Super I/O IT8718F
Audio Sub-Systems Realtek ALC888SCo-lay ALC888
TSB43AB23PDTG4 Host Controller
LAN Realtek8211BLdefault co-lay 8201CL phy
Universal Serial Bus
Expansion Slots
Power & Power Management
Hardware Monitor Function
Wake-Up Event From Acpi State Comments
System Bios
LPC Bus
System Utilities
Entering Setup
Page
Product Information
Parameter Description
Standard Cmos Features
Parameter Description Options
44M, 3.5 inch
All, but Keyboard
IDE Channel 0/1 Master
IDE Channel 0/1 Slave
Sata Channel 1/2 Master
Enabled
Advanced Bios Features
Disabled
Press Enter
Setup
Non-OS2
CPU Feature
Hard Disk Boot Priority
Advanced Chipset Features
Parameter Description Option
Internal Graphic Control
Integrated Peripherals
Onboard IDE Device
Onboard PCI Device
Onboard Super IO Device
Power Management
Auto
Yes
Bit Mode
S3 STR
SYNC+Blank
PnP/PCI Configuration
L0s&L1
4096
PC Health Status
Frequency/Voltage Control
Load Optimized Defaults
Set Supervisor/User Password
Save & Exit Setup
Exit Without Saving
Machine Disassembly and Replacement
General Information
Before You Begin
Disassembly Procedure
Aspire M1610/Veriton M261 Disassembly
Chapter
Page
Chapter
Aspire M1610 Veriton M261
Chapter
Page
Reassembly Procedure
Aspire M1610/Veriton M261 Reassembly
Page
Chapter
Install the front bezel
Chapter
Page
Install the TV&VGA&MODEM card Close the system
Troubleshooting
Chapter
Jumper and Connector Information
Name Description
Jumper Settings
Setting Jumpers
Front Audio
Front
CPU FAN 4pin
H4MO2 HEADER1X4K2
COM2
Chapter
FRU Field Replaceable Unit List
Exploded Diagrams
Aspire M1610
Description Decription
Veriton M261
Parts Lists
Top
Page
Image
Contents