ATTO Technology, Inc. | ATTO FibreBridge Installation & Operation Manual |
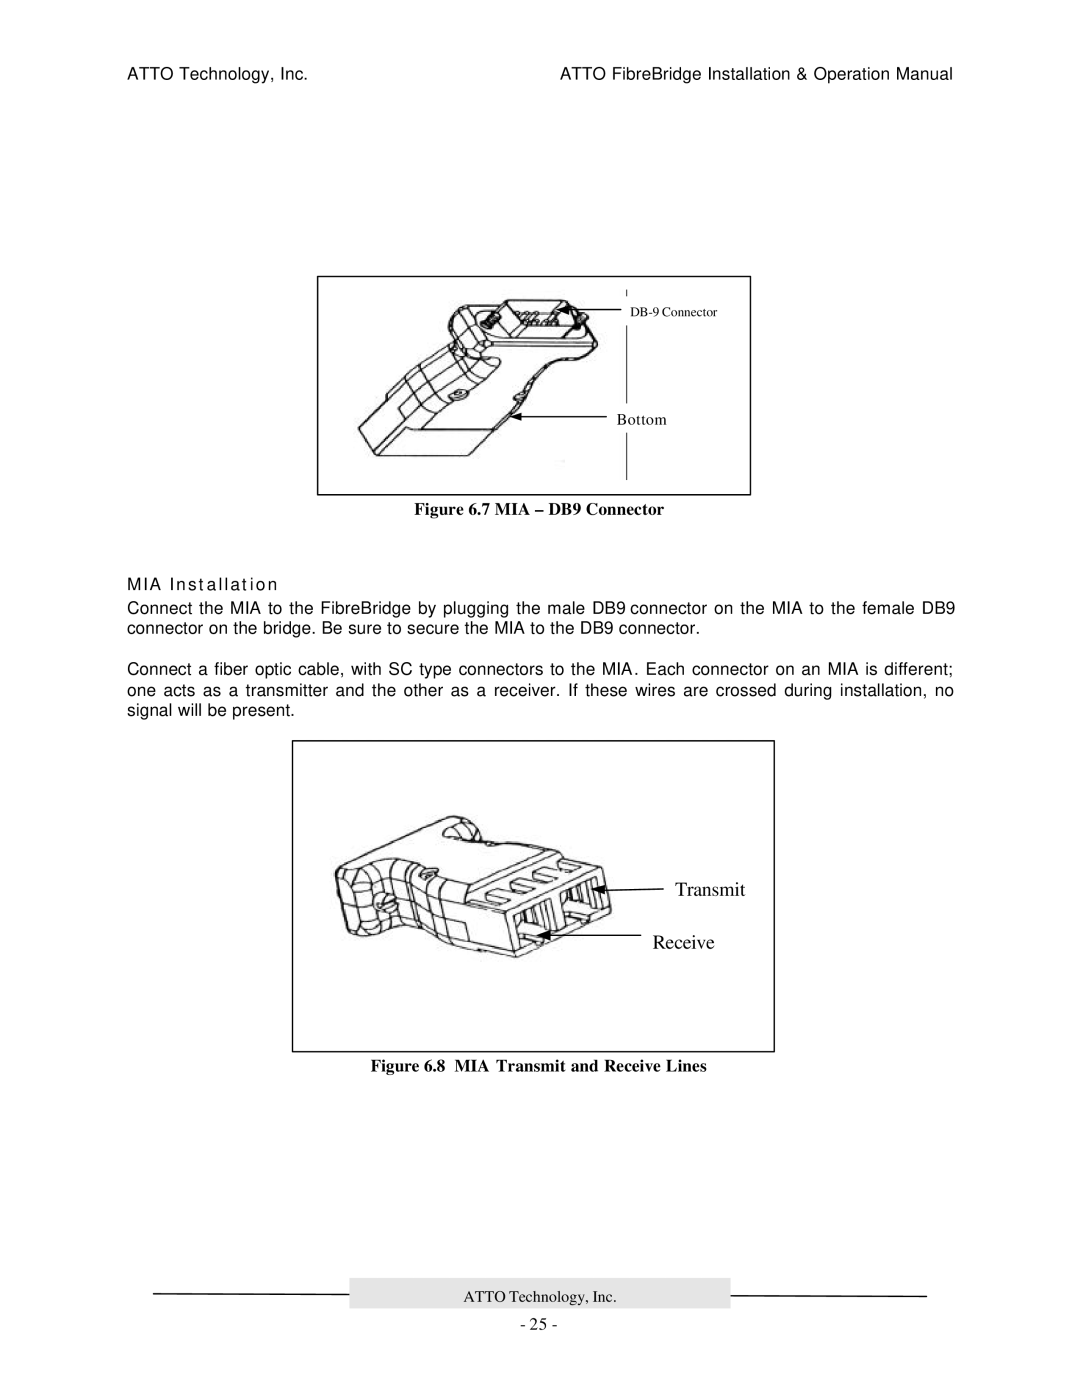
Bottom
Figure 6.7 MIA – DB9 Connector
MIA Installation
Connect the MIA to the FibreBridge by plugging the male DB9 connector on the MIA to the female DB9 connector on the bridge. Be sure to secure the MIA to the DB9 connector.
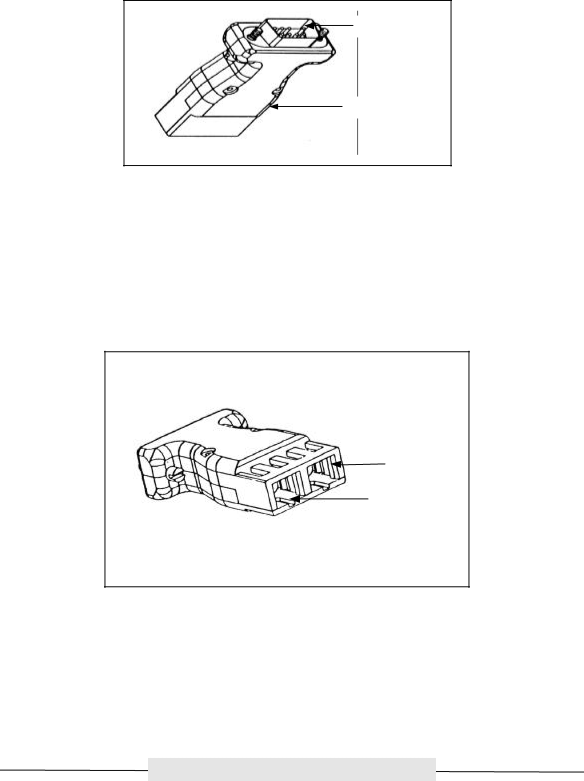
Connect a fiber optic cable, with SC type connectors to the MIA. Each connector on an MIA is different; one acts as a transmitter and the other as a receiver. If these wires are crossed during installation, no signal will be present.
Transmit
Receive
Figure 6.8 MIA Transmit and Receive Lines
ATTO Technology, Inc.
- 25 -