Connections
6 CONNECTIONS
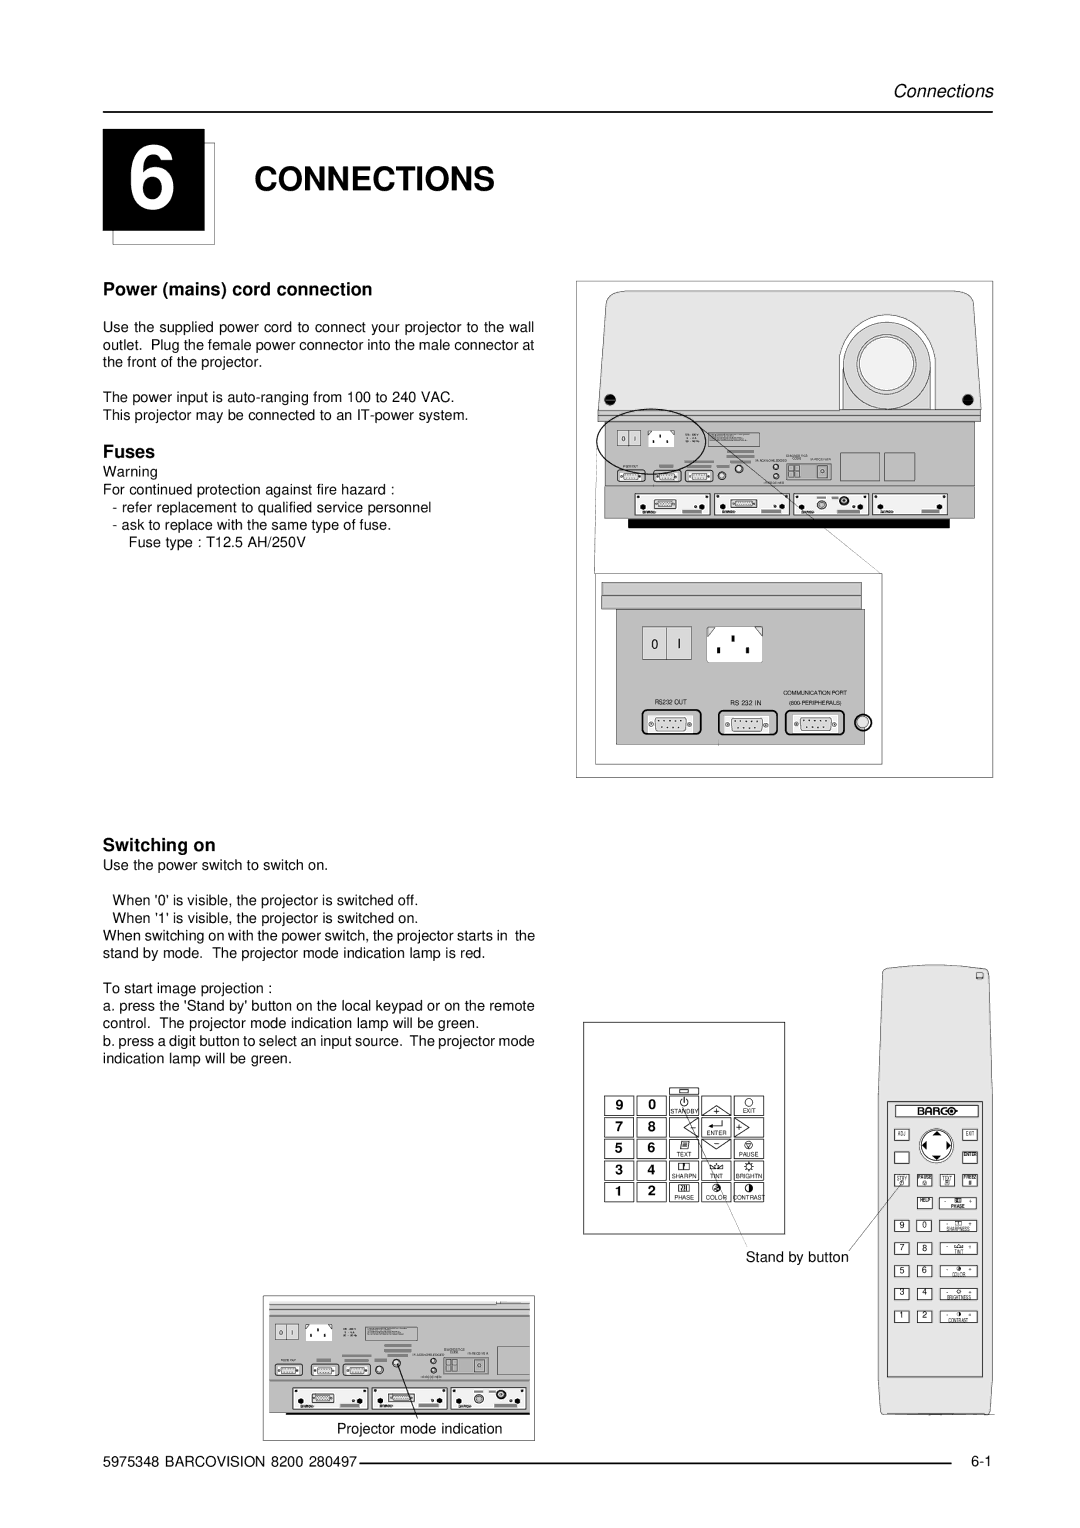
Power (mains) cord connection
Use the supplied power cord to connect your projector to the wall outlet. Plug the female power connector into the male connector at the front of the projector.
The power input is
Fuses
Warning
For continued protection against fire hazard :
-refer replacement to qualified service personnel
-ask to replace with the same type of fuse. Fuse type : T12.5 AH/250V
0 | I | 100 - 230 V |
|
| |
9 | - 4 A |
|
| ||
60 - 50 Hz |
|
| |||
|
|
| DI AG NOS TI CS |
| |
|
|
| I R- ACK NO WL EDGE D | CODE | I R- RECE I VE R |
RS232 OUT |
|
|
|
| |
|
|
| I R- RECE I VE D |
|
|
| 0 | I |
|
|
|
|
|
| COMMUNICATION PORT | ||
| RS232 OUT | RS 232 IN | |||
Switching on
Use the power switch to switch on.
When '0' is visible, the projector is switched off. When '1' is visible, the projector is switched on.
When switching on with the power switch, the projector starts in the stand by mode. The projector mode indication lamp is red.
To start image projection :
a. press the 'Stand by' button on the local keypad or on the remote control. The projector mode indication lamp will be green.
b. press a digit button to select an input source. The projector mode indication lamp will be green.
9 | 0 |
| EXIT |
7 | 8 |
| ENTER |
5 | 6 | TEXT | PAUSE |
|
| ||
3 | 4 | SHARPN | BRIGHTN |
|
| ||
1 | 2 | PHASE | CONTRAST |
|
|
ADJ |
|
| EXIT |
|
|
| ENTER |
STBY | PAUSE | TEXT | FREEZ |
| HELP | - | + |
|
| PHASE | |
9 | 0 | - | + |
|
| SHARPNESS | |
7 | 8 | - | + |
Stand by button
0 I | 100 - 230 V |
|
9 - 4 A |
| |
60 - 50 Hz |
| |
| DI AGNOSTI CS |
|
| CODE | I R- RECE I VER |
| I R- ACK NO WL EDGE D | |
RS232 OUT |
|
|
| I |
|
| Projector mode indication | |
5975348 BARCOVISION 8200 280497
|
|
|
|
|
| TINT |
|
|
|
|
|
|
|
|
|
|
|
| 5 |
| 6 |
| - | + |
|
|
|
|
|
|
|
| COLOR |
|
|
|
|
|
|
|
|
|
|
|
| 3 |
| 4 |
| - | + |
|
|
|
|
|
|
| BRIGHTNESS |
|
| |
|
|
|
|
|
|
|
|
|
| 1 |
| 2 |
| - | + |
|
|
|
|
|
|
|
| CONTRAST |
|
|
|
|
|
|
|
|
|
| |
|
|
|
|
|
| |||