Hardware-Installation
Stellen Sie sicher, daß alle Computer, Geräte, Drucker und andere Komponenten ausgeschaltet sind.
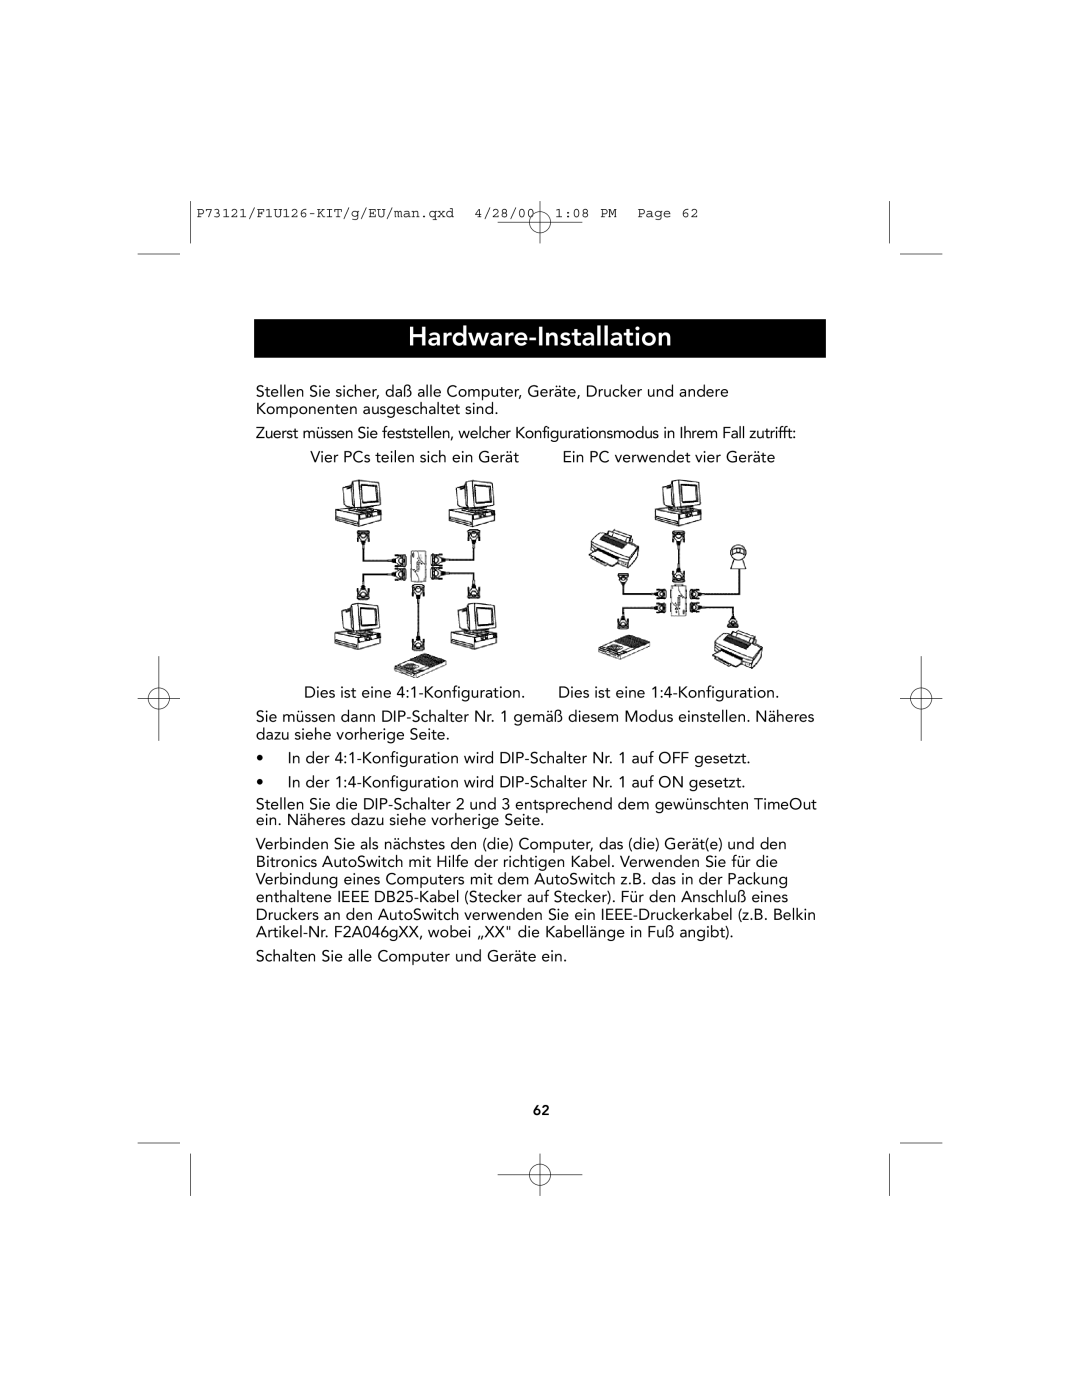
Zuerst müssen Sie feststellen, welcher Konfigurationsmodus in Ihrem Fall zutrifft:
Vier PCs teilen sich ein Gerät
Dies ist eine
Ein PC verwendet vier Geräte
Dies ist eine
Sie müssen dann
•In der
•In der
Stellen Sie die
Verbinden Sie als nächstes den (die) Computer, das (die) Gerät(e) und den Bitronics AutoSwitch mit Hilfe der richtigen Kabel. Verwenden Sie für die Verbindung eines Computers mit dem AutoSwitch z.B. das in der Packung enthaltene IEEE
Schalten Sie alle Computer und Geräte ein.
62