
BBM800 specifications
The Breville BBM800, also known as the "Custom Loaf Bread Maker," is a versatile kitchen appliance designed for both novice and experienced bakers. With its modern design and user-friendly interface, this bread maker has gained popularity for its ability to produce homemade bread with ease and precision.One of the standout features of the Breville BBM800 is the customizable settings it offers. With 13 different baking programs, users can prepare a variety of breads including gluten-free, artisan, and dough cycles. This allows for experimentation with different types of flour and ingredients, catering to various dietary preferences and tastes.
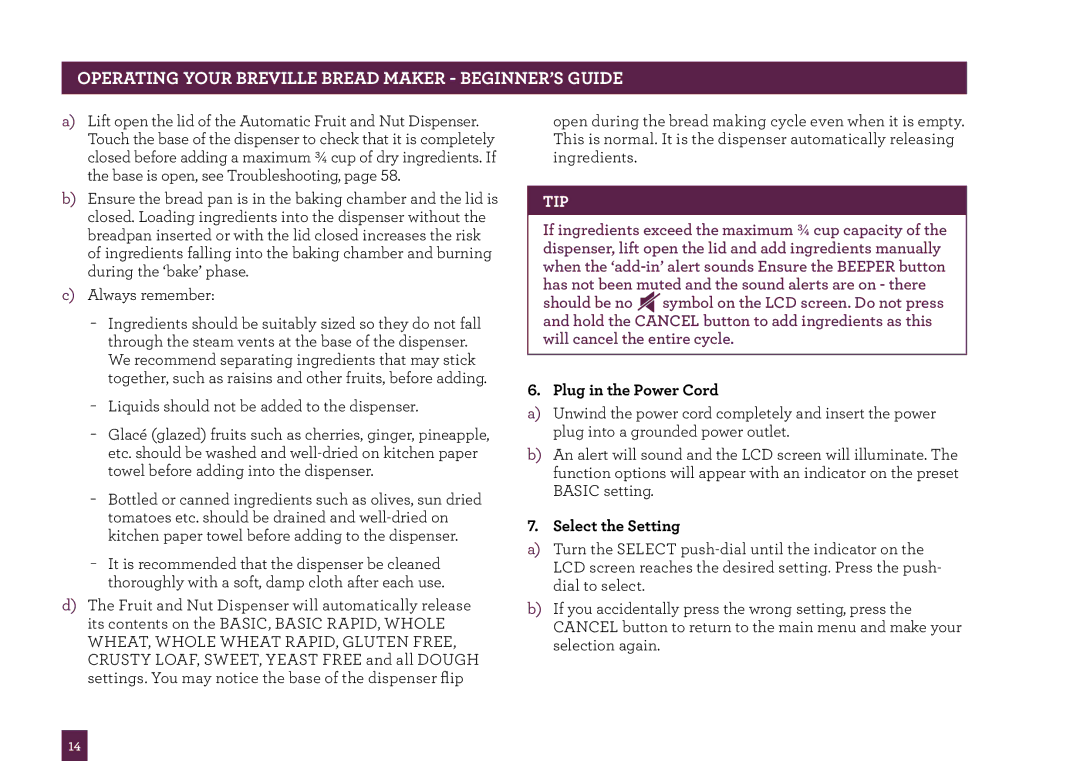
The bread maker utilizes a unique automatic fruit and nut dispenser that ensures even distribution of add-ins throughout the bread. This feature enhances the texture and flavor of the final product, making each loaf truly unique. Additionally, the BBM800 is equipped with a collapsible kneading blade that allows for easier removal of the bread after baking, ensuring a perfect and intact loaf every time.
Another notable technology integrated into the BBM800 is its advanced LCD display. This screen provides a clear indication of the chosen settings and baking cycle progress, allowing bakers to monitor their loaf’s development at a glance. It also features a delay timer, which can be set to prepare bread at a convenient time, making fresh bread an accessible option for busy individuals.
In terms of physical characteristics, the Breville BBM800 boasts a sleek stainless steel exterior that not only looks modern but is also easy to clean. Its compact design, along with an internal kneading chamber that is non-stick, further enhances its practicality.
Safety is also a priority in the design of the Breville BBM800. The unit features an automatic shut-off function, ensuring that the appliance turns off when not in use or when the baking cycle is completed. This is particularly useful for those who have a busy lifestyle and may forget to turn off appliances.
Overall, the Breville BBM800 Custom Loaf Bread Maker stands out for its combination of innovative features, customizable settings, and user-friendly design. Whether you are a beginner trying your hand at baking or a seasoned expert looking to create the perfect loaf, this bread maker offers the flexibility and functionality to meet all your baking needs. The result is consistently delicious and hearty homemade bread that elevates any meal.