3 Zoning management
EZSwitchSetup creates zones for you automatically, based on your configuration choices in Setup.
•If you chose Typical Zoning, a
•If you chose Custom Zoning, you created a device accessibility matrix during setup. The device accessibility matrix creates a
•If you chose Advanced Zoning, you were given direct access to the zoning database through Web Tools, and you created a zoning scheme of your own. EZManager can validate and display accessibility relationships based on your scheme, and it can replace your scheme with Typical Zoning or Custom Zoning. If you want to edit your scheme, you must return to Setup and chose Advanced Management to start Web Tools. For specific information about using Web Tools for zoning, see the Web Tools Administrator’s Guide.
Viewing the zone access map
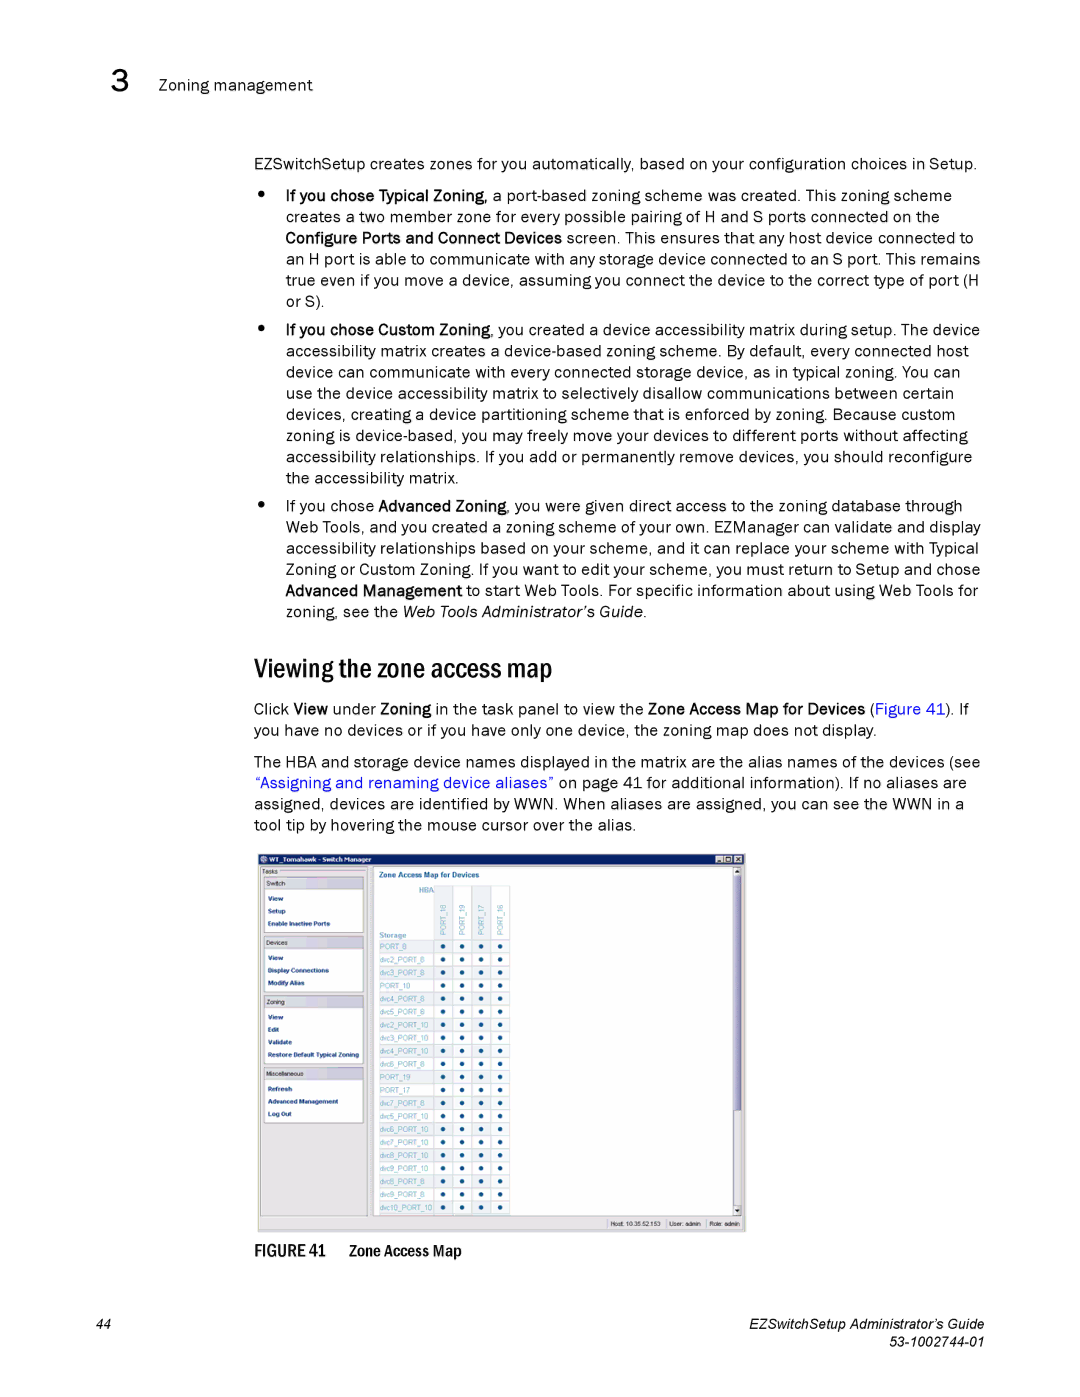
Click View under Zoning in the task panel to view the Zone Access Map for Devices (Figure 41). If you have no devices or if you have only one device, the zoning map does not display.
The HBA and storage device names displayed in the matrix are the alias names of the devices (see “Assigning and renaming device aliases” on page 41 for additional information). If no aliases are assigned, devices are identified by WWN. When aliases are assigned, you can see the WWN in a tool tip by hovering the mouse cursor over the alias.
FIGURE 41 Zone Access Map
44 | EZSwitchSetup Administrator’s Guide |
|
