3 Zoning management
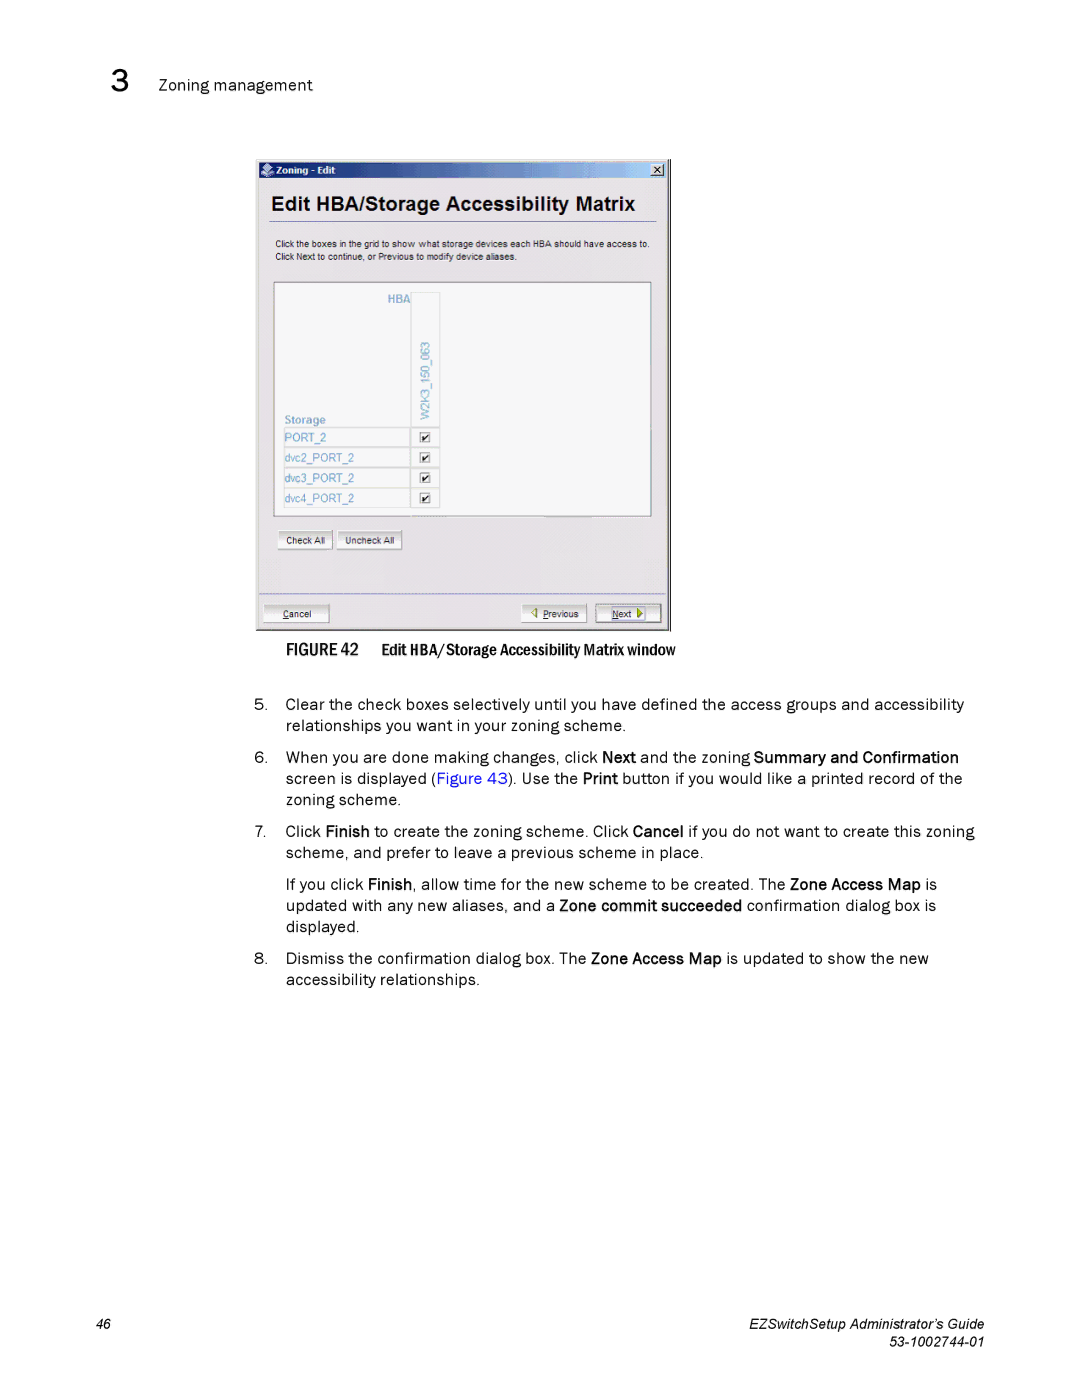
FIGURE 42 Edit HBA/Storage Accessibility Matrix window
5.Clear the check boxes selectively until you have defined the access groups and accessibility relationships you want in your zoning scheme.
6.When you are done making changes, click Next and the zoning Summary and Confirmation screen is displayed (Figure 43). Use the Print button if you would like a printed record of the zoning scheme.
7.Click Finish to create the zoning scheme. Click Cancel if you do not want to create this zoning scheme, and prefer to leave a previous scheme in place.
If you click Finish, allow time for the new scheme to be created. The Zone Access Map is updated with any new aliases, and a Zone commit succeeded confirmation dialog box is displayed.
8.Dismiss the confirmation dialog box. The Zone Access Map is updated to show the new accessibility relationships.
46 | EZSwitchSetup Administrator’s Guide |
|