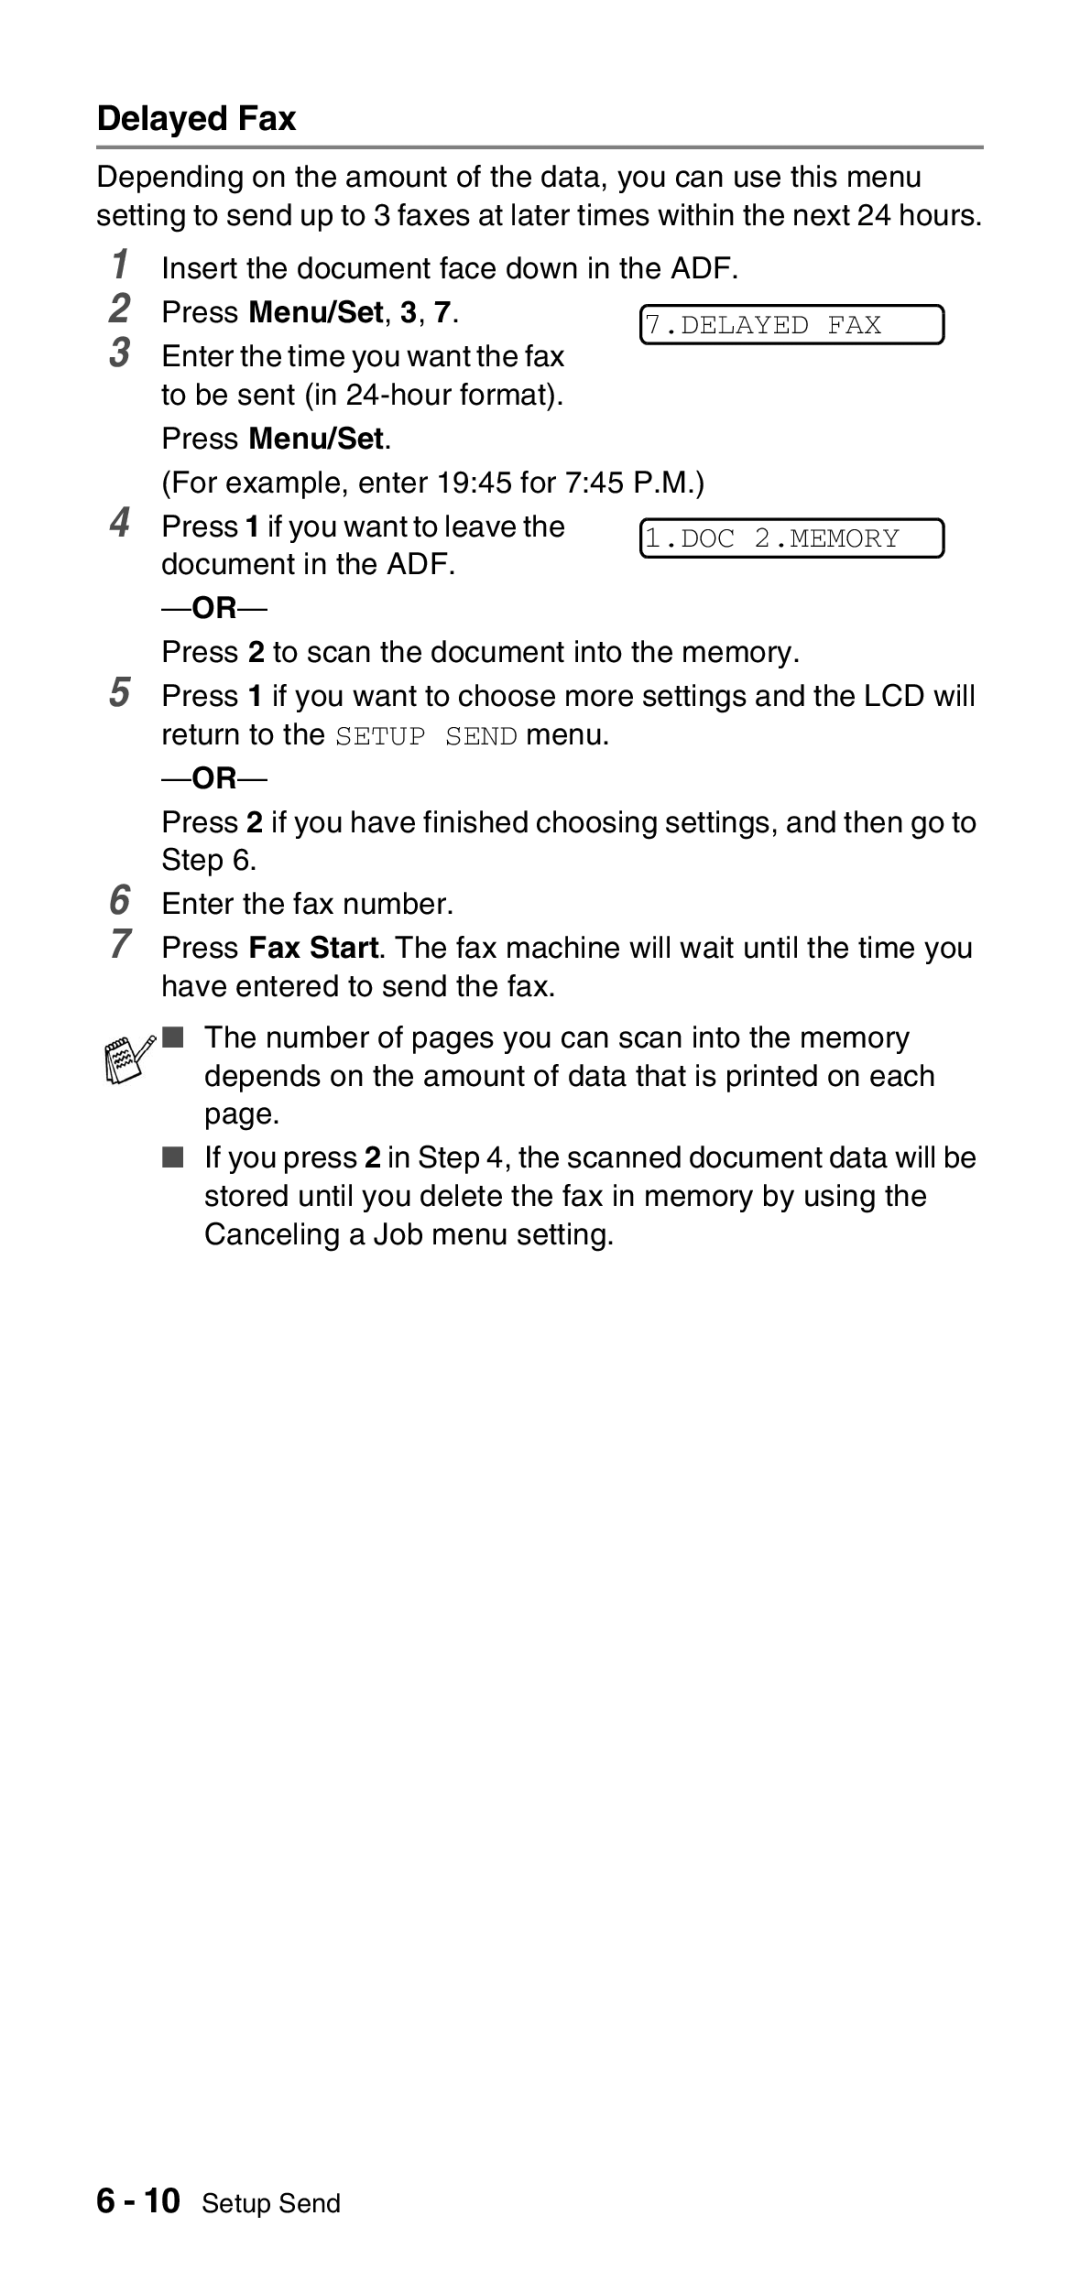
5 Press 1 if you want to choose more settings and the LCD will return to the SETUP SEND menu.
Press 2 if you have finished choosing settings, and then go to Step 6.
6 Enter the fax number.
7 Press Fax Start. The fax machine will wait until the time you have entered to send the fax.
■ The number of pages you can scan into the memory depends on the amount of data that is printed on each page.
■ If you press 2 in Step 4, the scanned document data will be stored until you delete the fax in memory by using the Canceling a Job menu setting.
Delayed Fax
Depending on the amount of the data, you can use this menu setting to send up to 3 faxes at later times within the next 24 hours.
1 | Insert the document face down in the ADF. | ||
2 | Press Menu/Set, 3, 7. | 7.DELAYED FAX | |
3 | Enter the time you want the fax | ||
| |||
| to be sent (in |
| |
| Press Menu/Set. |
| |
4 | (For example, enter 19:45 for 7:45 P.M.) | ||
Press 1 if you want to leave the | 1.DOC 2.MEMORY | ||
| document in the ADF. |
| |
|
| ||
Press 2 to scan the document into the memory.
6 - 10 Setup Send
