When connecting a microphone not supporting phantom power, make sure to set the +48V switch to OFF. Otherwise the microphone may be damaged.
Adjusting the Audio Recording Level
E
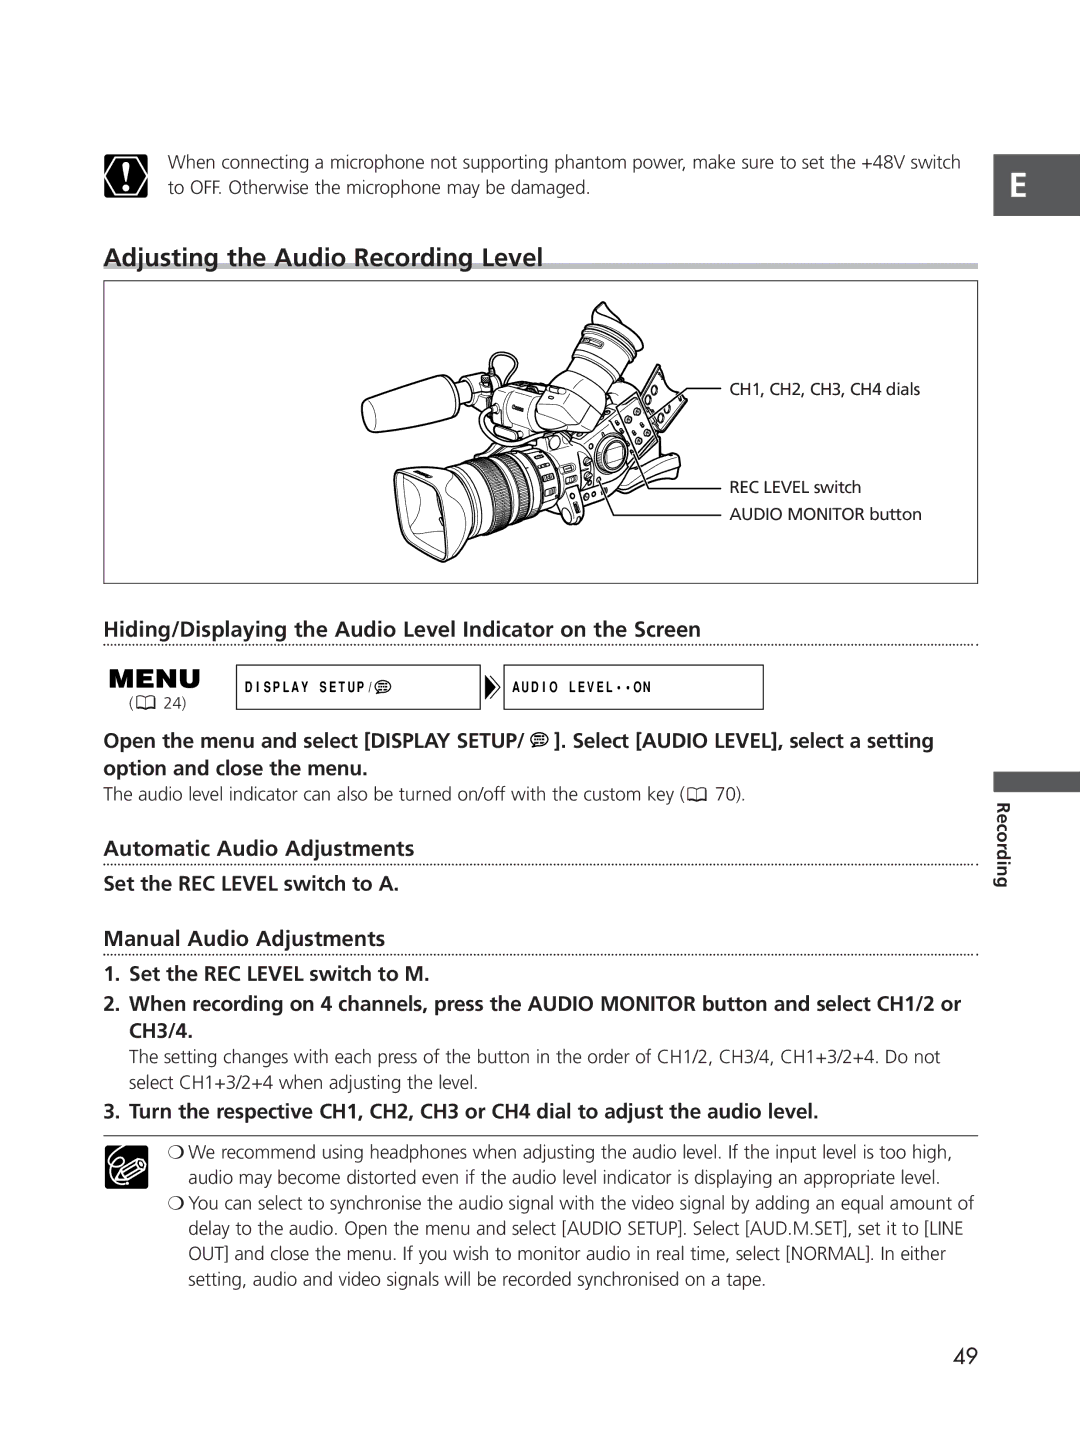
CH1, CH2, CH3, CH4 dials
![]() REC LEVEL switch
REC LEVEL switch
AUDIO MONITOR button
Hiding/Displaying the Audio Level Indicator on the Screen
DISPLAY SETUP/ | AUDIO LEVEL••ON |
( ![]() 24)
24)
Open the menu and select [DISPLAY SETUP/ ![]() ]. Select [AUDIO LEVEL], select a setting option and close the menu.
]. Select [AUDIO LEVEL], select a setting option and close the menu.
The audio level indicator can also be turned on/off with the custom key (![]() 70).
70).
Automatic Audio Adjustments
Set the REC LEVEL switch to A.
Manual Audio Adjustments
1.Set the REC LEVEL switch to M.
2.When recording on 4 channels, press the AUDIO MONITOR button and select CH1/2 or CH3/4.
The setting changes with each press of the button in the order of CH1/2, CH3/4, CH1+3/2+4. Do not select CH1+3/2+4 when adjusting the level.
3.Turn the respective CH1, CH2, CH3 or CH4 dial to adjust the audio level.
❍We recommend using headphones when adjusting the audio level. If the input level is too high,
audio may become distorted even if the audio level indicator is displaying an appropriate level.
❍You can select to synchronise the audio signal with the video signal by adding an equal amount of delay to the audio. Open the menu and select [AUDIO SETUP]. Select [AUD.M.SET], set it to [LINE OUT] and close the menu. If you wish to monitor audio in real time, select [NORMAL]. In either setting, audio and video signals will be recorded synchronised on a tape.
Recording
49