Using the Skin Detail Function
You can adjust hue, chroma, area and Y level to determine the skin area and soften the details to reduce the appearance of skin imperfections. A zebra pattern identifying the skin area appears, alternating with the normal picture (a white pattern appears on a connected TV or computer screen).
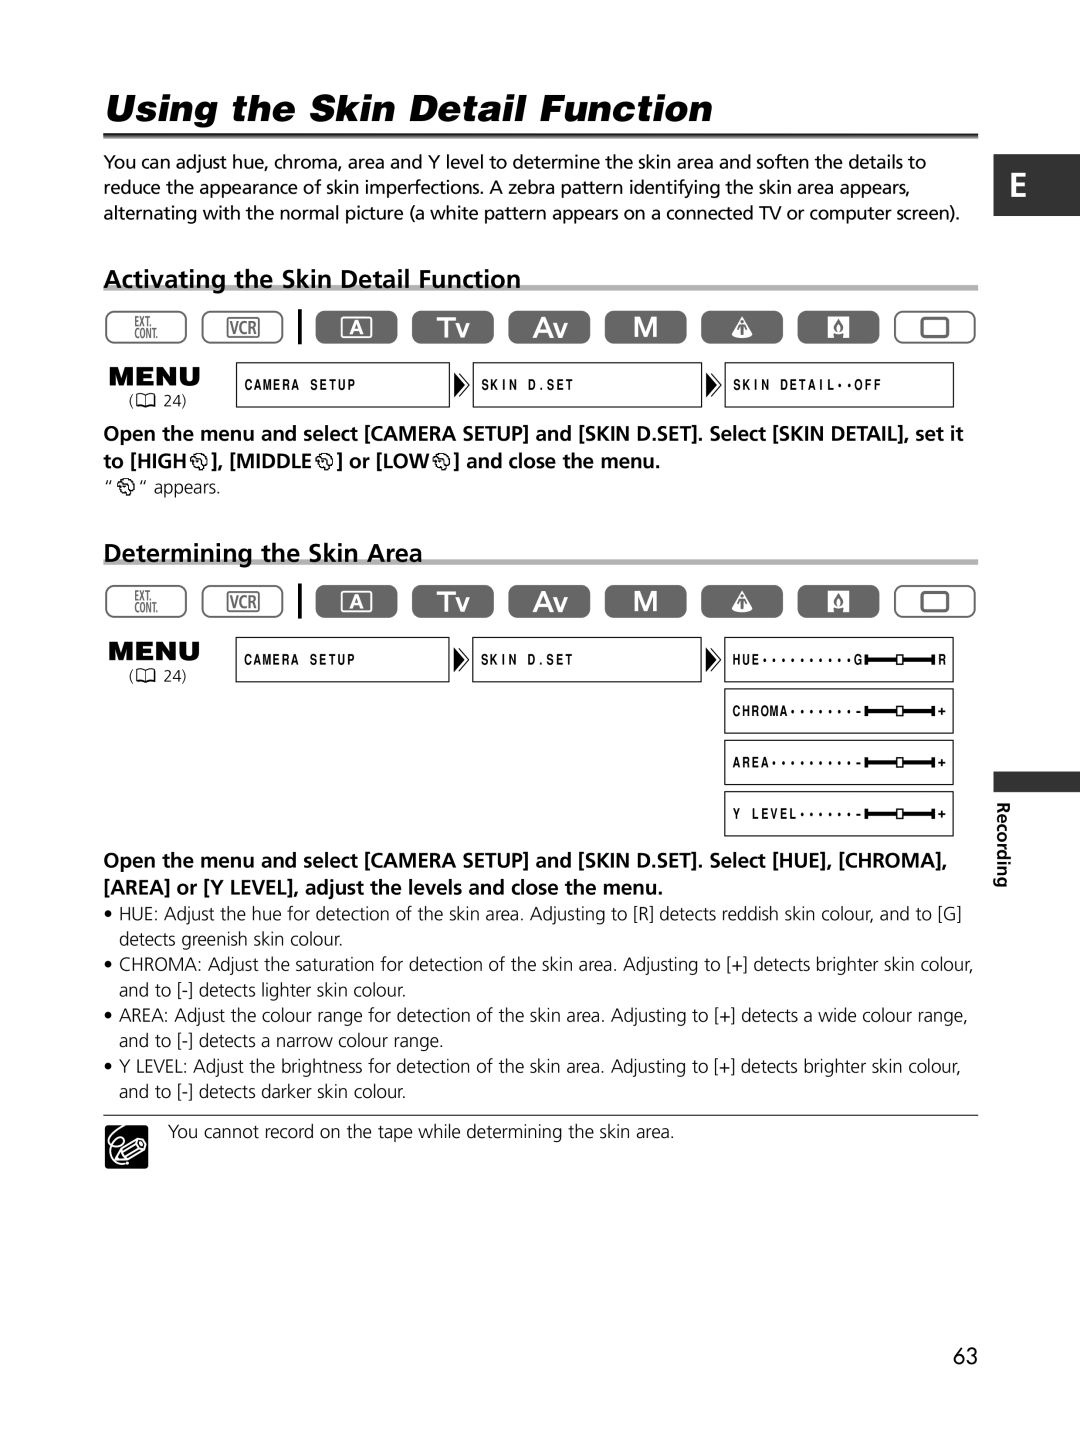
Activating the Skin Detail Function
E
( ![]() 24)
24)
CAMERA SETUP
SKIN D.SET
SKIN DETAIL••OFF
Open the menu and select [CAMERA SETUP] and [SKIN D.SET]. Select [SKIN DETAIL], set it to [HIGH![]() ], [MIDDLE
], [MIDDLE![]() ] or [LOW
] or [LOW![]() ] and close the menu.
] and close the menu.
“ ![]() “ appears.
“ appears.
Determining the Skin Area
( |
| 24) | CAMERA SETUP |
| SKIN D.SET |
| HUE••••••••••G |
|
|
| R |
|
|
|
|
|
| ||||||
|
|
|
|
| |||||||
|
|
|
|
|
| ||||||
|
|
|
|
|
|
|
|
|
| ||
|
|
|
|
|
|
|
|
|
| ||
|
|
|
|
|
|
|
|
|
|
|
|
|
|
|
|
|
|
| CHROMA••••••• - |
|
|
| + |
|
|
|
|
|
|
|
|
|
|
|
|
|
|
|
|
|
|
|
|
|
|
|
|
|
|
|
|
|
|
| AREA••••••••• - |
|
|
| + |
|
|
|
|
|
|
|
|
|
| ||
|
|
|
|
|
|
|
|
| |||
|
|
|
|
|
|
|
|
|
| ||
|
|
|
|
|
|
|
|
|
|
|
|
|
|
|
|
|
|
|
|
|
|
|
|
|
|
|
|
|
|
| Y LEVEL•••••• - |
|
|
| + |
|
|
|
|
|
|
|
|
|
| ||
|
|
|
|
|
|
|
|
|
|
|
|
Open the menu and select [CAMERA SETUP] and [SKIN D.SET]. Select [HUE], [CHROMA], [AREA] or [Y LEVEL], adjust the levels and close the menu.
•HUE: Adjust the hue for detection of the skin area. Adjusting to [R] detects reddish skin colour, and to [G] detects greenish skin colour.
•CHROMA: Adjust the saturation for detection of the skin area. Adjusting to [+] detects brighter skin colour, and to
•AREA: Adjust the colour range for detection of the skin area. Adjusting to [+] detects a wide colour range, and to
•Y LEVEL: Adjust the brightness for detection of the skin area. Adjusting to [+] detects brighter skin colour, and to
You cannot record on the tape while determining the skin area.
Recording
63