Using the DV Control
This feature enables the XL2 to control the record and stop function of a connected IEEE1394 storage/recording device. The device must comply with the IEEE1394 AV/C protocol.
Users of Windows XP can also download the
(![]() 24)
24)
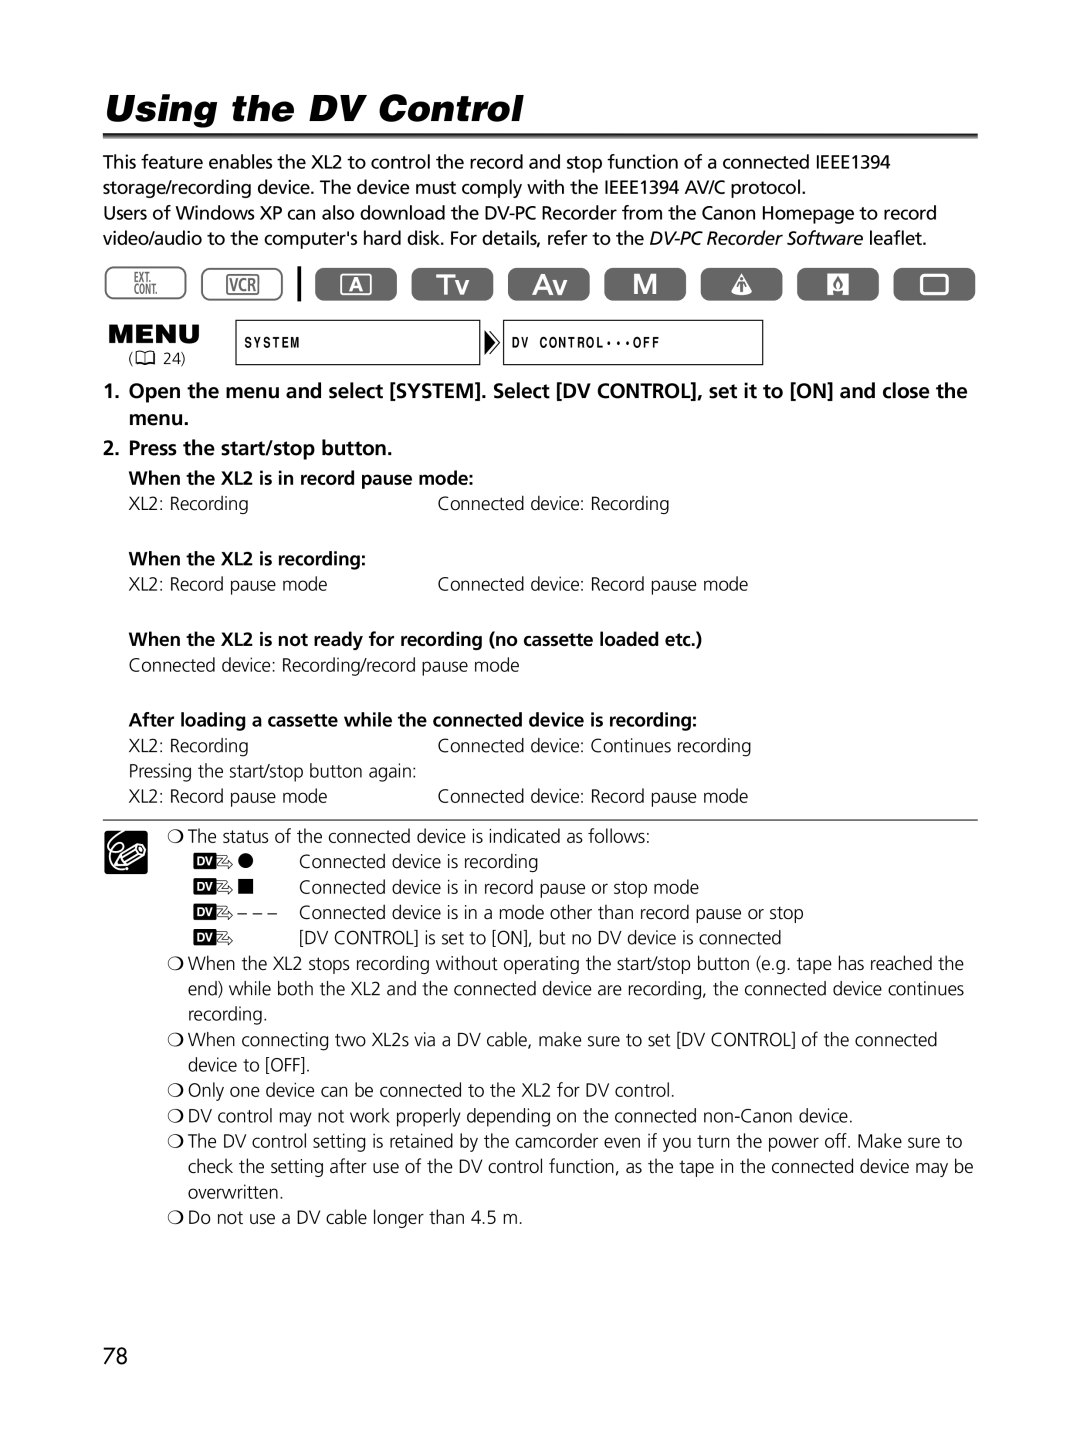
SYSTEM
DV CONTROL•••OFF
1.Open the menu and select [SYSTEM]. Select [DV CONTROL], set it to [ON] and close the menu.
2.Press the start/stop button.
When the XL2 is in record pause mode:
XL2: Recording | Connected device: Recording |
When the XL2 is recording: |
|
XL2: Record pause mode | Connected device: Record pause mode |
When the XL2 is not ready for recording (no cassette loaded etc.)
Connected device: Recording/record pause mode
After loading a cassette while the connected device is recording:
XL2: Recording | Connected device: Continues recording |
Pressing the start/stop button again: |
|
XL2: Record pause mode | Connected device: Record pause mode |
❍The status of the connected device is indicated as follows:
![]() 2 Connected device is recording
2 Connected device is recording
![]() 3 Connected device is in record pause or stop mode
3 Connected device is in record pause or stop mode
![]() – – – Connected device is in a mode other than record pause or stop
– – – Connected device is in a mode other than record pause or stop ![]() [DV CONTROL] is set to [ON], but no DV device is connected
[DV CONTROL] is set to [ON], but no DV device is connected
❍When the XL2 stops recording without operating the start/stop button (e.g. tape has reached the end) while both the XL2 and the connected device are recording, the connected device continues recording.
❍When connecting two XL2s via a DV cable, make sure to set [DV CONTROL] of the connected device to [OFF].
❍Only one device can be connected to the XL2 for DV control.
❍DV control may not work properly depending on the connected
❍The DV control setting is retained by the camcorder even if you turn the power off. Make sure to check the setting after use of the DV control function, as the tape in the connected device may be overwritten.
❍Do not use a DV cable longer than 4.5 m.
78