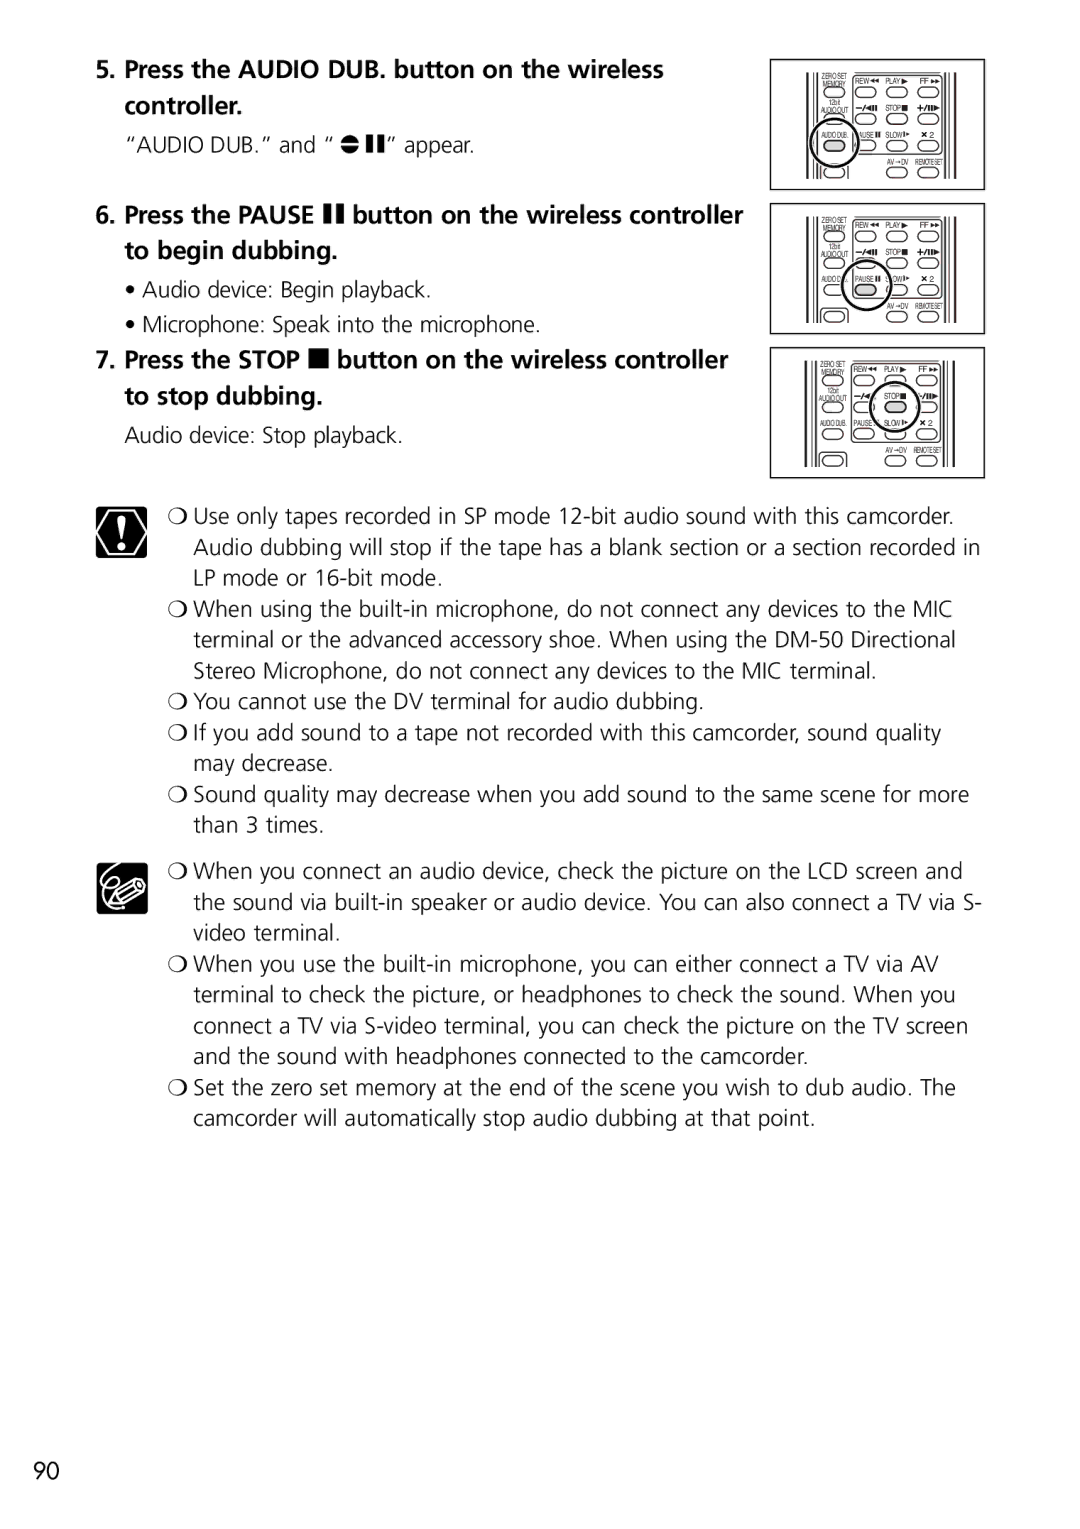
5.Press the AUDIO DUB. button on the wireless controller.
“AUDIO DUB.” and “ ![]() a” appear.
a” appear.
6.Press the PAUSE a button on the wireless controller to begin dubbing.
•Audio device: Begin playback.
•Microphone: Speak into the microphone.
ZERO SET | REW | PLAY |
| FF |
MEMORY |
| |||
12bit |
| STOP |
| |
AUDIO OUT |
|
| ||
AUDIO DUB. | PAUSE | SLOW | 2 | |
|
| AV | DV | REMOTE SET |
ZERO SET | REW | PLAY |
| FF |
MEMORY |
| |||
12bit |
| STOP |
| |
AUDIO OUT |
|
| ||
AUDIO DUB. | PAUSE | SLOW | 2 | |
|
| AV | DV | REMOTE SET |
7.Press the STOP 3 button on the wireless controller to stop dubbing.
Audio device: Stop playback.
ZERO SET
MEMORY REW PLAY FF
12bit | STOP |
|
AUDIO OUT |
| |
AUDIO DUB. PAUSE | SLOW | 2 |
| AV DV | REMOTE SET |
❍Use only tapes recorded in SP mode
❍When using the
❍You cannot use the DV terminal for audio dubbing.
❍If you add sound to a tape not recorded with this camcorder, sound quality may decrease.
❍Sound quality may decrease when you add sound to the same scene for more than 3 times.
❍When you connect an audio device, check the picture on the LCD screen and the sound via
❍When you use the
❍Set the zero set memory at the end of the scene you wish to dub audio. The camcorder will automatically stop audio dubbing at that point.
90