E
When you have finished recording
•Replace the lens cap.
•Unload the cassette.
•Set the POWER dial to OFF.
•Disconnect the power source.
Notes:
•To check that the camera is recording correctly, make a test recording first.
•Before making important recordings, clean the video heads using a Canon
Changing the recording mode (SP/LP)
You can record and play back a tape in SP (standard play) and LP (long play) modes. LP extends tape usage by 1.5 times.
To switch to LP mode, select REC MODE from the camera or VCR menu, select LP and then close the menu (for instructions on how to use the menus, refer to page 18).
(see p. 18)
![]() REC MODE¥¥¥¥LP
REC MODE¥¥¥¥LP
Recording
Notes:
•If you record in both modes on the same tape, the picture may become distorted during playback and the time code may not be written correctly.
•When the camera is set to LP mode, pausing between recordings may produce
•A tape recorded in LP mode on another camcorder may produce
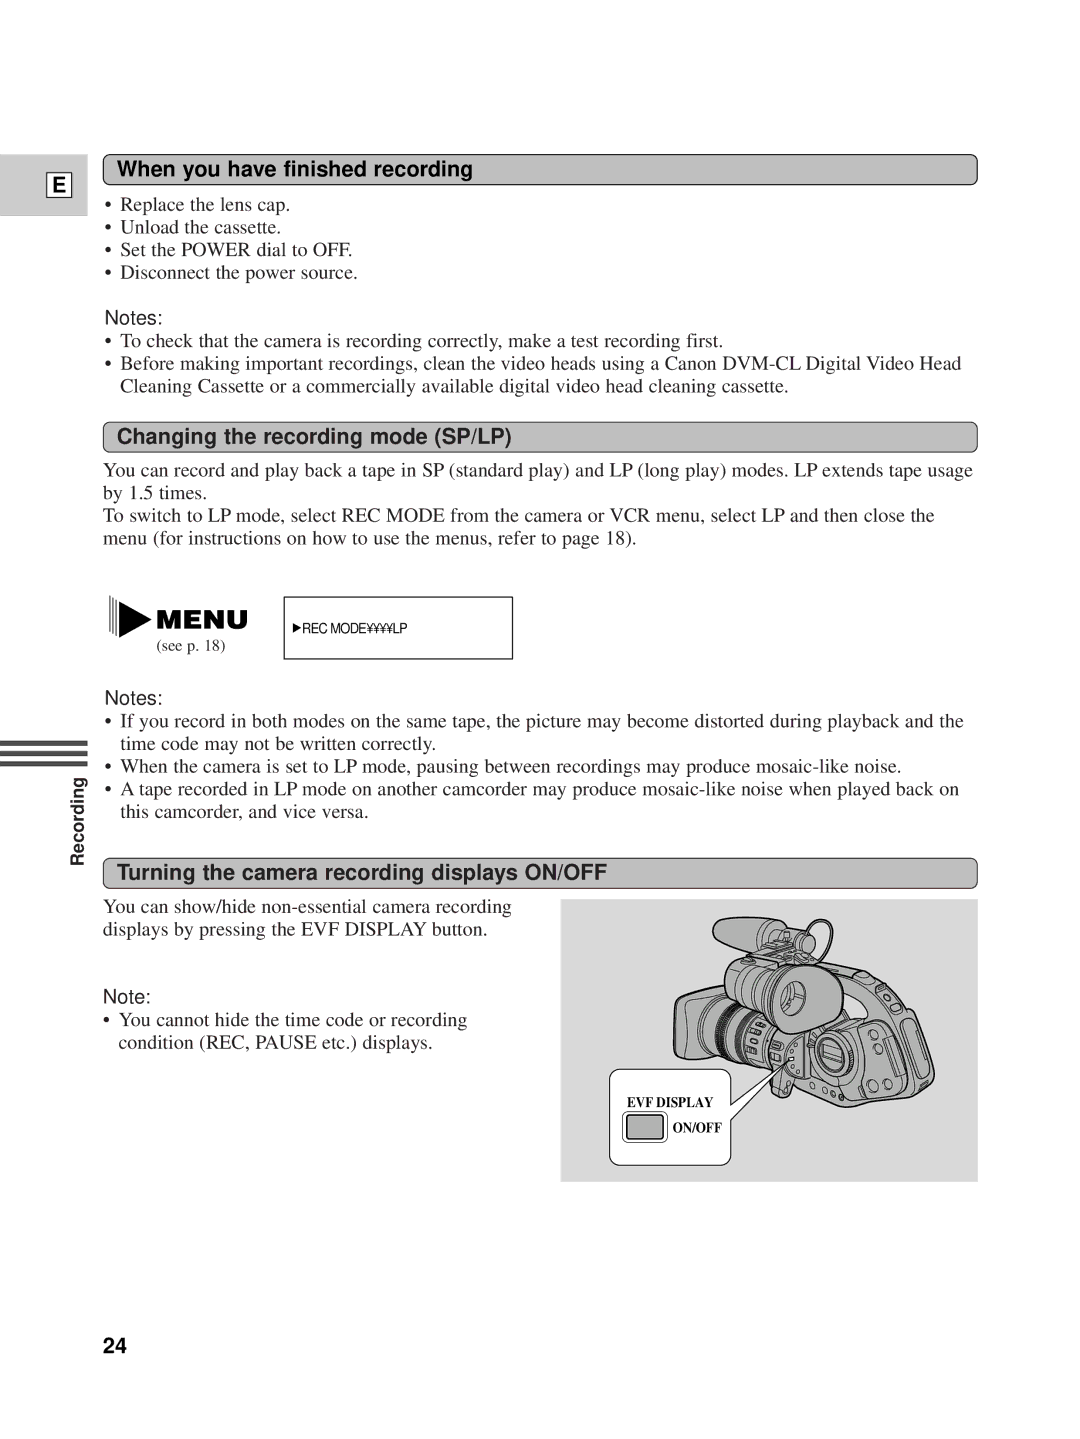
Turning the camera recording displays ON/OFF
You can show/hide
Note:
• You cannot hide the time code or recording condition (REC, PAUSE etc.) displays.
EVF DISPLAY
![]() ON/OFF
ON/OFF
24