DV Dubbing (DV terminal conforming to IEEE1394)
E
REC
Playback
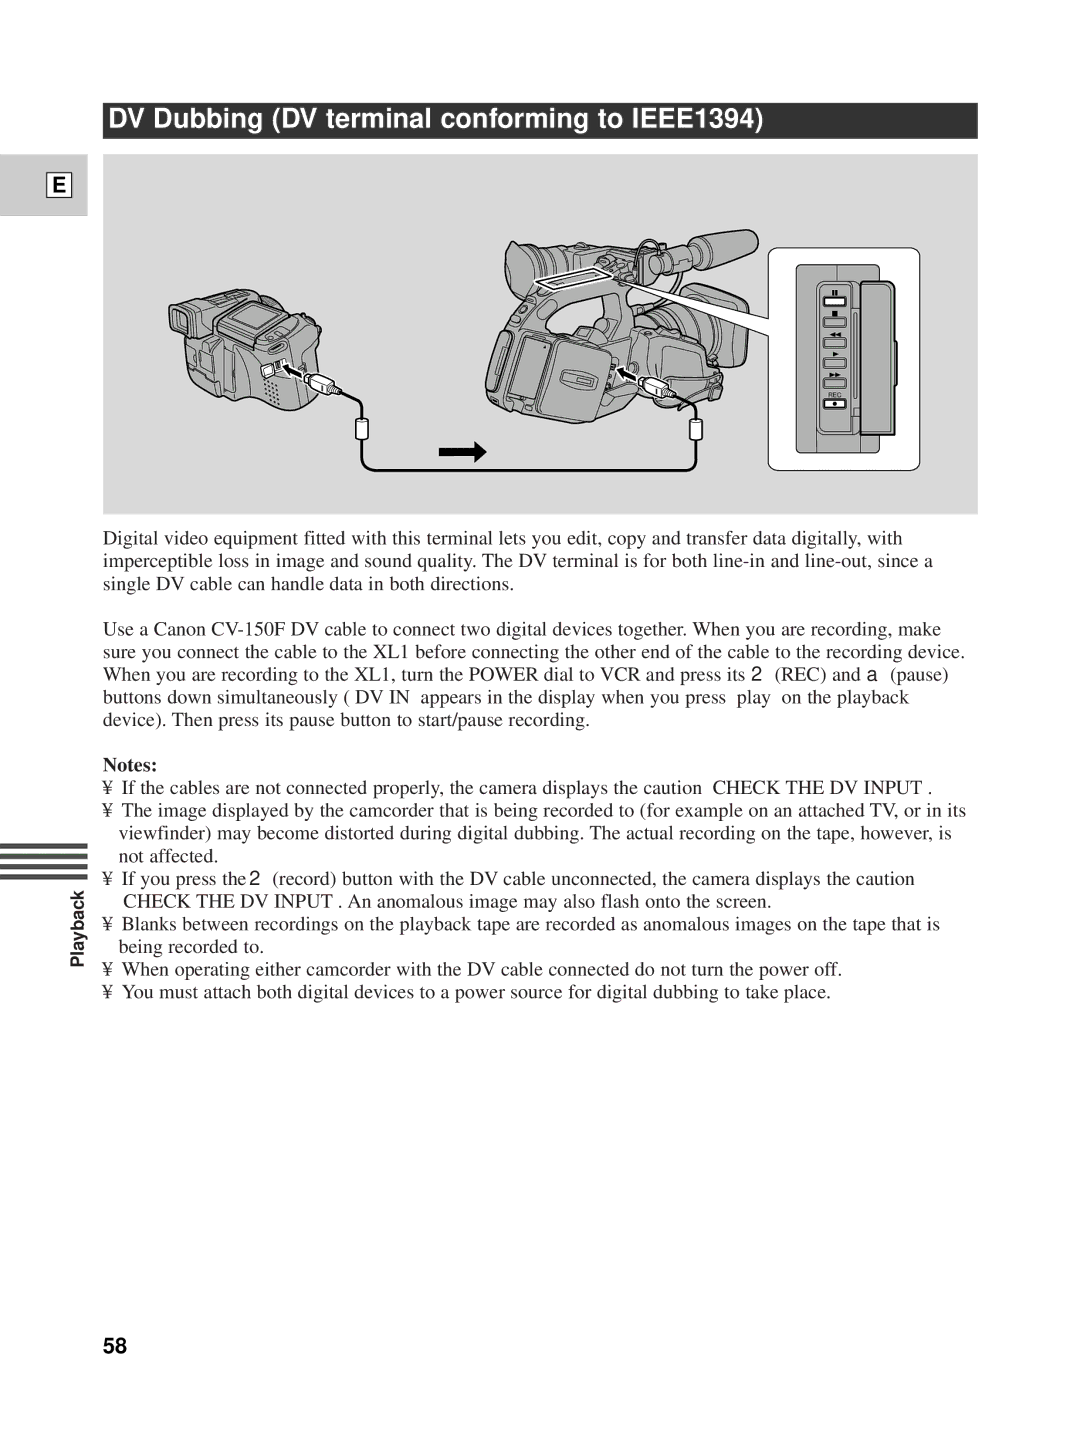
Digital video equipment fitted with this terminal lets you edit, copy and transfer data digitally, with imperceptible loss in image and sound quality. The DV terminal is for both
Use a Canon
Notes:
•If the cables are not connected properly, the camera displays the caution “CHECK THE DV INPUT”.
•The image displayed by the camcorder that is being recorded to (for example on an attached TV, or in its viewfinder) may become distorted during digital dubbing. The actual recording on the tape, however, is not affected.
•If you press the 2 (record) button with the DV cable unconnected, the camera displays the caution “CHECK THE DV INPUT”. An anomalous image may also flash onto the screen.
•Blanks between recordings on the playback tape are recorded as anomalous images on the tape that is being recorded to.
•When operating either camcorder with the DV cable connected do not turn the power off.
•You must attach both digital devices to a power source for digital dubbing to take place.
58
