Setting the Self-Timer
E
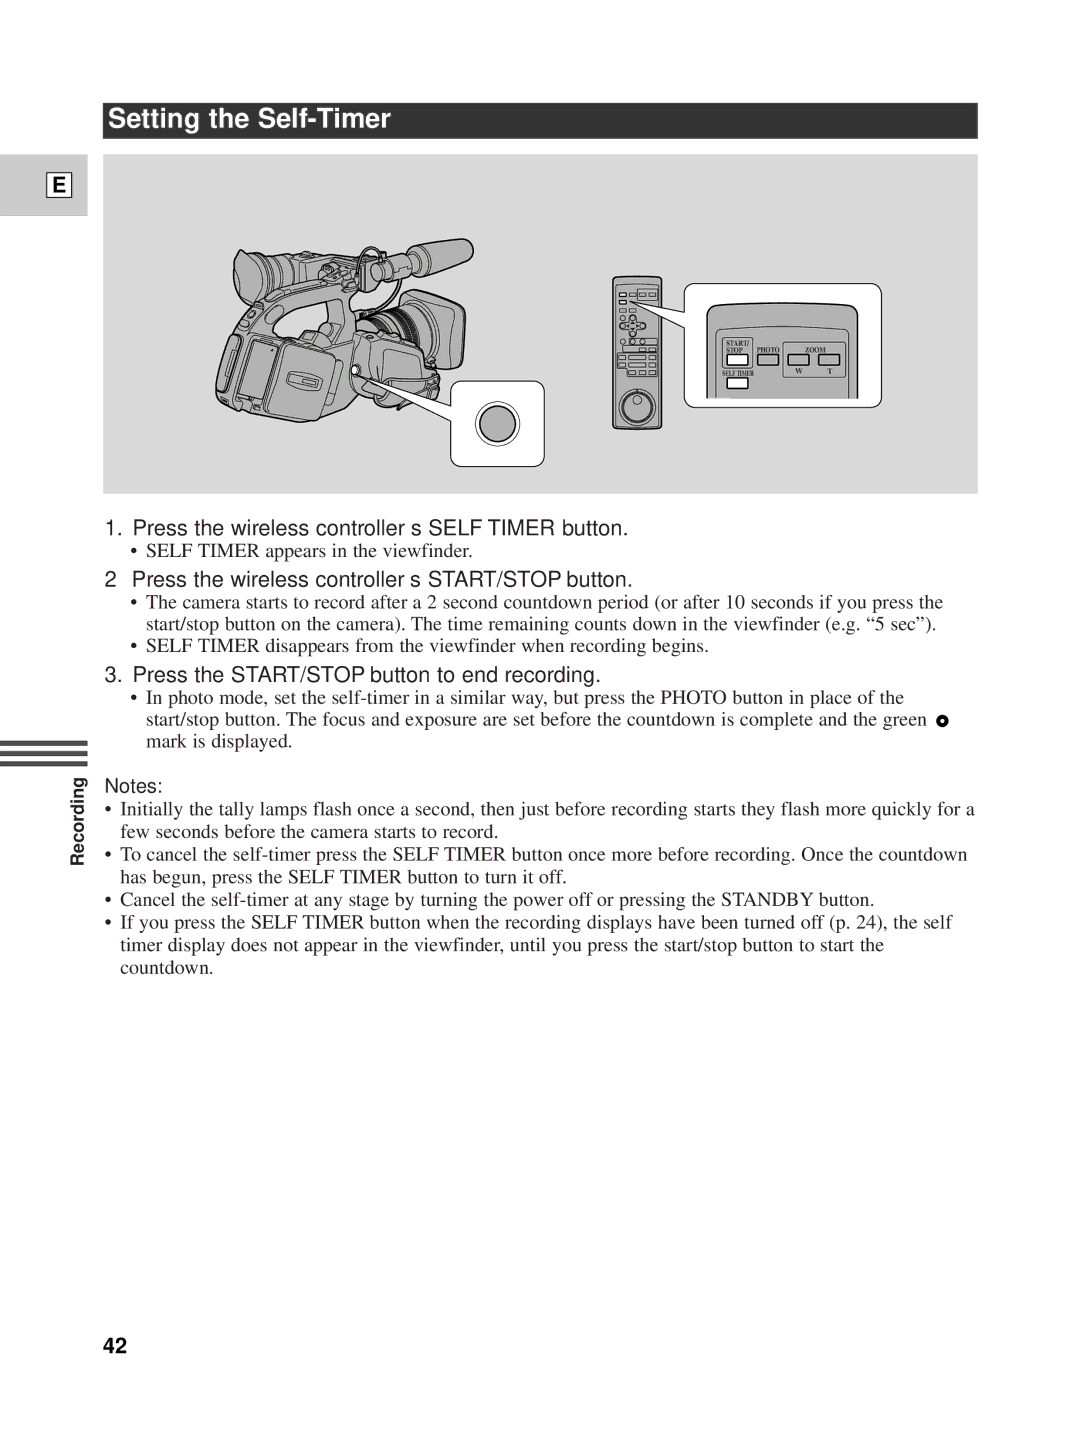
START/ |
| ZOOM |
STOP PHOTO |
| |
SELF TIMER | W | T |
Recording
1.Press the wireless controller’s SELF TIMER button.
• SELF TIMER appears in the viewfinder.
2Press the wireless controller’s START/STOP button.
•The camera starts to record after a 2 second countdown period (or after 10 seconds if you press the start/stop button on the camera). The time remaining counts down in the viewfinder (e.g. “5 sec”).
•SELF TIMER disappears from the viewfinder when recording begins.
3.Press the START/STOP button to end recording.
•In photo mode, set the
Notes:
•Initially the tally lamps flash once a second, then just before recording starts they flash more quickly for a few seconds before the camera starts to record.
•To cancel the
•Cancel the
•If you press the SELF TIMER button when the recording displays have been turned off (p. 24), the self timer display does not appear in the viewfinder, until you press the start/stop button to start the countdown.
42