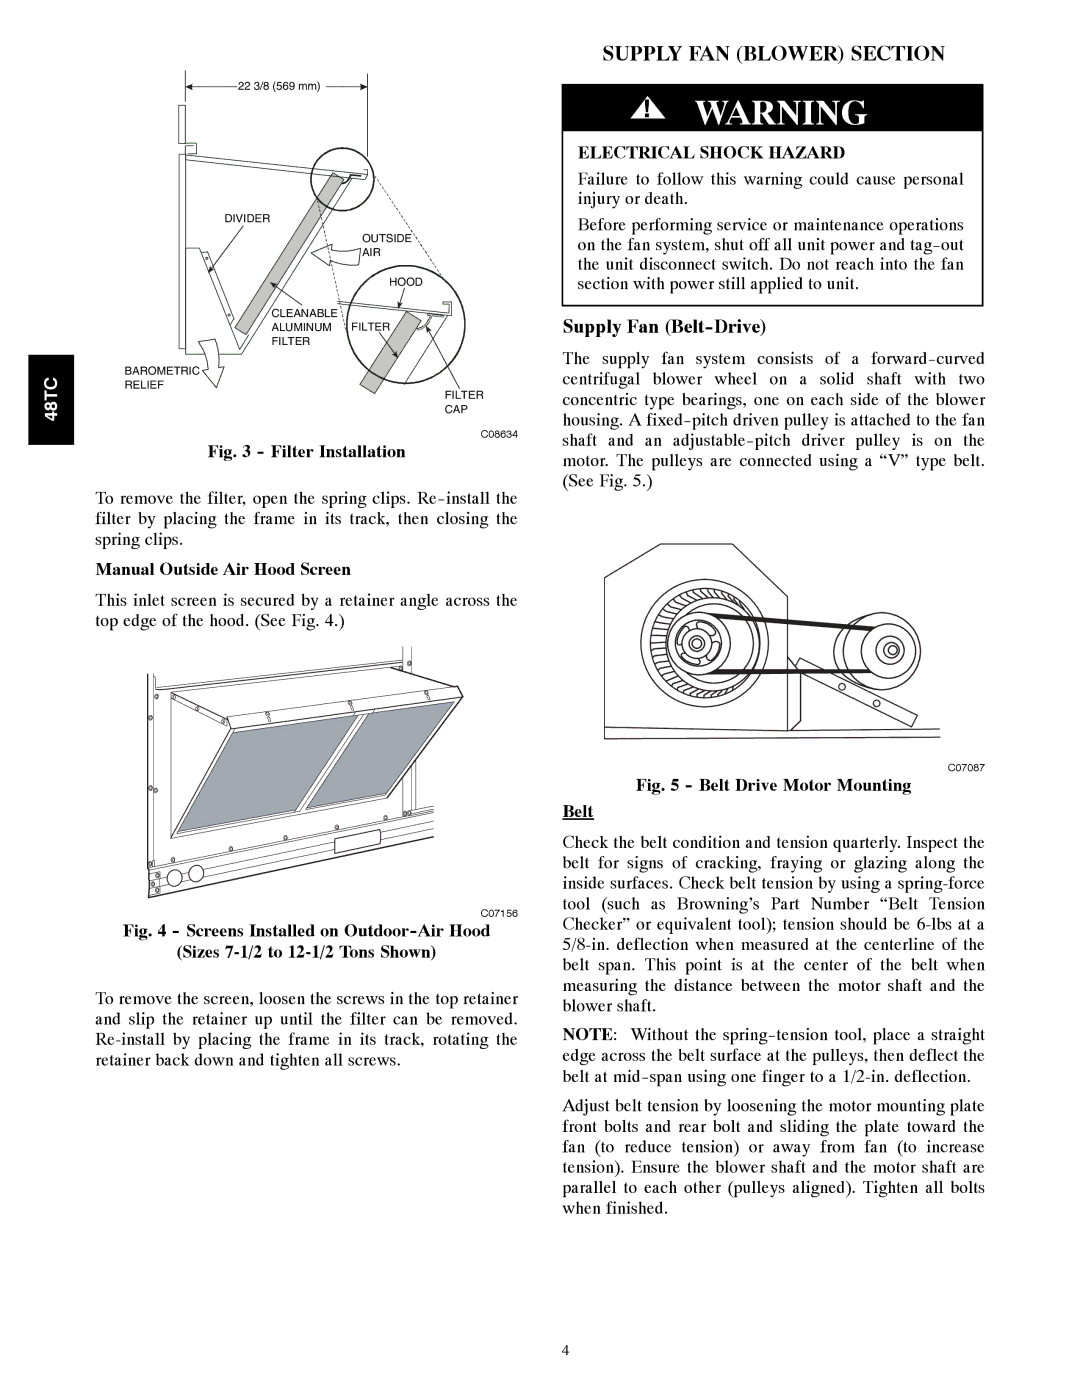
![]() 22 3/8 (569 mm)
22 3/8 (569 mm)
DIVIDER
OUTSIDE![]()
![]()
AIR
HOOD
CLEANABLE![]()
![]()
ALUMINUM ![]() FILTER
FILTER
FILTER
48TC | BAROMETRIC |
RELIEF | |
| FILTER |
| CAP |
C08634
Fig. 3 - Filter Installation
To remove the filter, open the spring clips.
Manual Outside Air Hood Screen
This inlet screen is secured by a retainer angle across the top edge of the hood. (See Fig. 4.)
SUPPLY FAN (BLOWER) SECTION
!WARNING
ELECTRICAL SHOCK HAZARD
Failure to follow this warning could cause personal injury or death.
Before performing service or maintenance operations on the fan system, shut off all unit power and
Supply Fan (Belt-Drive)
The supply fan system consists of a
C07156
Fig. 4 - Screens Installed on Outdoor-Air Hood
(Sizes 7-1/2 to 12-1/2 Tons Shown)
To remove the screen, loosen the screws in the top retainer and slip the retainer up until the filter can be removed.
C07087
Fig. 5 - Belt Drive Motor Mounting
Belt
Check the belt condition and tension quarterly. Inspect the belt for signs of cracking, fraying or glazing along the inside surfaces. Check belt tension by using a
NOTE: Without the
Adjust belt tension by loosening the motor mounting plate front bolts and rear bolt and sliding the plate toward the fan (to reduce tension) or away from fan (to increase tension). Ensure the blower shaft and the motor shaft are parallel to each other (pulleys aligned). Tighten all bolts when finished.
4