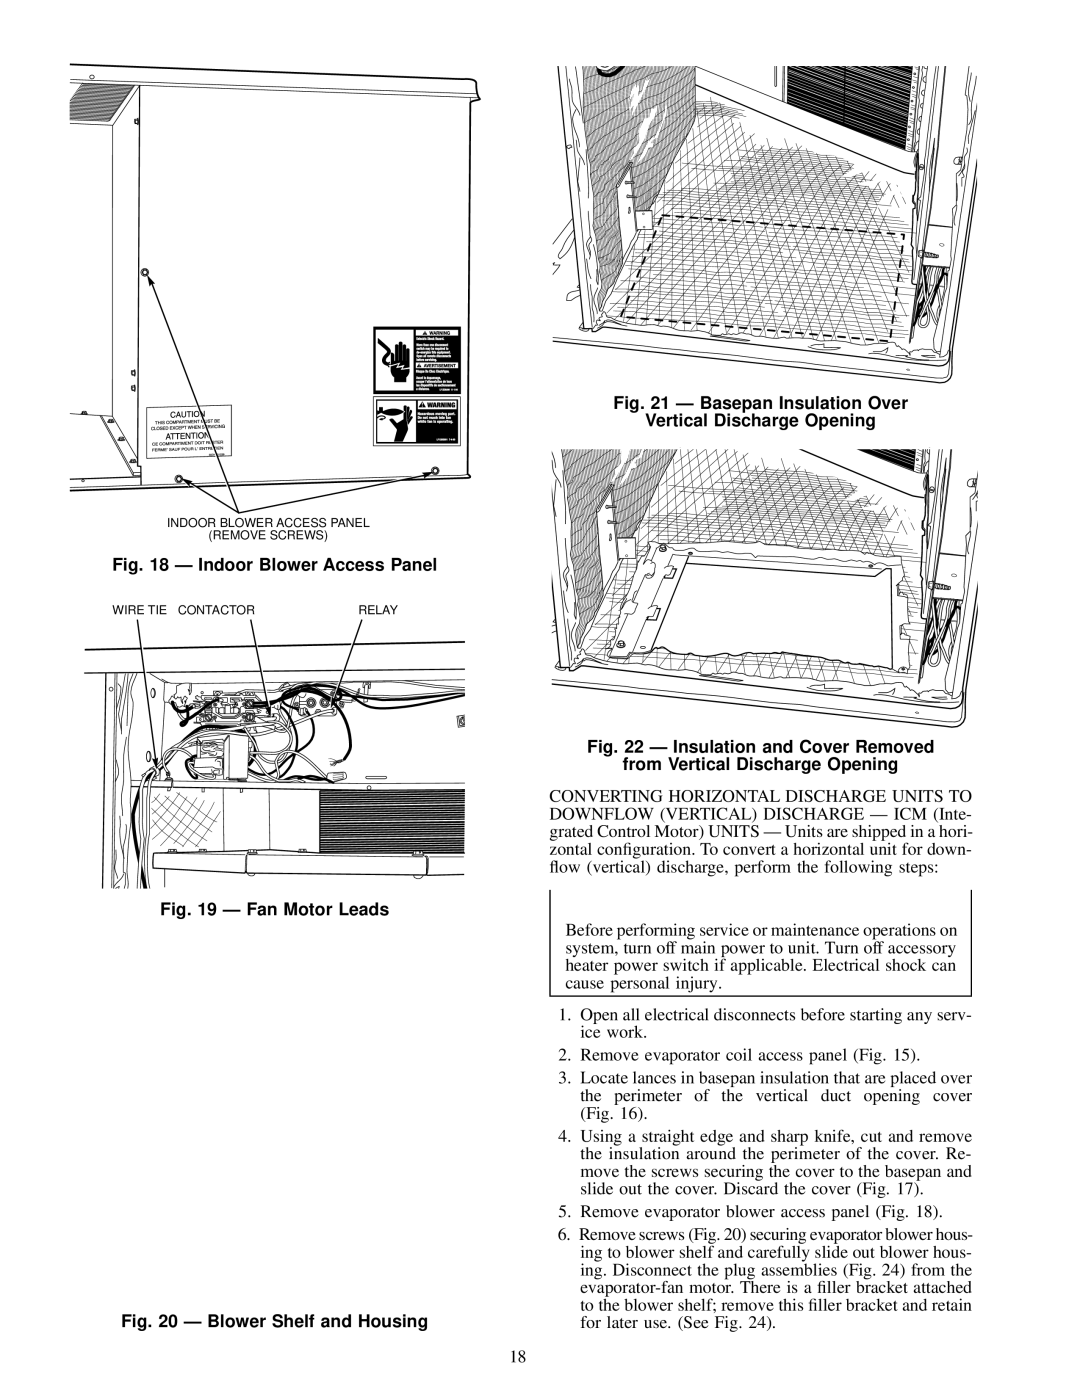
INDOOR BLOWER ACCESS PANEL
(REMOVE SCREWS)
Fig. 18 Ð Indoor Blower Access Panel
WIRE TIE CONTACTOR | RELAY | |||||||||||
|
|
|
|
|
|
|
|
|
|
|
|
|
|
|
|
|
|
|
|
|
|
|
|
|
|
|
|
|
|
|
|
|
|
|
|
|
|
|
|
|
|
|
|
|
|
|
|
|
|
|
|
|
|
|
|
|
|
|
|
|
|
|
|
|
Fig. 19 Ð Fan Motor Leads
Fig. 20 Ð Blower Shelf and Housing
Fig. 21 Ð Basepan Insulation Over
Vertical Discharge Opening
Fig. 22 Ð Insulation and Cover Removed
from Vertical Discharge Opening
CONVERTING HORIZONTAL DISCHARGE UNITS TO DOWNFLOW (VERTICAL) DISCHARGE Ð ICM (Inte- grated Control Motor) UNITS Ð Units are shipped in a hori- zontal con®guration. To convert a horizontal unit for down- ¯ow (vertical) discharge, perform the following steps:
Before performing service or maintenance operations on system, turn off main power to unit. Turn off accessory heater power switch if applicable. Electrical shock can cause personal injury.
1.Open all electrical disconnects before starting any serv- ice work.
2.Remove evaporator coil access panel (Fig. 15).
3.Locate lances in basepan insulation that are placed over the perimeter of the vertical duct opening cover (Fig. 16).
4.Using a straight edge and sharp knife, cut and remove the insulation around the perimeter of the cover. Re- move the screws securing the cover to the basepan and slide out the cover. Discard the cover (Fig. 17).
5.Remove evaporator blower access panel (Fig. 18).
6.Remove screws (Fig. 20) securing evaporator blower hous- ing to blower shelf and carefully slide out blower hous- ing. Disconnect the plug assemblies (Fig. 24) from the
18