Chapter 2 Using DMPDM
Configuring Settings
After you click Apply, the entries or changes take effect. However, the previously defined values will return the next time that your DMP restarts.
Step 4 (Optional) To put all changed values into effect permanently, so that they persist even after your DMP restarts, select Administration > Save Configuration and, when the Save Configuration page appears, click Save.
Example Settings
If you use a
•Display Standard — NTSC_M
•Display Output Interface —
•Color Space — None
•Color Component Order — RGB
If you use an HDMI cable to connect your DMP to a 1920 x1200 LCD television:
•Display Standard — VESA_1920x1200x60RB
•Display Output Interface — HDMI
•Color Space — RGB_16_235
•Color Component Order — RGB
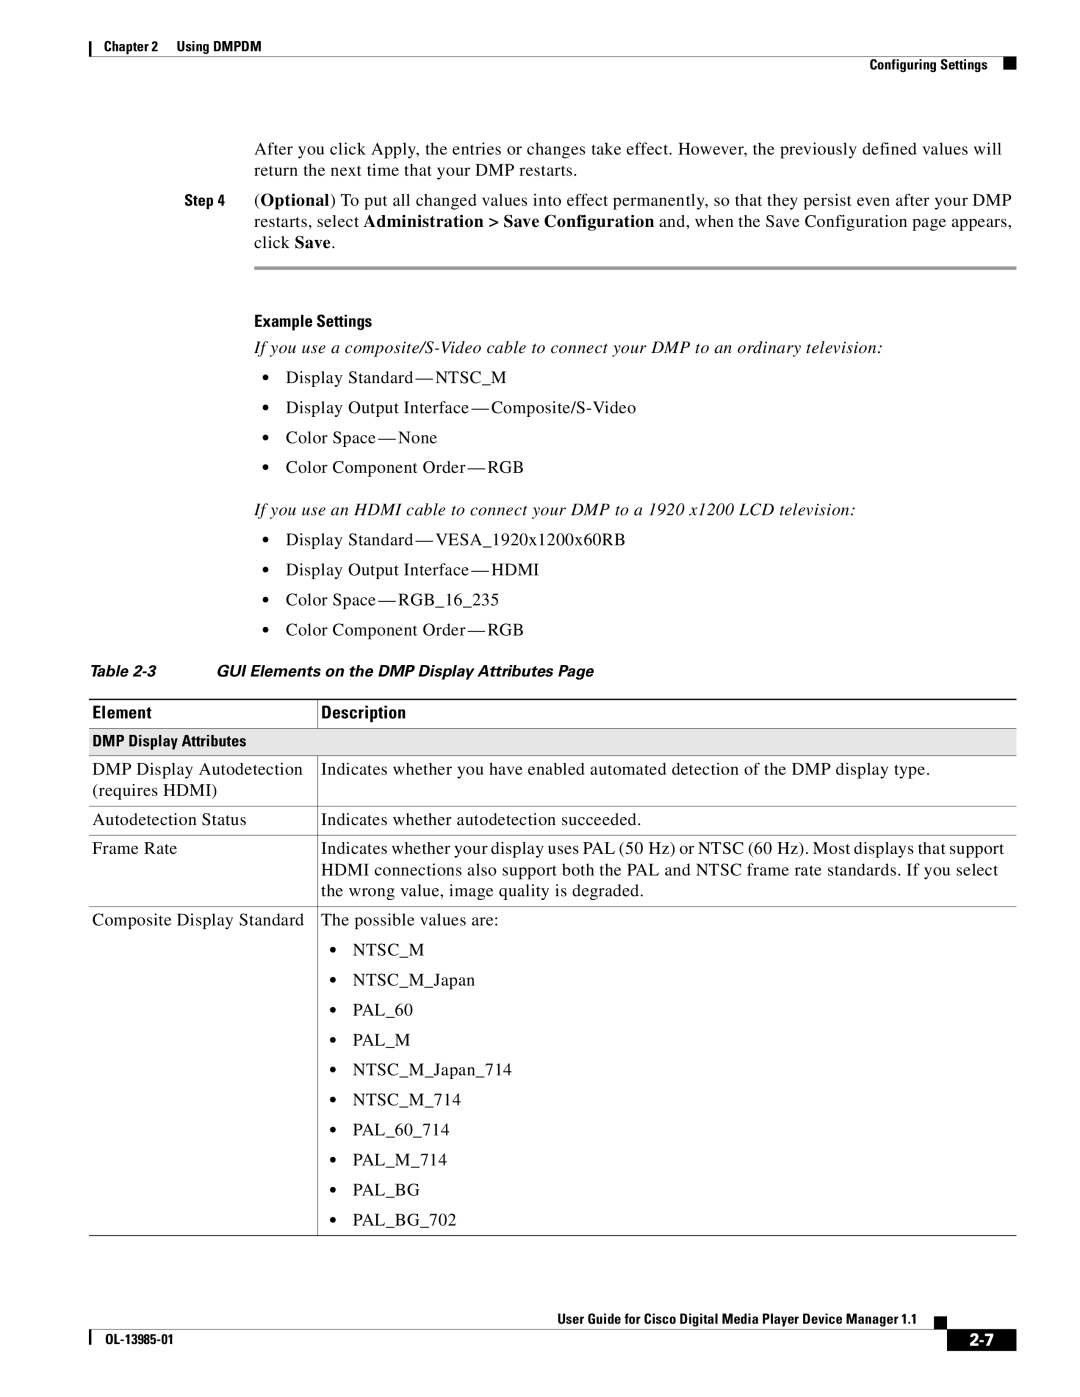
Table | GUI Elements on the DMP Display Attributes Page |
Element
Description
DMP Display Attributes
DMP Display Autodetection | Indicates whether you have enabled automated detection of the DMP display type. | |
(requires HDMI) |
|
|
|
| |
Autodetection Status | Indicates whether autodetection succeeded. | |
|
| |
Frame Rate | Indicates whether your display uses PAL (50 Hz) or NTSC (60 Hz). Most displays that support | |
| HDMI connections also support both the PAL and NTSC frame rate standards. If you select | |
| the wrong value, image quality is degraded. | |
|
| |
Composite Display Standard | The possible values are: | |
| • | NTSC_M |
| • | NTSC_M_Japan |
| • | PAL_60 |
| • | PAL_M |
| • | NTSC_M_Japan_714 |
| • NTSC_M_714 | |
| • | PAL_60_714 |
| • | PAL_M_714 |
| • | PAL_BG |
| • | PAL_BG_702 |
|
|
|
User Guide for Cisco Digital Media Player Device Manager 1.1
|
| ||
|
|
