Chapter 2 Using DMPDM
Configuring Settings
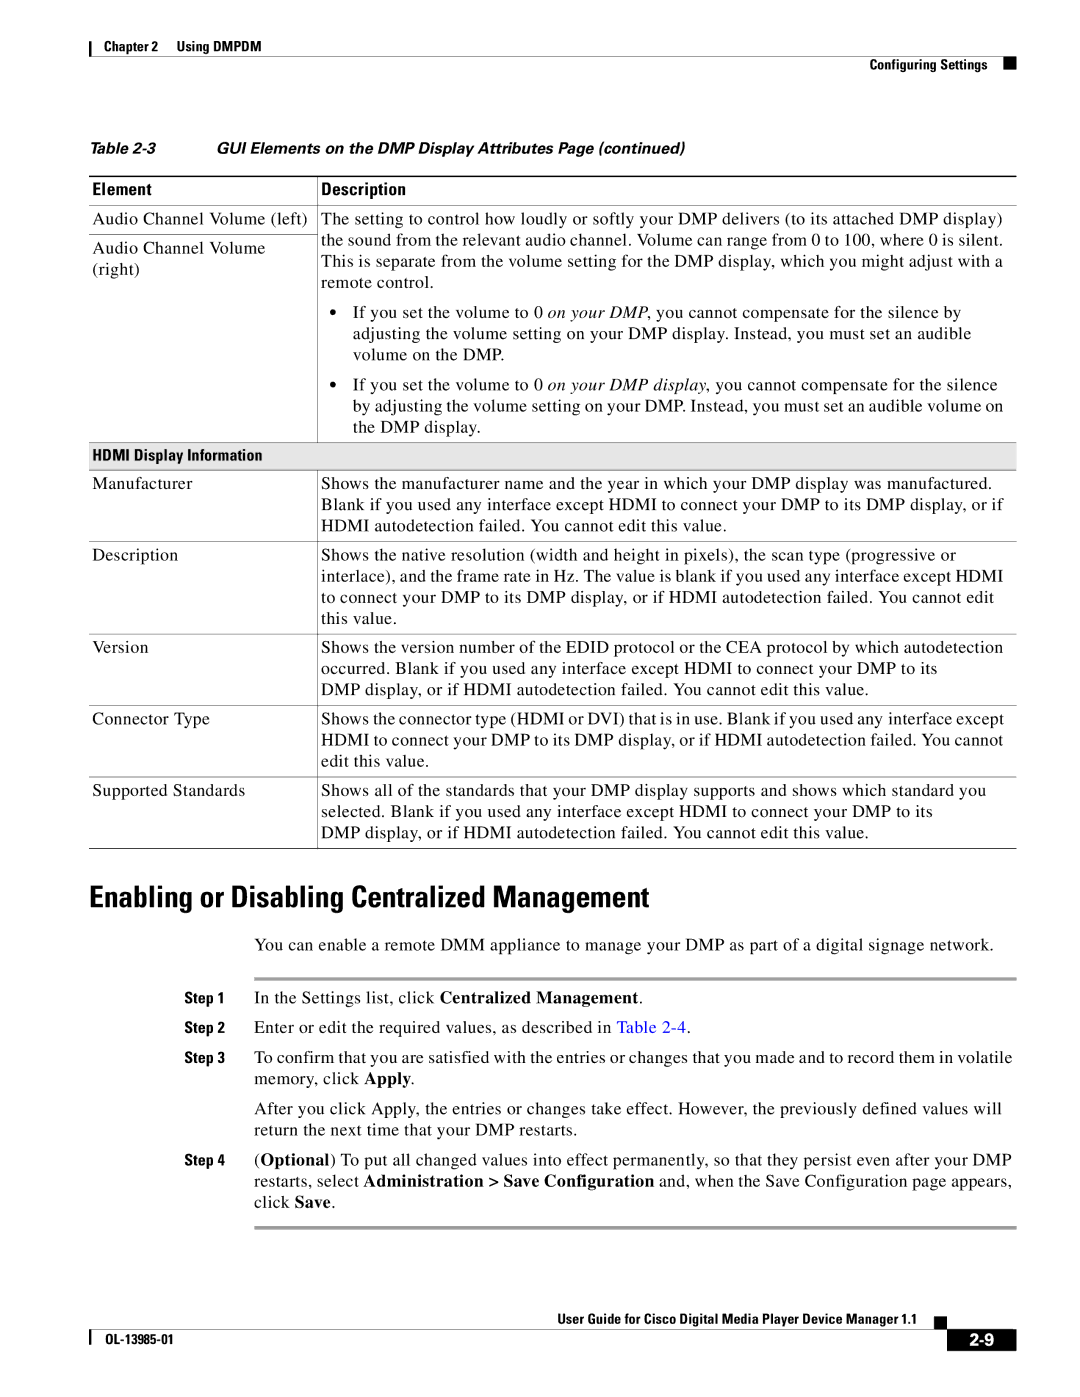
Table | GUI Elements on the DMP Display Attributes Page (continued) | ||
|
|
| |
Element |
| Description | |
|
| ||
Audio Channel Volume (left) | The setting to control how loudly or softly your DMP delivers (to its attached DMP display) | ||
|
| the sound from the relevant audio channel. Volume can range from 0 to 100, where 0 is silent. | |
Audio Channel Volume | |||
This is separate from the volume setting for the DMP display, which you might adjust with a | |||
(right) |
| ||
| remote control. | ||
|
| ||
|
| • If you set the volume to 0 on your DMP, you cannot compensate for the silence by | |
|
| adjusting the volume setting on your DMP display. Instead, you must set an audible | |
|
| volume on the DMP. | |
|
| • If you set the volume to 0 on your DMP display, you cannot compensate for the silence | |
|
| by adjusting the volume setting on your DMP. Instead, you must set an audible volume on | |
|
| the DMP display. | |
|
| ||
HDMI Display Information |
| ||
|
|
| |
Manufacturer |
| Shows the manufacturer name and the year in which your DMP display was manufactured. | |
|
| Blank if you used any interface except HDMI to connect your DMP to its DMP display, or if | |
|
| HDMI autodetection failed. You cannot edit this value. | |
|
|
| |
Description |
| Shows the native resolution (width and height in pixels), the scan type (progressive or | |
|
| interlace), and the frame rate in Hz. The value is blank if you used any interface except HDMI | |
|
| to connect your DMP to its DMP display, or if HDMI autodetection failed. You cannot edit | |
|
| this value. | |
|
|
| |
Version |
| Shows the version number of the EDID protocol or the CEA protocol by which autodetection | |
|
| occurred. Blank if you used any interface except HDMI to connect your DMP to its | |
|
| DMP display, or if HDMI autodetection failed. You cannot edit this value. | |
|
|
| |
Connector Type |
| Shows the connector type (HDMI or DVI) that is in use. Blank if you used any interface except | |
|
| HDMI to connect your DMP to its DMP display, or if HDMI autodetection failed. You cannot | |
|
| edit this value. | |
|
| ||
Supported Standards | Shows all of the standards that your DMP display supports and shows which standard you | ||
|
| selected. Blank if you used any interface except HDMI to connect your DMP to its | |
|
| DMP display, or if HDMI autodetection failed. You cannot edit this value. | |
|
|
| |
Enabling or Disabling Centralized Management
You can enable a remote DMM appliance to manage your DMP as part of a digital signage network.
Step 1 In the Settings list, click Centralized Management.
Step 2 Enter or edit the required values, as described in Table
Step 3 To confirm that you are satisfied with the entries or changes that you made and to record them in volatile memory, click Apply.
After you click Apply, the entries or changes take effect. However, the previously defined values will return the next time that your DMP restarts.
Step 4 (Optional) To put all changed values into effect permanently, so that they persist even after your DMP restarts, select Administration > Save Configuration and, when the Save Configuration page appears, click Save.
User Guide for Cisco Digital Media Player Device Manager 1.1
|
| ||
|
|
