Avaya Definity Gx/PBXLink Integration Guide for Cisco Unity 4.0
Creating a New Integration with the Avaya Definity/PBXLink Phone System
Step 34 On the SMDI Options menu, press Cancel.
Step 35 On the Configuration menu, press the Up or Down arrow to select Integration and press OK. Step 36 On the Integration menu, press the Right or Left arrow to select Started, and press OK.
Step 37 Continue to the “Creating a New Integration with the Avaya Definity/PBXLink Phone System” section on page 29.
Creating a New Integration with the Avaya Definity/PBXLink Phone System
After ensuring that the Avaya Definity/PBXLink phone system and the Cisco Unity server are ready for the integration, do the following procedures to set up the integration and to enter the port settings.
To Create an Integration
Step 1 If UTIM is not already open, on the Windows Start menu of the Cisco Unity server, click Programs > Cisco Unity > Manage Integrations. UTIM appears.
Step 2 In the left pane of the UTIM window, click Cisco Unity Server.
Step 3 On the Integration menu of the UTIM window, click New. The Telephony Integration Setup Wizard appears.
Step 4 On the Welcome page, click the applicable phone system type, depending on your version of Cisco Unity:
•Cisco Unity 4.2 or
•Cisco Unity 4.0 or
Step 5 | Click Next. |
|
|
Step 6 | On the Name the Phone System Integration page, accept the default name or enter the phone system | ||
| name to identify this integration, then click Next. | ||
Step 7 | On the Select Integration Method page, click Serial, then click Next. | ||
Step 8 | On the Select Phone System Manufacturer page, click the following settings, then click Next. | ||
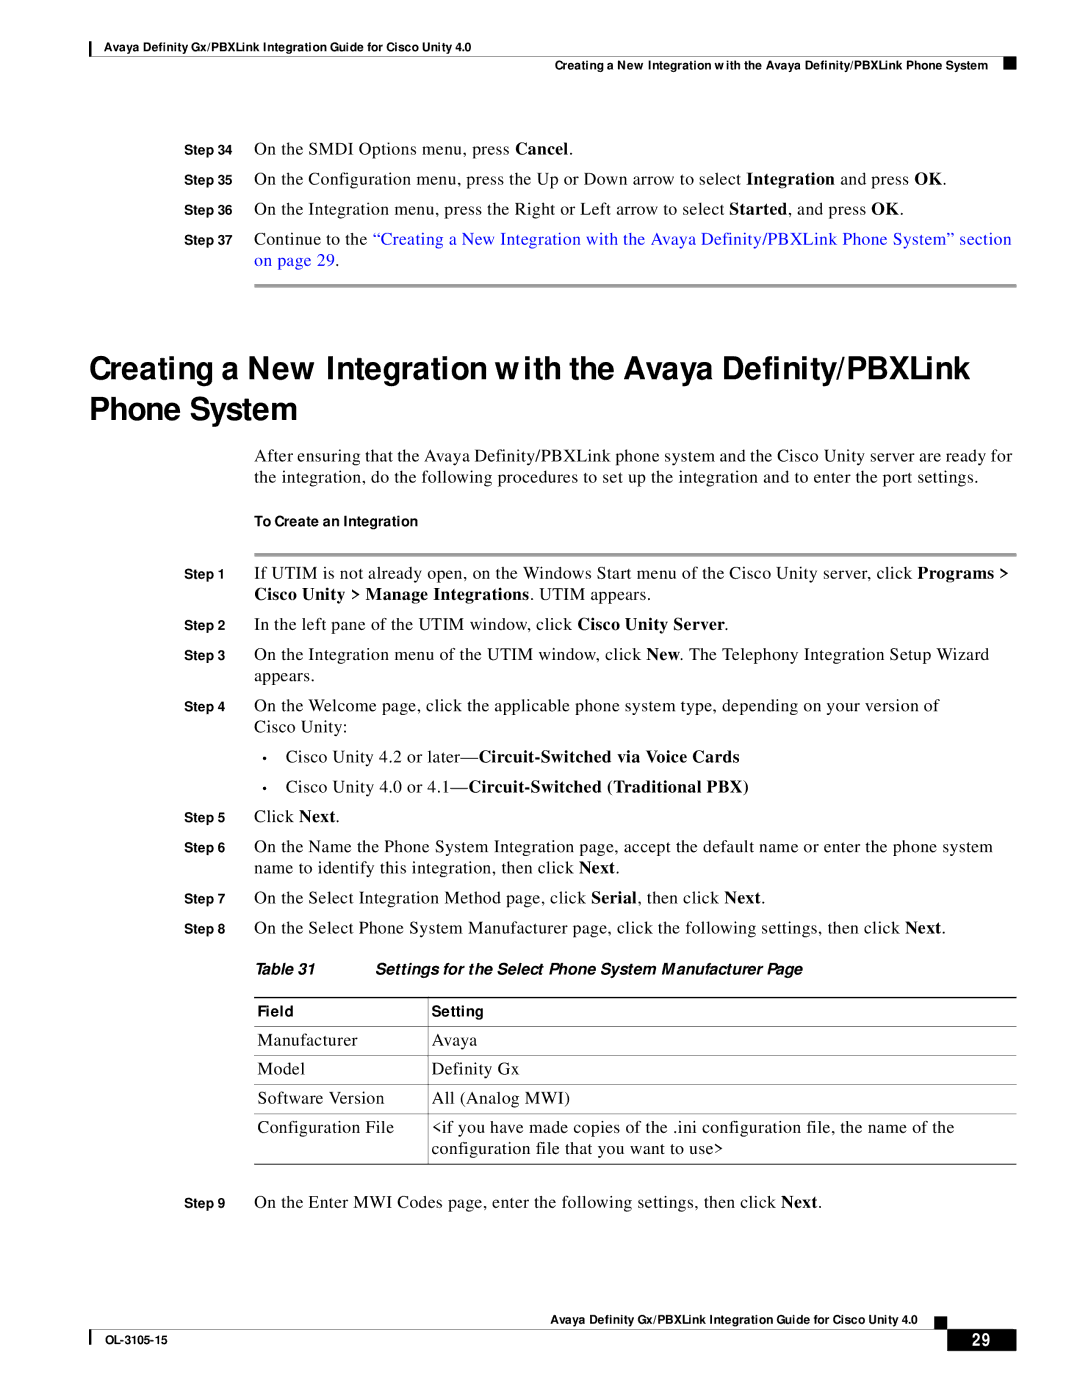
| Table 31 | Settings for the Select Phone System Manufacturer Page | |
|
|
|
|
| Field |
| Setting |
|
|
|
|
| Manufacturer |
| Avaya |
|
|
|
|
| Model |
| Definity Gx |
|
|
| |
| Software Version | All (Analog MWI) | |
|
|
| |
| Configuration File | <if you have made copies of the .ini configuration file, the name of the | |
|
|
| configuration file that you want to use> |
|
|
| |
Step 9 | On the Enter MWI Codes page, enter the following settings, then click Next. | ||
Avaya Definity Gx/PBXLink Integration Guide for Cisco Unity 4.0
| 29 |
| |
|
|
