Avaya Definity Gx/PBXLink Integration Guide for Cisco Unity 4.0
Creating a New Integration with the Avaya Definity/PBXLink Phone System
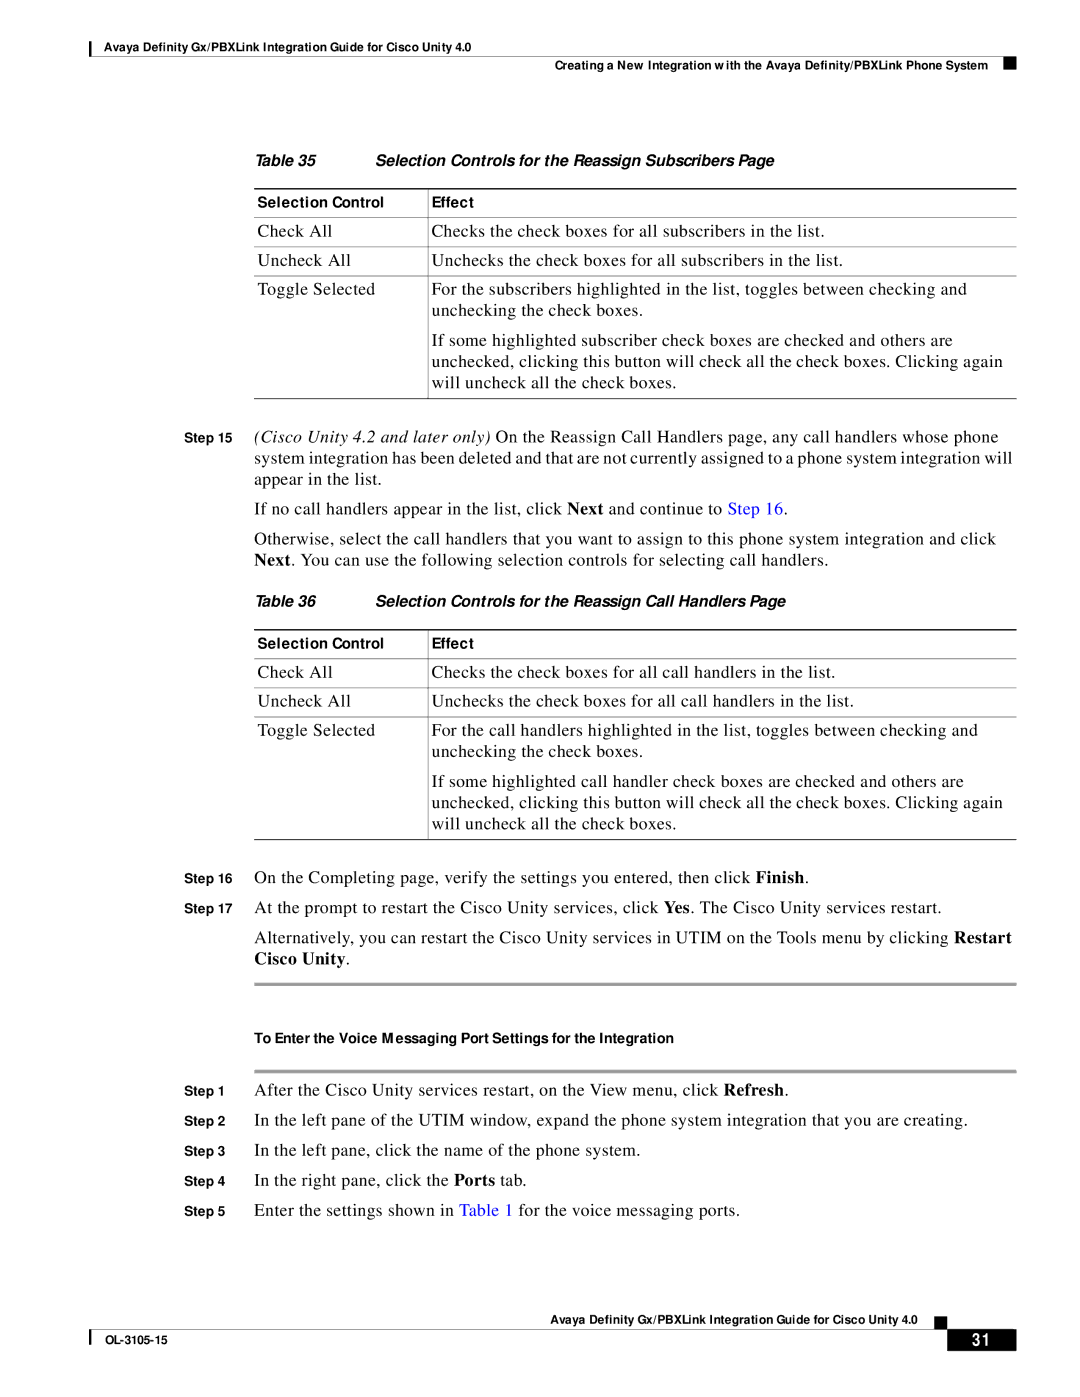
Table 35 | Selection Controls for the Reassign Subscribers Page | |
|
| |
Selection Control | Effect | |
|
|
|
Check All |
| Checks the check boxes for all subscribers in the list. |
|
|
|
Uncheck All |
| Unchecks the check boxes for all subscribers in the list. |
|
| |
Toggle Selected | For the subscribers highlighted in the list, toggles between checking and | |
|
| unchecking the check boxes. |
|
| If some highlighted subscriber check boxes are checked and others are |
|
| unchecked, clicking this button will check all the check boxes. Clicking again |
|
| will uncheck all the check boxes. |
|
|
|
Step 15 (Cisco Unity 4.2 and later only) On the Reassign Call Handlers page, any call handlers whose phone system integration has been deleted and that are not currently assigned to a phone system integration will appear in the list.
If no call handlers appear in the list, click Next and continue to Step 16.
Otherwise, select the call handlers that you want to assign to this phone system integration and click Next. You can use the following selection controls for selecting call handlers.
Table 36 | Selection Controls for the Reassign Call Handlers Page | |
|
| |
Selection Control | Effect | |
|
|
|
Check All |
| Checks the check boxes for all call handlers in the list. |
|
|
|
Uncheck All |
| Unchecks the check boxes for all call handlers in the list. |
|
| |
Toggle Selected | For the call handlers highlighted in the list, toggles between checking and | |
|
| unchecking the check boxes. |
|
| If some highlighted call handler check boxes are checked and others are |
|
| unchecked, clicking this button will check all the check boxes. Clicking again |
|
| will uncheck all the check boxes. |
|
|
|
Step 16 On the Completing page, verify the settings you entered, then click Finish.
Step 17 At the prompt to restart the Cisco Unity services, click Yes. The Cisco Unity services restart.
Alternatively, you can restart the Cisco Unity services in UTIM on the Tools menu by clicking Restart
Cisco Unity.
To Enter the Voice Messaging Port Settings for the Integration
Step 1 After the Cisco Unity services restart, on the View menu, click Refresh.
Step 2 In the left pane of the UTIM window, expand the phone system integration that you are creating. Step 3 In the left pane, click the name of the phone system.
Step 4 In the right pane, click the Ports tab.
Step 5 Enter the settings shown in Table 1 for the voice messaging ports.
Avaya Definity Gx/PBXLink Integration Guide for Cisco Unity 4.0
| 31 |
| |
|
|