Chapter 3 Router Mounting Procedures
Mounting the Router on a Wall
To install the router on a desktop, table, or other flat surface, follow these steps:
Step 1 Place the unit
Step 2 Attach the four rubber pads to the recessed areas on the bottom of the unit.
Step 3 Place the unit
Step 4 If you have a wireless router, connect the radio antenna to the router (see the “Connecting a Radio Antenna to a Wireless Router” section on page
Step 5 Place the power supply unit on a desktop near an AC power source. Do not stack the power supply on the router.
Mounting the Router on a Wall
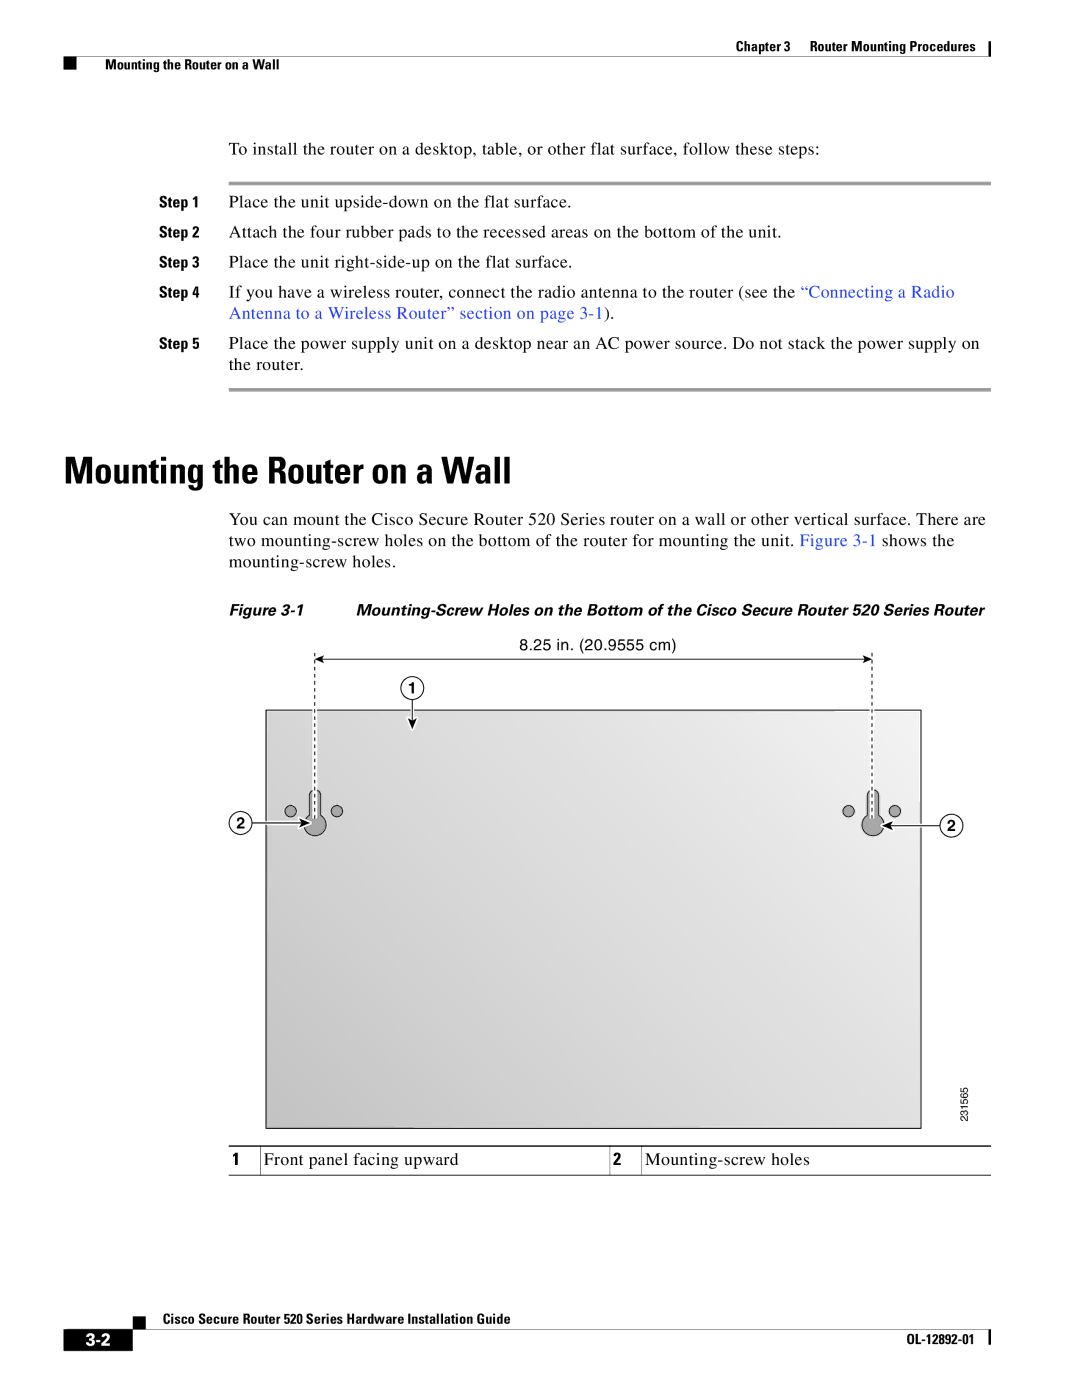
You can mount the Cisco Secure Router 520 Series router on a wall or other vertical surface. There are two
Figure 3-1 Mounting-Screw Holes on the Bottom of the Cisco Secure Router 520 Series Router
| 8.25 in. (20.9555 cm) | |
1 |
|
|
2 |
| 2 |
|
| 231565 |
1 Front panel facing upward | 2 |
|
Cisco Secure Router 520 Series Hardware Installation Guide
|
| |
|
