Chapter 2 Switch Installation
Installing the Switch
Rack-Mounting
To install the switch in a
•Removing Screws from the Switch, page
•Attaching Brackets to the Switch, page
•Mounting in a Rack, page
.
Warning To prevent bodily injury when mounting or servicing this unit in a rack, you must take special precautions to ensure that the system remains stable. The following guidelines are provided to ensure your safety:
•This unit should be mounted at the bottom of the rack if it is the only unit in the rack.
•When mounting this unit in a partially filled rack, load the rack from the bottom to the top with the heaviest component at the bottom of the rack.
•If the rack is provided with stabilizing devices, install the stabilizers before mounting or servicing the unit in the rack. Statement 1006
Note Installing the switch in a
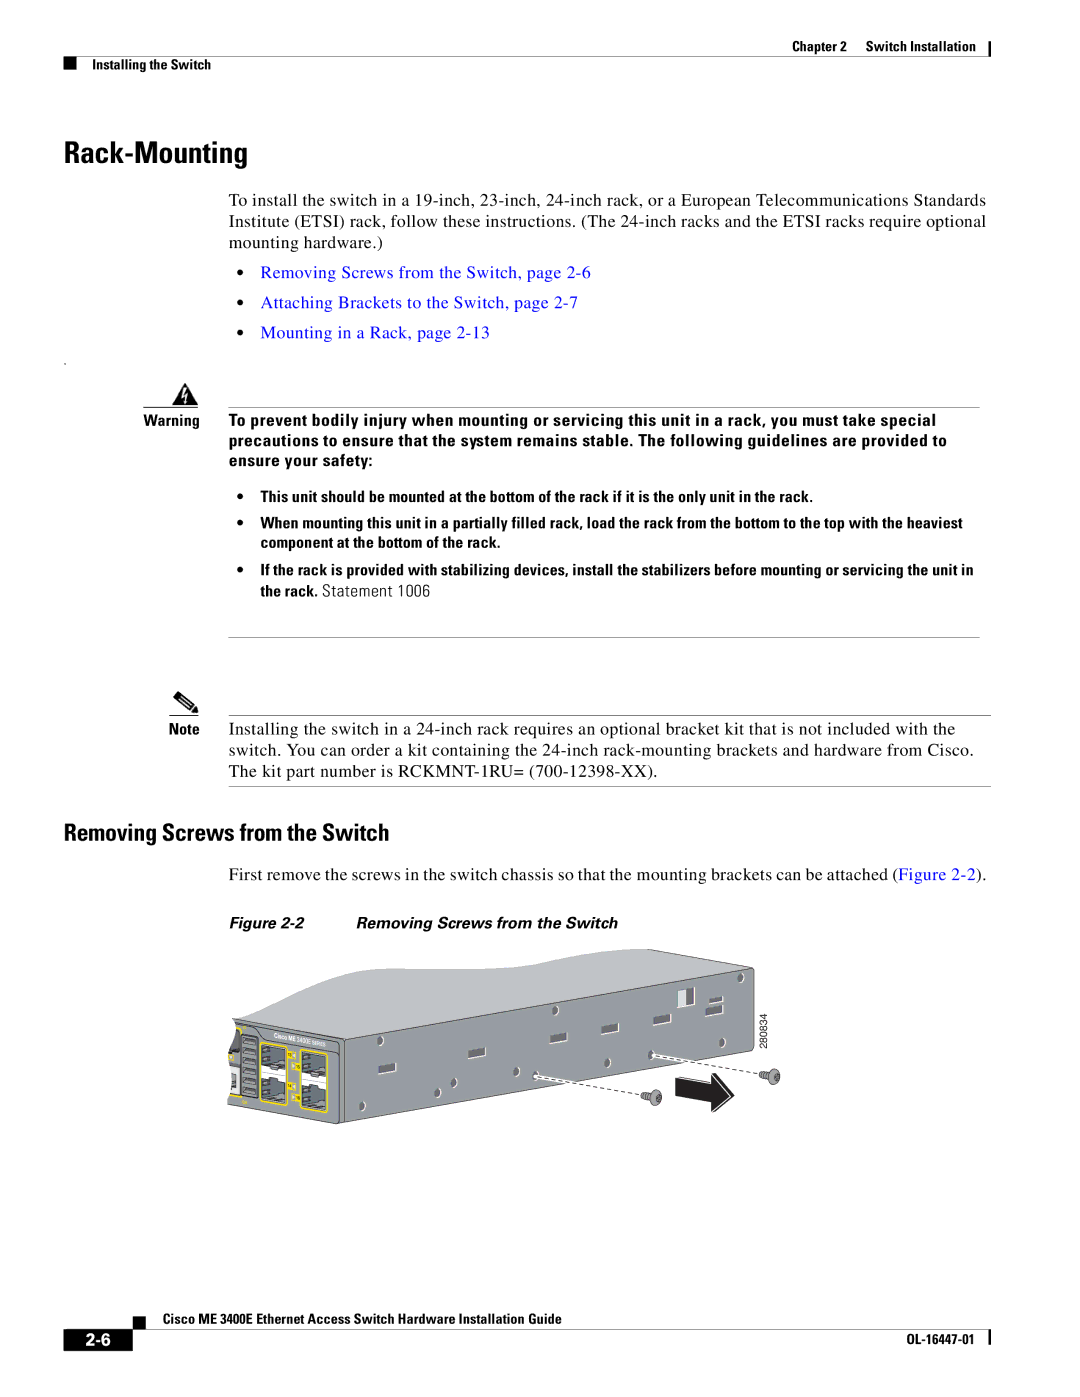
Removing Screws from the Switch
First remove the screws in the switch chassis so that the mounting brackets can be attached (Figure
Figure 2-2 Removing Screws from the Switch
280834
Cisco ME 3400E Ethernet Access Switch Hardware Installation Guide
|
| |
|