Chapter 4 Remote Access VPN Services
Creating Remote Access VPN Policies
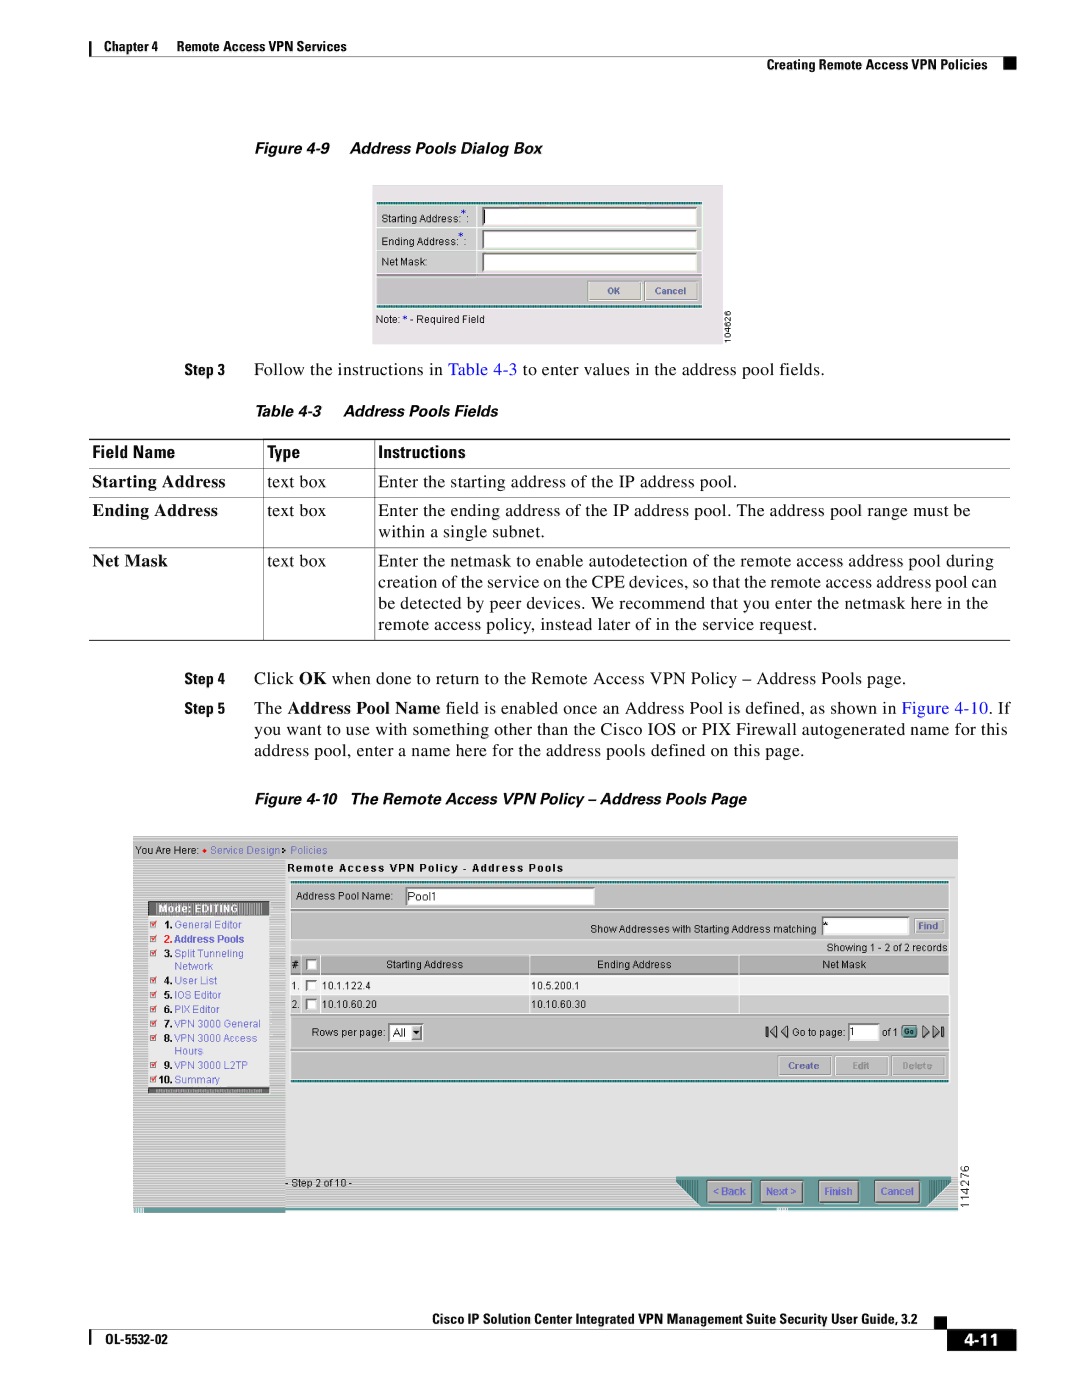
Figure 4-9 Address Pools Dialog Box
Step 3 | Follow the instructions in Table | ||
| Table | ||
|
|
|
|
Field Name |
| Type | Instructions |
|
|
|
|
Starting Address |
| text box | Enter the starting address of the IP address pool. |
|
|
|
|
Ending Address |
| text box | Enter the ending address of the IP address pool. The address pool range must be |
|
|
| within a single subnet. |
|
|
|
|
Net Mask |
| text box | Enter the netmask to enable autodetection of the remote access address pool during |
|
|
| creation of the service on the CPE devices, so that the remote access address pool can |
|
|
| be detected by peer devices. We recommend that you enter the netmask here in the |
|
|
| remote access policy, instead later of in the service request. |
|
|
|
|
Step 4 | Click OK when done to return to the Remote Access VPN Policy – Address Pools page. | ||
Step 5 | The Address Pool Name field is enabled once an Address Pool is defined, as shown in Figure | ||
| you want to use with something other than the Cisco IOS or PIX Firewall autogenerated name for this | ||
| address pool, enter a name here for the address pools defined on this page. | ||
Figure 4-10 The Remote Access VPN Policy – Address Pools Page
Cisco IP Solution Center Integrated VPN Management Suite Security User Guide, 3.2
|
| ||
|
|