Section 3 - Configuration
Filters
IP Filters
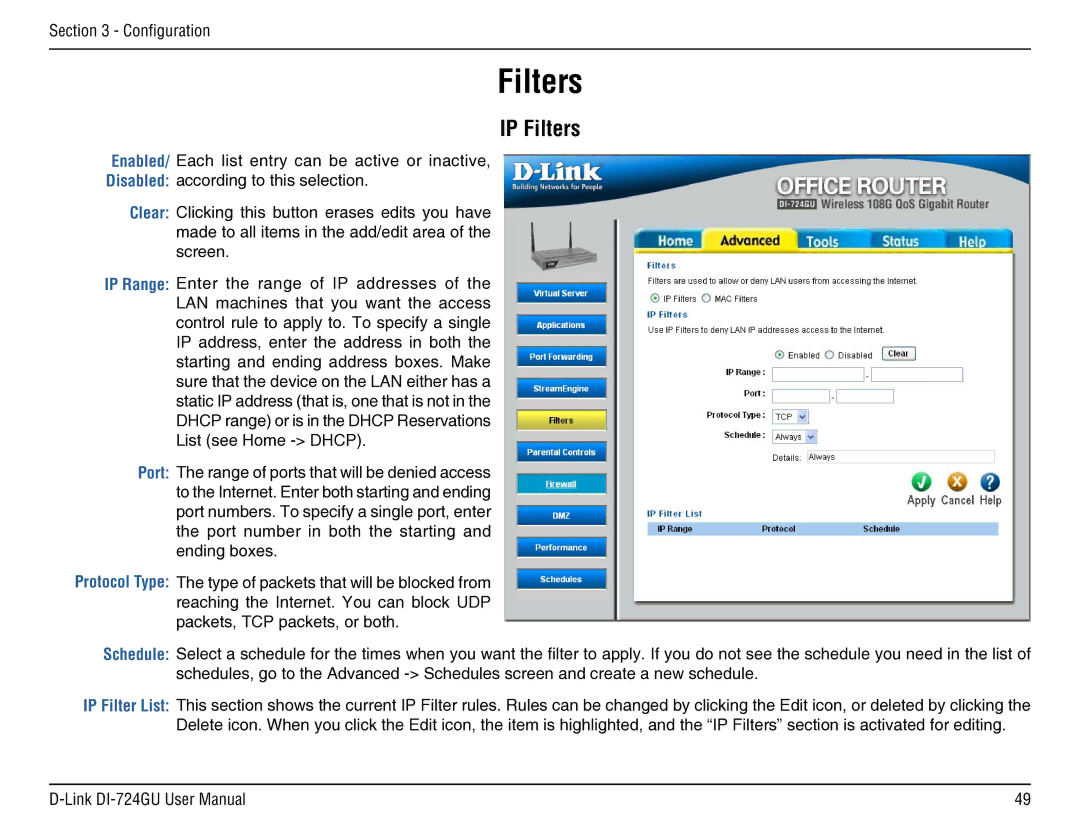
Enabled/ Each list entry can be active or inactive,
Disabled: according to this selection.
Clear: Clicking this button erases edits you have made to all items in the add/edit area of the screen.
IP Range: Enter the range of IP addresses of the LAN machines that you want the access control rule to apply to. To specify a single IP address, enter the address in both the starting and ending address boxes. Make sure that the device on the LAN either has a static IP address (that is, one that is not in the DHCP range) or is in the DHCP Reservations List (see Home
Port: The range of ports that will be denied access to the Internet. Enter both starting and ending port numbers. To specify a single port, enter the port number in both the starting and ending boxes.
Protocol Type: The type of packets that will be blocked from reaching the Internet. You can block UDP packets, TCP packets, or both.
Schedule: Select a schedule for the times when you want the filter to apply. If you do not see the schedule you need in the list of schedules, go to the Advanced
IP Filter List: This section shows the current IP Filter rules. Rules can be changed by clicking the Edit icon, or deleted by clicking the Delete icon. When you click the Edit icon, the item is highlighted, and the “IP Filters” section is activated for editing.
49 |
