Make sure that all four corners are flat in the tray.
4.Be careful not to overload the paper tray. Overloading may cause paper jams.
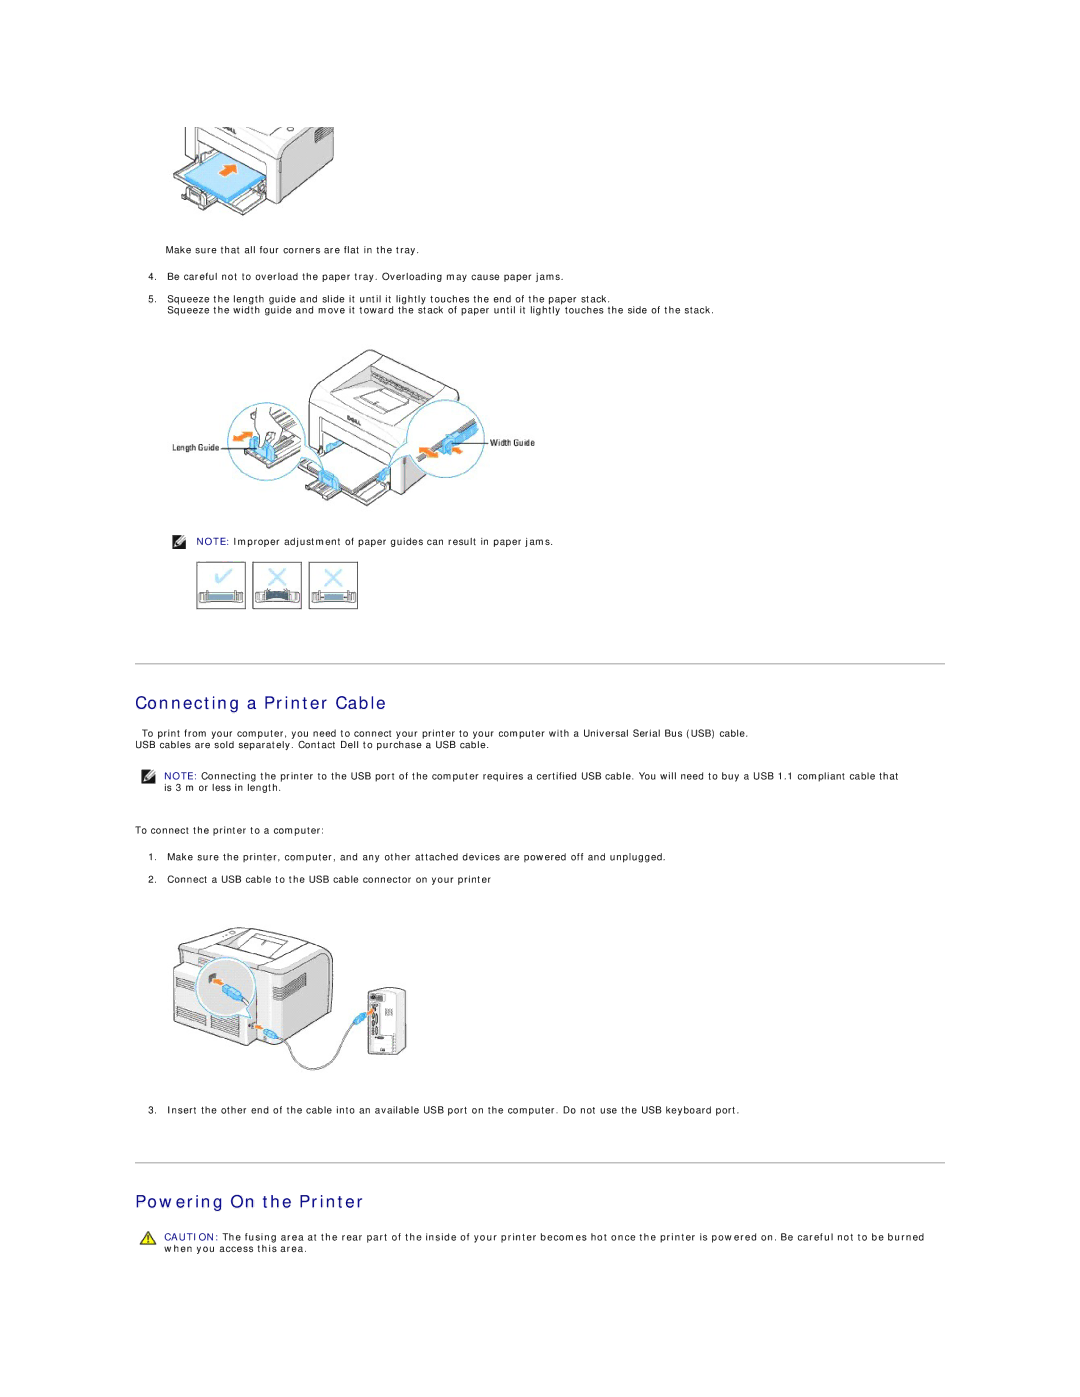
5.Squeeze the length guide and slide it until it lightly touches the end of the paper stack.
Squeeze the width guide and move it toward the stack of paper until it lightly touches the side of the stack.
NOTE: Improper adjustment of paper guides can result in paper jams.
Connecting a Printer Cable
To print from your computer, you need to connect your printer to your computer with a Universal Serial Bus (USB) cable. USB cables are sold separately. Contact Dell to purchase a USB cable.
NOTE: Connecting the printer to the USB port of the computer requires a certified USB cable. You will need to buy a USB 1.1 compliant cable that is 3 m or less in length.
To connect the printer to a computer:
1.Make sure the printer, computer, and any other attached devices are powered off and unplugged.
2.Connect a USB cable to the USB cable connector on your printer
3. Insert the other end of the cable into an available USB port on the computer. Do not use the USB keyboard port.
Powering On the Printer
CAUTION: The fusing area at the rear part of the inside of your printer becomes hot once the printer is powered on. Be careful not to be burned when you access this area.