3.4. Replacing the Print Cartridge
Replace the Print Cartridge as follows:
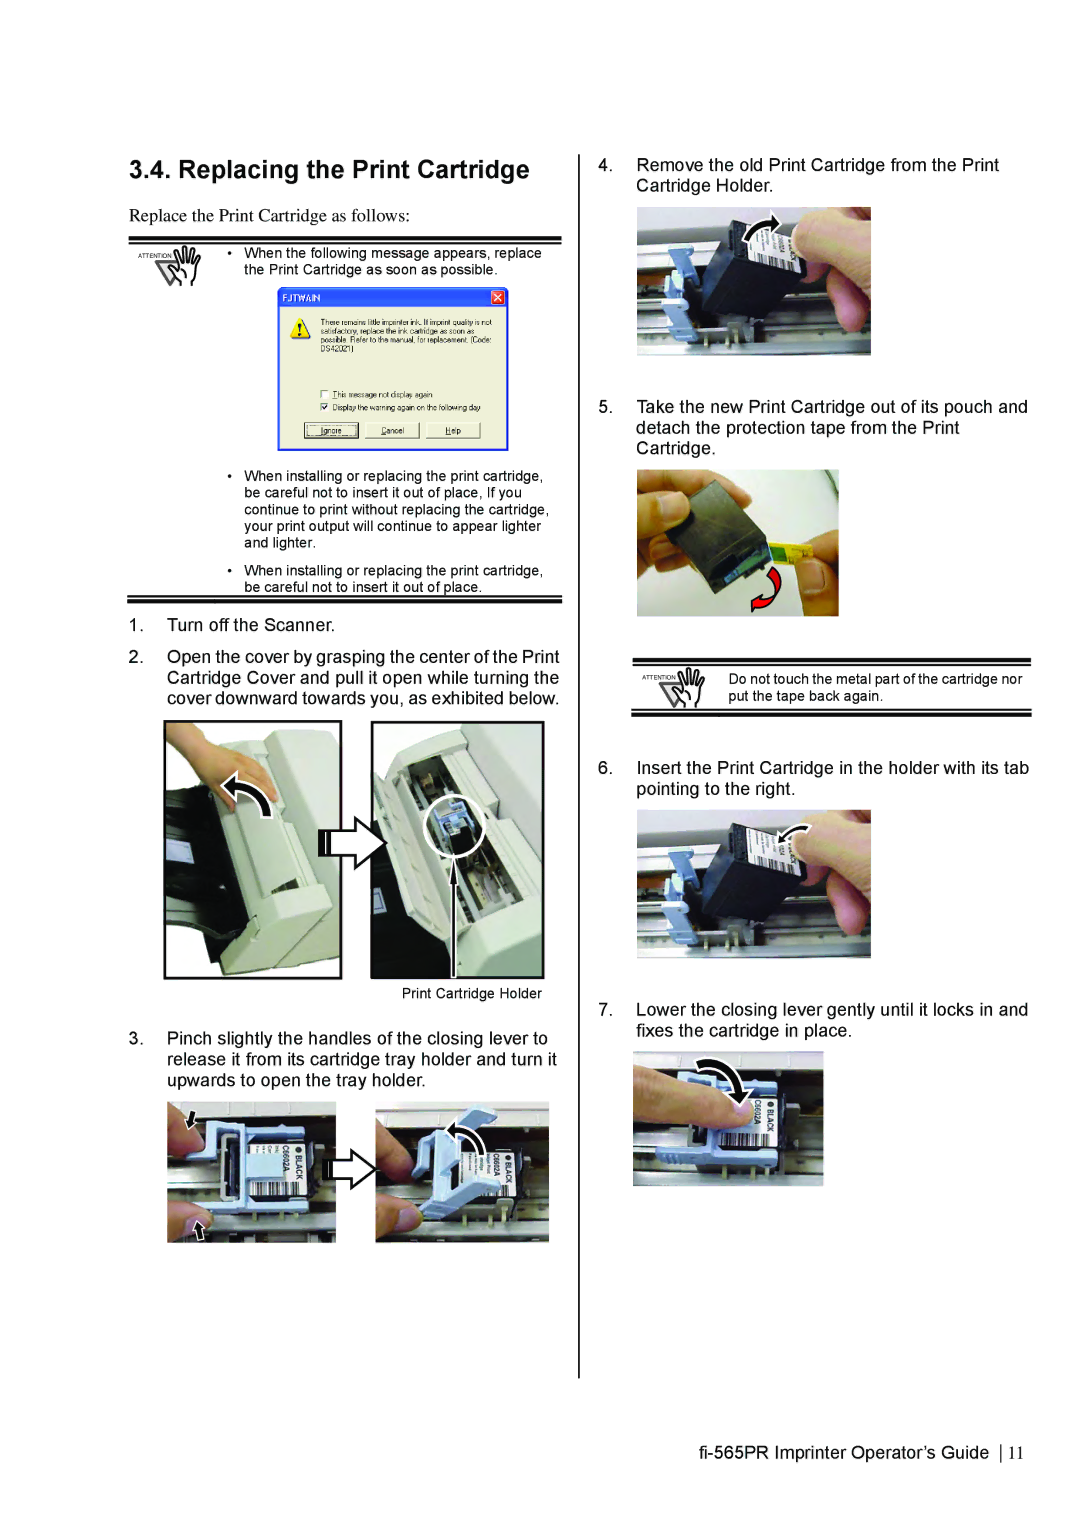
ATTENTION | • When the following message appears, replace |
| the Print Cartridge as soon as possible. |
•When installing or replacing the print cartridge, be careful not to insert it out of place, If you continue to print without replacing the cartridge, your print output will continue to appear lighter and lighter.
•When installing or replacing the print cartridge, be careful not to insert it out of place.
1.Turn off the Scanner.
2.Open the cover by grasping the center of the Print Cartridge Cover and pull it open while turning the cover downward towards you, as exhibited below.
Print Cartridge Holder
3.Pinch slightly the handles of the closing lever to release it from its cartridge tray holder and turn it upwards to open the tray holder.
4.Remove the old Print Cartridge from the Print Cartridge Holder.
5.Take the new Print Cartridge out of its pouch and detach the protection tape from the Print Cartridge.
ATTENTION | Do not touch the metal part of the cartridge nor |
| put the tape back again. |
6.Insert the Print Cartridge in the holder with its tab pointing to the right.
7.Lower the closing lever gently until it locks in and fixes the cartridge in place.